
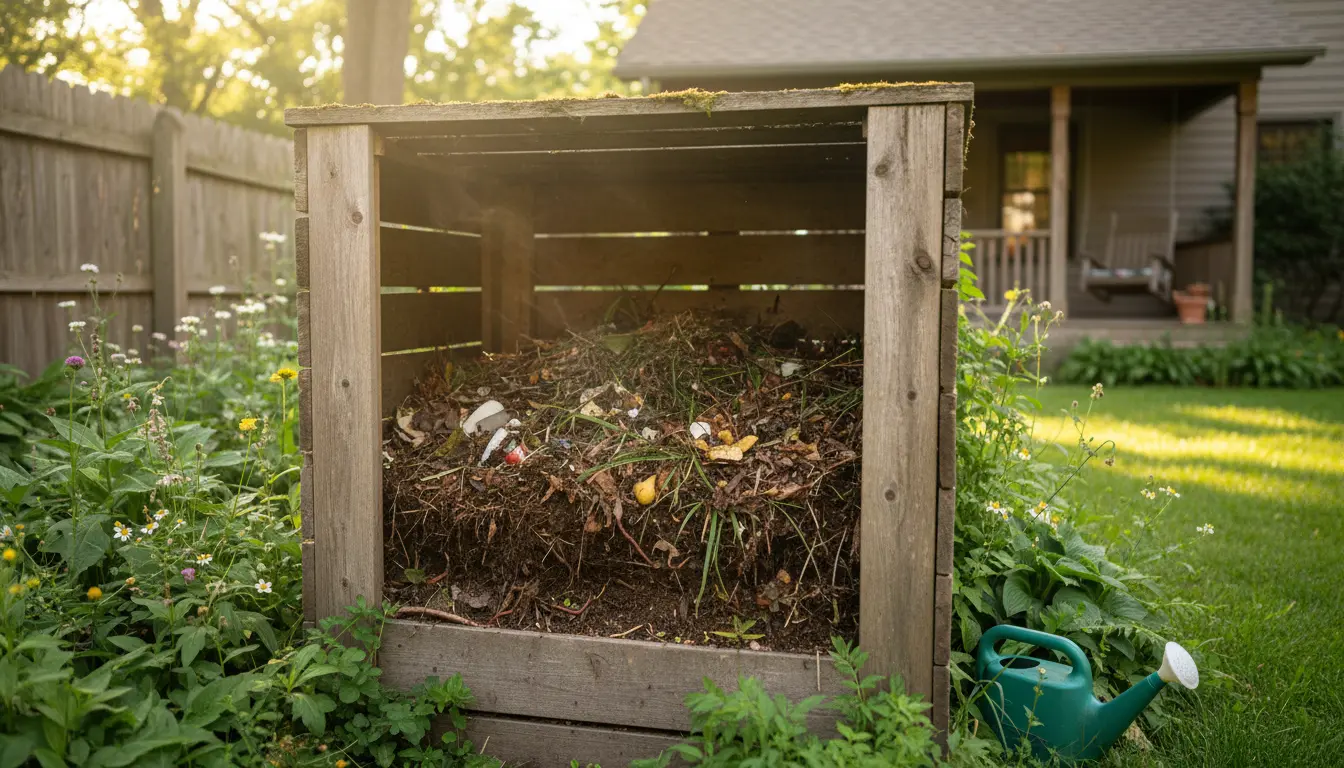
Home Composting for Beginners: Getting Started
Composting transforms kitchen scraps and yard waste into a nutrient-rich soil amendment. It reduces waste sent to landfills and improves garden health.
This guide gives clear, practical steps for home composting for beginners, including tools, methods, and simple troubleshooting tips you can use immediately.
Why Start Home Composting?
Compost returns nutrients to soil, improves water retention, and supports beneficial microbes. It also lowers household waste and can save money on store-bought soil amendments.
Beginners can succeed with a small setup and consistent habits. You don’t need a large yard or fancy equipment to get started.
Basic Principles of Home Composting for Beginners
Composting is a controlled decomposition process that needs carbon, nitrogen, oxygen, and moisture. These elements feed the microbes that break down organic matter.
Balance and airflow matter more than exact measurements. Aim to keep the pile moist like a wrung-out sponge and turn it occasionally to add oxygen.
Carbon and Nitrogen: The Brown and Green Rule
Use a mix of brown (carbon) and green (nitrogen) materials. Browns provide structure and slow-burning energy, while greens feed microbial growth.
- Greens: vegetable scraps, coffee grounds, fresh grass clippings
- Browns: dry leaves, straw, shredded cardboard, paper
A common starting ratio is roughly 3 parts browns to 1 part greens by volume. Adjust if the pile is smelly (add browns) or too slow (add greens).
How to Build a Simple Compost Bin
You can use a purchased tumbler, a homemade wooden bin, or a simple heap on the ground. The easiest for beginners is a contained bin that keeps pests out and looks tidy.
Here’s a quick method to build or set up a basic bin.
- Choose a location with partial shade and good drainage.
- Create a base layer of coarse browns or small sticks for airflow.
- Add alternating layers of greens and browns, keeping pieces small for faster breakdown.
- Keep the pile moist and turn every 1–2 weeks if possible.
Tools and Materials You’ll Need
- Compost bin or tumbler (or stakes to build a wooden bin)
- Pitchfork or compost aerator tool
- Kitchen collection container with a lid for scraps
- Shredder or scissors for breaking down large items (optional)
Adding small amounts of finished compost to a new pile can speed decomposition by introducing active microbes. A handful works for a typical backyard bin.
What to Compost and What to Avoid
Choosing the right materials helps keep the system healthy and pest-free. Use common kitchen and yard waste, and avoid problematic items.
- Good to compost: fruit and vegetable scraps, coffee grounds, tea bags (no staples), eggshells, yard trimmings, shredded paper, and dry leaves.
- Avoid: meat, dairy, oils, diseased plants, pet wastes, and glossy or heavily inked paper.
Tips for Food Scraps
Chop large pieces to speed decomposition and bury food scraps in the center of the pile to reduce pests. Freeze scraps if you need to store them before adding.
Balance food scraps with extra browns like shredded cardboard to prevent odors and excess moisture.
Troubleshooting Common Problems
Even simple systems can run into issues. Most problems have straightforward fixes that restore balance quickly.
- Smell: Add more browns, turn the pile, and check drainage.
- Too dry: Add water gradually and mix; cover to retain moisture.
- Not heating up: Add fresh greens and increase pile size or insulate.
- Pests: Bury food scraps, use a closed bin, and avoid attractive items like meat.
How Long Will It Take?
Time varies by method. A turned hot pile can produce finished compost in 2–4 months. Slow, passive piles may take 6–12 months.
Finished compost is dark, crumbly, and earthy-smelling. Large items like woody stems may still be visible and can be sieved out for slower reuse.
Using Finished Compost
Incorporate finished compost into garden beds, use it as a top dressing, or mix it into potting mixes. It improves soil structure and adds slow-release nutrients.
Apply a 1–2 inch layer around plants or mix 1 part compost to 3 parts soil for container plants.
Real-World Case Study: Small Urban Garden Success
Maria, a renter with a balcony garden, started with a small tumbler and a food-scrap jar. She collected coffee grounds and vegetable peels and layered them with shredded cardboard.
After four months of turning every week, she had crumbly compost she mixed into her container soil. Her tomato plants produced more fruit and her waste bin volume dropped significantly.
Simple Weekly Routine
- Collect kitchen scraps in a lidded container.
- Add scraps to the bin and cover with browns.
- Turn the pile once a week and check moisture.
- Harvest finished compost when ready and restart layers.
Quick Checklist for Home Composting for Beginners
- Set up a bin in partial shade
- Collect and chop kitchen scraps
- Balance greens and browns roughly 1:3
- Keep pile moist and aerate weekly
- Use finished compost in garden beds or pots
Home composting for beginners is simple with small, consistent actions. Start small, observe the pile, and adjust the mix. Over time you’ll create rich compost and reduce household waste.