
Why Home Composting Matters
Home composting turns kitchen and yard waste into valuable soil amendment. It reduces landfill waste and improves garden soil structure and fertility.
For composting for beginners, focus on simple steps: choose the right container, balance materials, keep conditions favorable, and harvest finished compost.
Choosing a Compost System for Home Composting
Start by picking a system that fits your space and lifestyle. Options include open piles, tumblers, stationary bins, and worm bins (vermicomposting).
Consider odor, pests, maintenance time, and capacity when choosing. A tumbler suits small yards; a worm bin works well for apartments with limited outdoor space.
Container Options and Placement
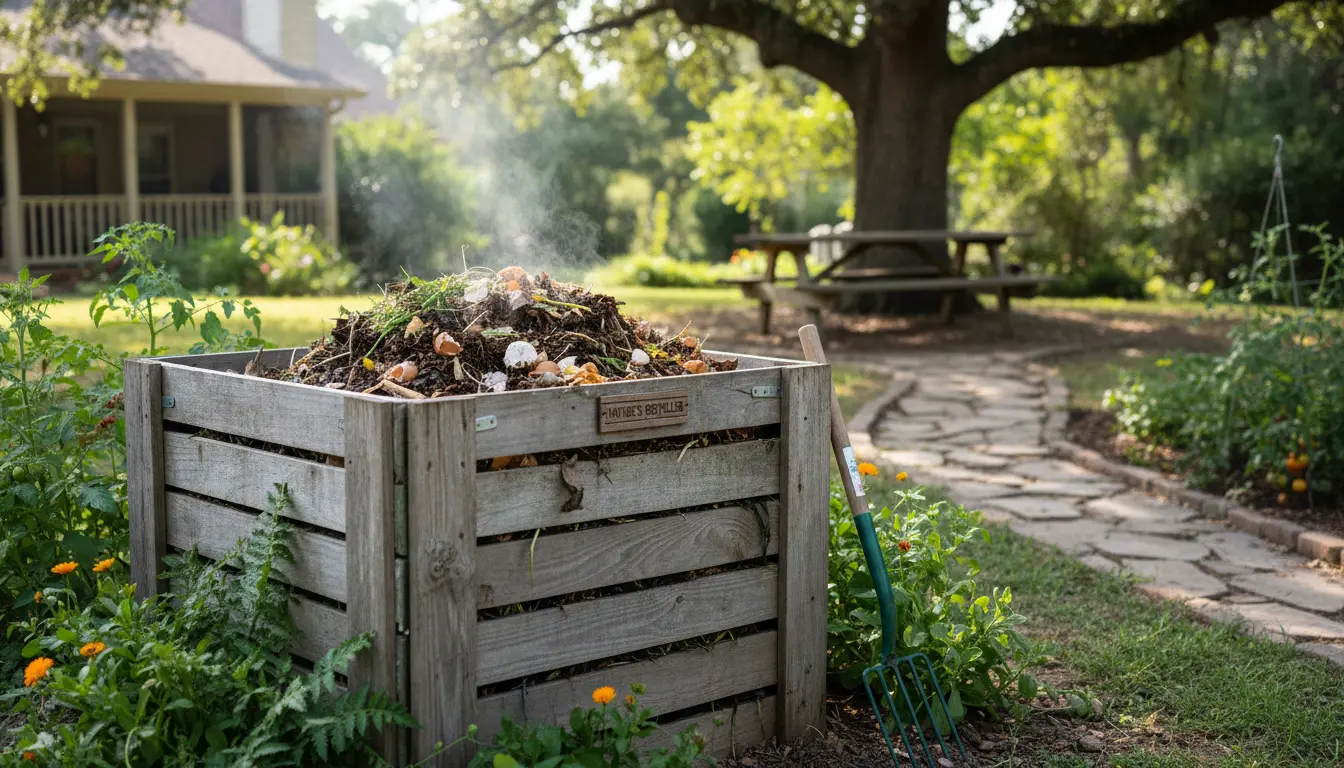
Place your compost bin on soil or a well-drained surface to allow beneficial organisms to access the pile. Avoid sealing it on concrete long-term.
Choose a shaded or partially shaded spot to maintain steady moisture and temperature. Easy access during all seasons encourages consistent use.
Materials: Greens and Browns
Compost needs a balance of nitrogen-rich “greens” and carbon-rich “browns”. Greens are wet and soft; browns are dry and structural.
Common greens: fruit and vegetable scraps, coffee grounds, fresh grass clippings. Common browns: dry leaves, shredded paper, cardboard, straw.
Simple Ratios and Examples
A common practical ratio is roughly 1 part greens to 2–3 parts browns by volume. When in doubt, add more browns to reduce odor and speed up decomposition.
- Kitchen scrap batch: 1 part vegetable peels + 2 parts shredded cardboard.
- Lawn cleanup: mix grass clippings with fallen leaves in alternating layers.
- Apartment option: worm bin with food scraps and shredded paper bedding.
Moisture and Aeration: Key to Fast Compost
Compost should feel like a wrung-out sponge: moist but not dripping. Too dry slows decomposition; too wet causes odor and anaerobic conditions.
Turn or aerate the pile regularly to introduce oxygen. Tumblers make turning easy; open bins benefit from a pitchfork or compost aerator tool.
Practical Maintenance Schedule
For active hot composting: turn the pile every 3–7 days and monitor moisture. For low-maintenance piles, turn every 2–4 weeks.
Adjust water after dry spells or heavy rains. Covering the pile during prolonged rain helps maintain balance.
What Not to Compost
Avoid adding meat, dairy, oily foods, diseased plants, or pet waste to a typical home compost bin. These items attract pests and can introduce pathogens.
Also avoid large woody branches that decompose slowly; shred or chip them first if you want to compost them faster.
Troubleshooting Common Problems
Bad smell: usually from too much green or excess moisture. Add browns, turn the pile, and increase aeration.
Slow breakdown: pile might be too cold or dry. Add nitrogen-rich greens, chop materials into smaller pieces, and keep the pile moist.
Pests: avoid meat and oily foods, use a closed bin or cover food scraps with browns. Use a secure lid for outdoor bins if rodents are a concern.
Harvesting and Using Finished Compost
Compost is ready when it is dark, crumbly, and earthy-smelling, usually after 2–12 months depending on method and care. Sift before use for a fine texture.
Use finished compost as a soil conditioner, mulch, or potting mix ingredient. Apply a 1–2 inch layer to garden beds or mix into potting soil to boost nutrients and water retention.
Small Case Study: Balcony Vermicompost for an Apartment Garden
Maria, a city renter, started a small worm bin on her balcony to reduce kitchen waste. She used shredded newspaper for bedding and added modest amounts of fruit and vegetable scraps three times a week.
Within four months she harvested rich worm castings and used them to grow herbs and lettuce in containers. Her bin required minimal space and produced no odors when managed correctly.
Composting can reduce household waste volume by up to 30 percent and return nutrients to your garden as a natural fertilizer.
Practical Tips for Long-Term Success
- Keep a small compost caddy in the kitchen to collect scraps and empty it daily.
- Chop or shred materials to speed decomposition and reduce turning effort.
- Record simple notes on pile temperature and appearance to learn what works in your climate.
- Start small and scale up as you become comfortable with the process.
Final Checklist for Beginners
- Choose the right bin for your space (tumbler, bin, or worm crate).
- Balance greens and browns; aim for 1:2 ratio.
- Maintain moisture like a wrung-out sponge and aerate regularly.
- Avoid meat, dairy, and diseased plants.
- Harvest and use compost after it becomes dark and crumbly.
Home composting is a practical, low-cost way to reduce waste and improve soil health. With basic equipment and small routine actions, composting for beginners becomes a sustainable habit that benefits both your garden and the environment.