
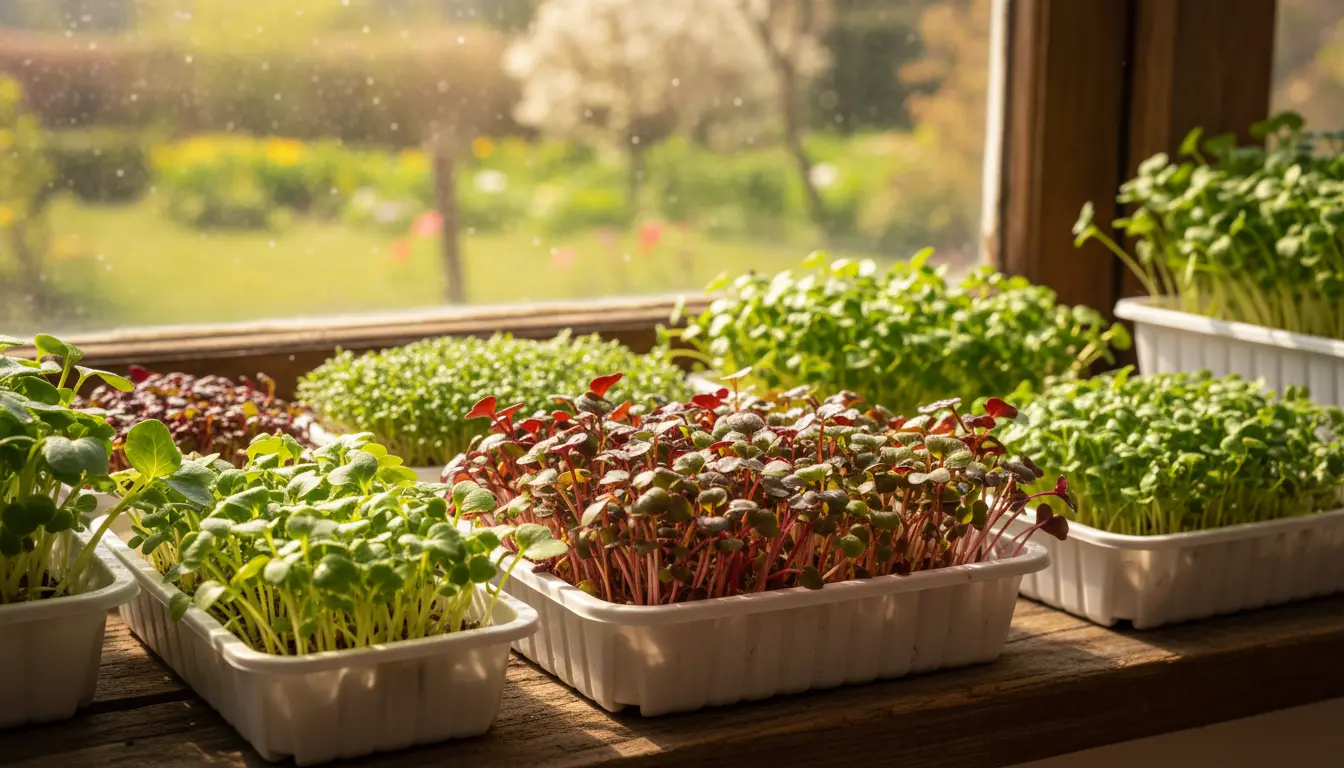
Why grow microgreens at home
Microgreens are young vegetable greens harvested after the first leaves develop. They are quick, nutritious, and fit small spaces like windowsills or countertops.
Growing microgreens at home is practical for fresh flavor, extra vitamins, or a small business. The setup is low cost and returns harvests in 7–21 days depending on the crop.
Basic supplies to grow microgreens at home
Start with simple supplies you can source locally or online. Minimal initial investment lowers risk and helps you learn faster.
- Shallow trays or seedling flats with drainage (10 x 20 inches is common)
- Growing medium: coconut coir, potting mix, or hydroponic mat
- High-quality seeds labeled for microgreens (radish, pea, sunflower, basil are good starters)
- Spray bottle for gentle watering
- Grow light (LED) if natural light is limited
- pH-neutral water and a small thermometer
Step-by-step: How to grow microgreens at home
Follow these steps for a reliable first harvest. Keep tasks short and consistent to avoid common mistakes.
1. Prepare the tray and medium
Fill the tray with 1 to 1.5 inches of your chosen growing medium. Level it and gently firm the surface to create even seed contact.
2. Sow seeds evenly
Broadcast seeds across the surface for even coverage. For larger seeds (pea, sunflower) use a lighter seeding rate than for tiny seeds (arugula).
- Light seeds: sprinkle thinly and aim for full but not overlapping coverage.
- Large seeds: place closer together but not piled.
3. Water and cover
Mist seeds with water until the medium is evenly damp but not waterlogged. Cover the tray with another tray, a lid, or a dark cloth for 2–4 days to encourage uniform germination.
4. Provide light and ventilation
Once sprouts appear, move the tray into light. If using a grow light, keep it 2–6 inches above the greens and run it 12–16 hours daily. Good airflow reduces disease risk.
5. Watering routine
Water from below if trays have drainage, or mist from above once seedlings develop leaves. Avoid heavy overhead watering that compacts the medium and damages delicate stems.
6. Harvesting microgreens
Most microgreens are ready when the first true leaves appear, usually 7–21 days after sowing. Cut just above the soil line with sharp scissors.
- Harvest in the morning for best flavor and shelf life.
- Use plastic clamshells or small containers for storage; refrigerate and use within 7–10 days.
Crop choices and timing to grow microgreens at home
Different seeds have different flavors, textures, and harvest times. Choose 2–4 varieties to rotate for variety and continuous harvest.
- Fast (7–10 days): radish, arugula, mustard
- Medium (10–14 days): kale, beet, basil
- Slow (14–21 days): pea, sunflower
Common problems and quick fixes when you grow microgreens at home
Issues are easy to fix with observation. Small changes in light, water, or airflow solve most problems.
- Mold: reduce humidity, increase airflow, avoid overwatering
- Leggy stems: move light closer and lengthen light hours
- Slow germination: check seed age and maintain consistent moisture
Small real-world example: Case study of a windowsill microgreens setup
Maria, a city renter, set up microgreens on a south-facing windowsill to supplement cooking greens. Her initial investment was modest and she tracked time and yield for four weeks.
- Initial cost: $30 for trays and medium, $15 for 10 seed packs
- Grow method: two 10×20 trays rotated every week
- Yield: about 2 pounds of mixed microgreens per month
- Use: fresh salads, garnishes, weekly meals; occasional local sales to neighbors
Results: Maria recovered the initial cost within 6 weeks by using fewer store-bought herbs and selling small clamshells to neighbors. She recommends starting with radish and sunflower for quick wins.
Practical tips to scale or sell microgreens
If you plan to expand, standardize trays, label sowing dates, and record yields. Consistency helps with predictability and quality control.
- Keep a planting calendar to stagger sowing and maintain continuous harvests.
- Use meal-prep containers for small sales and local markets.
- Track costs: seeds, medium, utilities, and labor to set fair pricing.
Final checklist to grow microgreens at home
- Tray and medium ready
- Seeds chosen and labeled
- Light source set and timer programmed
- Watering and harvest schedule in place
With a simple routine and small space, anyone can reliably grow microgreens at home. Start small, record results, and adjust by crop and conditions.