
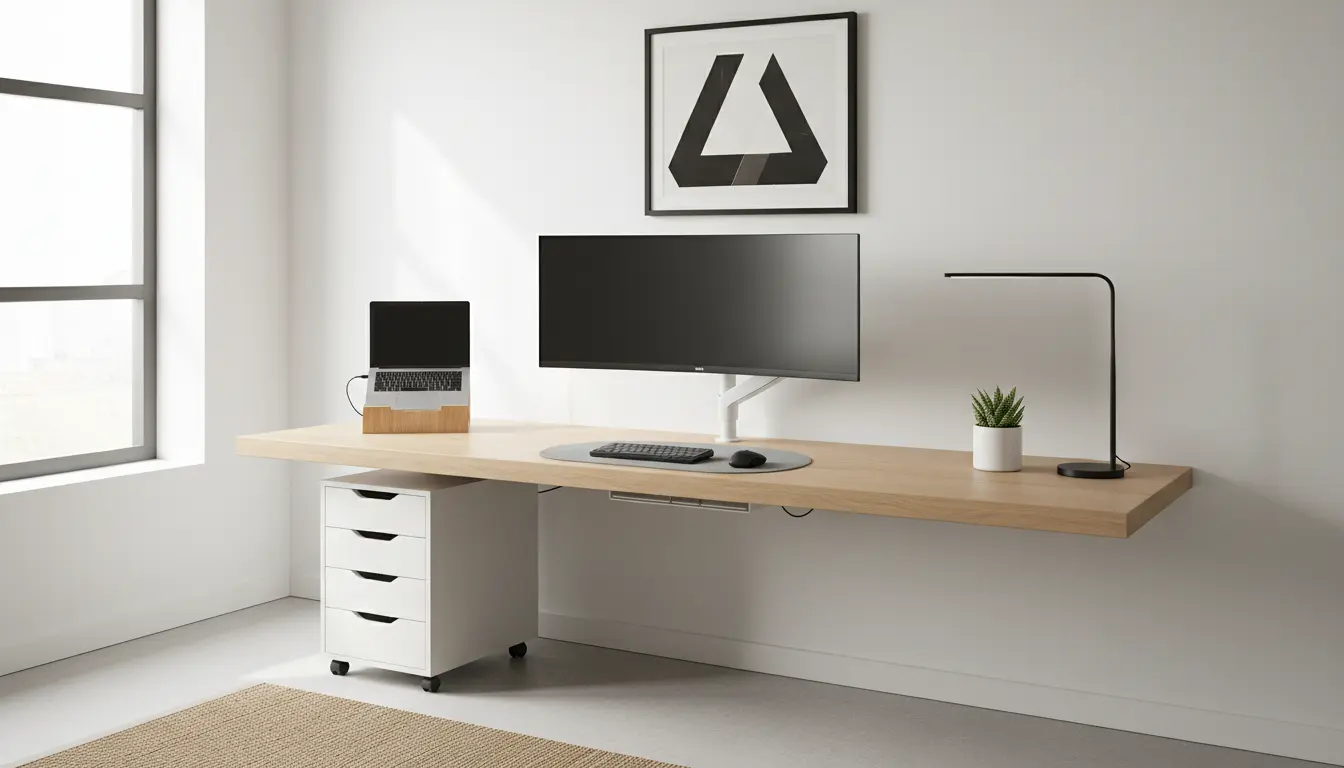
Why an Ergonomic Desk Setup Matters
An ergonomic desk setup reduces strain and improves comfort during long work sessions. Small adjustments can prevent neck pain, back pain, and repetitive strain injuries.
This guide gives practical steps to set up your home office for better posture and sustained focus. Use the checklists and the short exercises to maintain comfort throughout the day.
Basic Principles of an Ergonomic Desk Setup
Ergonomics focuses on aligning your body with your tools to reduce stress on muscles and joints. The three core areas are posture, alignment, and movement.
Keep a neutral spine, relaxed shoulders, and wrists in a natural position. Regular movement is part of a good setup, not a failure of it.
Work Triangle: Chair, Desk, Monitor
Place key items so you don’t overreach. The chair, desk, and monitor should form a comfortable working triangle.
Adjust each element so your eyes, hands, and feet are aligned with minimal strain.
Step-by-Step Ergonomic Desk Setup
1. Choose the Right Chair
Use an adjustable chair with lumbar support. The backrest should support the natural curve of your lower back.
Adjust the seat height so your feet rest flat on the floor and your knees are roughly level with your hips.
2. Desk Height and Clearance

Your desk height should allow elbows to be at 90 degrees when typing. For many people this is 25–30 inches, but individual needs vary.
Ensure adequate clearance under the desk for knees and feet. Avoid storing items that force you to sit forward.
3. Monitor Placement
Position the monitor directly in front of you, about an arm’s length away. The top of the screen should be at or slightly below eye level.
Use a monitor stand or adjustable arm to raise or lower the display as needed. Reduce glare with screen angle adjustments and proper lighting.
4. Keyboard and Mouse Position
Place the keyboard so your wrists remain straight and your forearms are parallel to the floor. Keep the mouse close to avoid reaching.
Consider a split or tented keyboard if you experience wrist discomfort. Use a mouse that fits your hand and supports a neutral wrist.
5. Lighting and Screen Glare
Use a mix of ambient and task lighting to avoid harsh shadows. Position light sources to the side of the monitor whenever possible.
Adjust monitor brightness and contrast to match room lighting. Consider an anti-glare screen if reflections persist.
6. Accessories That Help
- Footrest: For shorter users to maintain flat feet and hip alignment.
- Document holder: Keeps papers at screen height to avoid neck bending.
- Headset: Useful if you spend much time on calls to avoid cradling the phone.
Movement and Microbreaks
No setup eliminates the need to move. Schedule short breaks and vary your posture often to prevent stiffness.
Use a simple break routine: stand or walk for 1–2 minutes every 20–30 minutes and do light stretches hourly.
Quick Stretch Routine
- Shoulder rolls: 10 forward and 10 backward.
- Neck side bends: 5 reps each side, hold 10 seconds.
- Hamstring stretch: 20 seconds per leg while standing.
Common Problems and Simple Fixes
Troubleshoot discomfort with targeted changes rather than a full overhaul. Small tweaks often yield large benefits.
Problem: Neck Pain
Raise or lower the monitor so the top of the screen is at eye level. Check your chair back support and avoid leaning forward.
Problem: Wrist Pain
Lower the keyboard, use a negative-tilt tray, or try a split keyboard. Keep wrists straight and avoid resting them on hard surfaces while typing.
Real-World Example
Case Study: Sarah, a remote customer support specialist, experienced upper-back pain after long shifts. She adjusted her monitor height by 4 inches, switched to an adjustable chair with lumbar support, and added a footrest.
After two weeks she reported reduced pain and improved focus. She also set reminders to stand for two minutes every half hour, which helped energy levels across the day.
Checklist: One-Week Setup Plan
- Day 1: Adjust chair height and lumbar support.
- Day 2: Set monitor distance and height.
- Day 3: Position keyboard and mouse; test wrist comfort.
- Day 4: Improve lighting and reduce glare.
- Day 5: Add accessories (footrest, document holder if needed).
- Day 6: Implement microbreak schedule and stretches.
- Day 7: Review comfort and make fine adjustments.
Final Tips for an Ergonomic Desk Setup
Start with one change at a time and test for several days before making more adjustments. Comfort often comes from a combination of posture, equipment, and movement.
Keep a short log of pain or discomfort to identify patterns and guide corrections. Small, consistent improvements protect health and enhance productivity.