
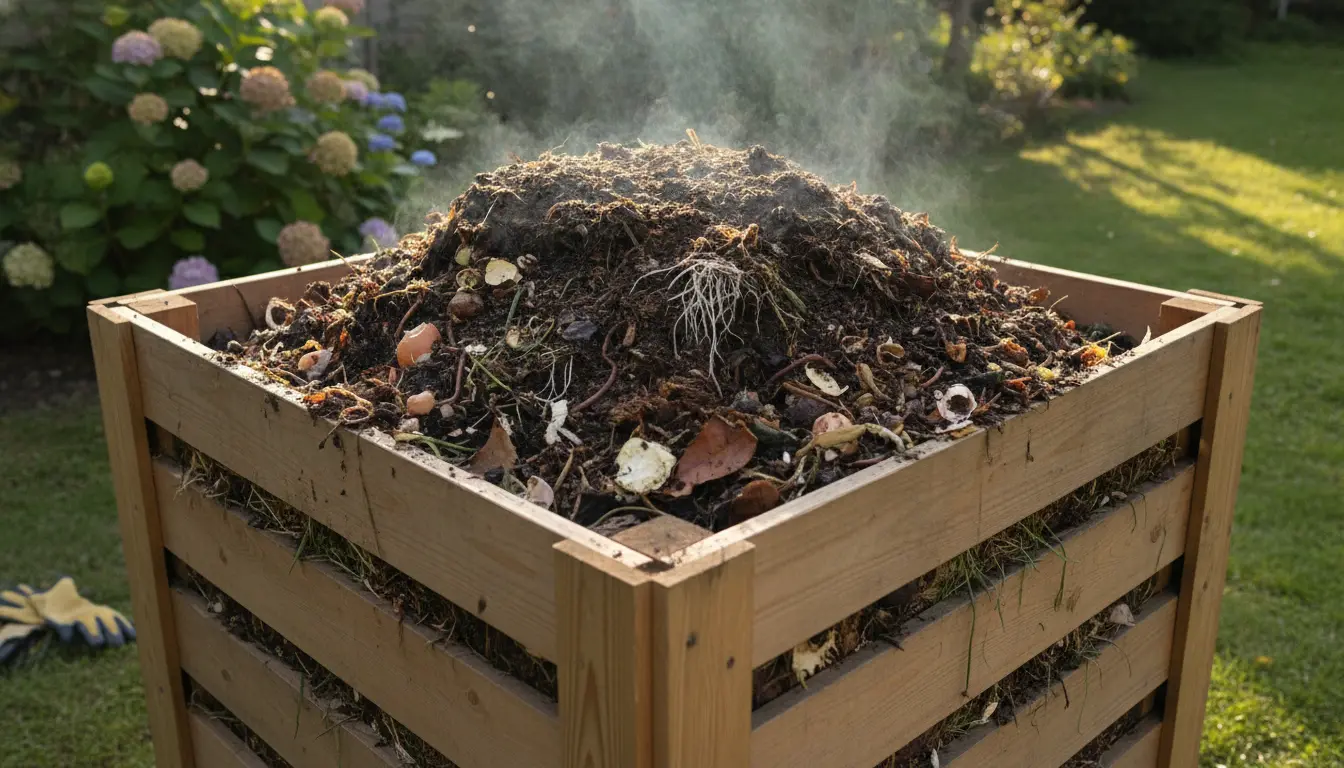
Home Composting Basics
Home composting turns kitchen and yard waste into soil-friendly compost. It reduces garbage, cuts methane from landfills, and feeds your garden naturally.
This guide covers easy, practical steps for beginners to start and maintain a compost bin at home. No special tools or prior experience required.
Choose the Right Compost Bin for Home Composting
Select a bin that fits your space and composting goals. Options include tumblers, stationary bins, and simple open piles.
Consider these factors when choosing:
- Available space — balcony, small yard, or garage.
- Volume of waste — how much kitchen and yard waste you produce.
- Ease of turning — tumblers are easier to turn than piles.
- Pest control — closed bins reduce rodents and flies.
Composting Materials: What to Add
Home composting requires a balance of ‘greens’ and ‘browns’. Greens add nitrogen and moisture, while browns provide carbon and structure.
- Greens: fruit and vegetable scraps, coffee grounds, fresh grass clippings.
- Browns: dry leaves, shredded paper, cardboard, straw.
- Do not add: meat, dairy, fats, pet waste, or diseased plants.
How to Start a Compost Pile at Home
Start small and layer materials. A simple method is alternating browns and greens in 2–4 inch layers.
Steps to follow:
- Place coarse browns at the bottom for airflow.
- Add a layer of greens, then more browns.
- Keep compost moist like a wrung-out sponge.
- Turn or mix every 1–2 weeks to add oxygen.
Home Composting Temperatures and Timing
Compost can be cold (slow) or hot (fast). Hot composting reaches 130–160°F and breaks down material in weeks. Cold composting may take months to a year.
For beginners, aim for consistent turning and a good greens-to-browns ratio to speed decomposition.
Compost can reduce household waste by up to 30 percent when food scraps and yard trimmings are diverted from trash.
Maintain Your Home Compost
Maintenance is mostly about moisture, mixing, and feeding the pile the right materials. Regular attention prevents odors and pests.
Routine checklist:
- Moisture: Check weekly; add water if dry or add browns if too wet.
- Air: Turn the pile every 1–2 weeks to supply oxygen to microbes.
- Feed: Add a mix of greens and browns rather than only one type.
Troubleshooting Common Issues
Problems are usually fixable with small changes. Check these quick fixes:
- Bad smell — add more browns and turn the pile to add air.
- Fruit flies — bury food scraps under browns and keep the bin covered.
- Slow breakdown — chop materials smaller and increase greens for warmth.
Using Finished Home Compost
Finished compost looks dark, crumbly, and earthy-smelling. It should not have identifiable food scraps.
Use finished compost as:
- Soil amendment: mix into garden beds to improve structure and nutrients.
- Mulch: spread a thin layer on top of soil to retain moisture.
- Potting mix component: blend with soil and sand for container plants.
Small Real-World Example: A Family Case Study
A family of four started home composting in a 50-gallon tumbler. They added kitchen scraps and yard trimmings, turning the tumbler twice weekly.
After six months they produced about 120 liters of compost and reduced their weekly kitchen trash by roughly 60 percent. Their garden yield improved after adding a 2-inch layer of compost to vegetable beds in spring.
Tips to Succeed with Home Composting
- Keep a small counter bin for scraps to make daily collecting easy.
- Chop larger materials so they break down faster.
- Record what you add and how often you turn to learn what works.
- If space is limited, consider vermicomposting with worms indoors.
Safety and Local Rules
Check local regulations before starting, especially in apartments or areas with rules about composting. Always avoid composting pet waste or hazardous materials.
Home composting is a low-cost, practical way to cut waste and improve soil. Start simple, learn the balance between greens and browns, and adjust as you go.