
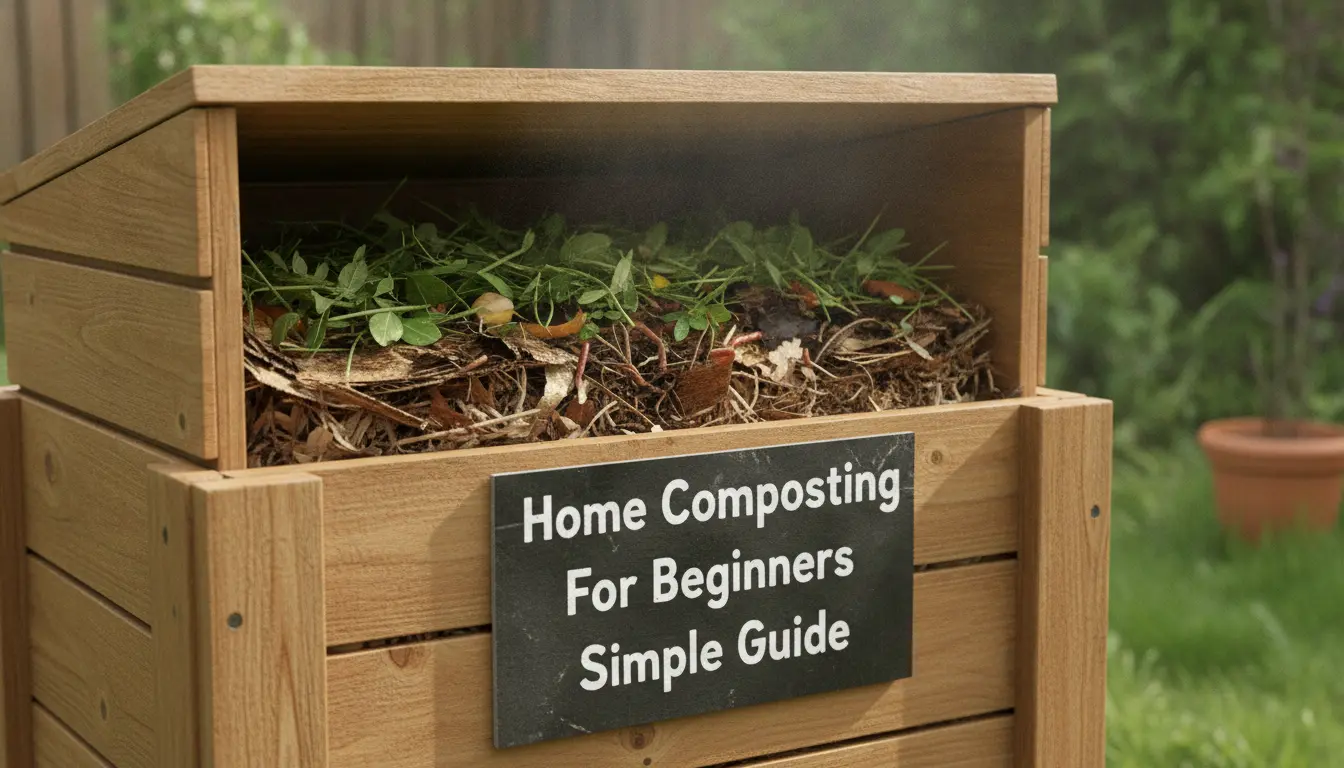
Composting at home turns kitchen scraps and yard waste into nutrient-rich soil. This guide gives clear, practical steps for home composting for beginners so you can start confidently.
How Home Composting Works for Beginners
Composting is a natural process where microbes break down organic material into humus. The goal is to balance carbon rich “browns” and nitrogen rich “greens” and keep the pile moist and aerated.
For beginners, focus on a simple system: a small bin, a mix of materials, and weekly turning. That minimal routine prevents odors and speeds decomposition.
Key Components of Home Composting for Beginners
Start with these basic elements to make successful compost:
- Browns: Dry leaves, shredded paper, straw — add bulk and carbon.
- Greens: Vegetable scraps, coffee grounds, fresh grass clippings — provide nitrogen.
- Air: Microbes need oxygen. Turning or aerating keeps the pile active.
- Moisture: The pile should be as damp as a wrung-out sponge.
Choosing a Compost Bin for Home Composting for Beginners
Pick a bin that fits your space and budget. Options include tumblers, stationary bins, or DIY wooden enclosures.
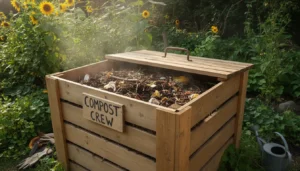
Tumblers are beginner-friendly because they make turning easy. Stationary bins work well if you can manually turn the pile with a pitchfork.
Place the bin on soil if possible to allow worms and microbes in. If you live in an apartment, consider a worm bin (vermicomposting) or a compact indoor bokashi system.
Step-by-Step Home Composting for Beginners
Follow these steps to build a reliable compost habit. Each step is simple and repeatable.
- Start your bin: Place a 10–12 inch layer of coarse browns at the bottom for air flow.
- Add materials in layers: Alternate greens and browns. Aim for roughly 2:1 browns to greens by volume.
- Moisturize: Sprinkle water after adding dry layers to reach damp-sponge consistency.
- Turn the pile: Every 1–2 weeks, mix the material to introduce oxygen and speed breakdown.
- Monitor: Check temperature (warm center is good), moisture, and smell. Adjust materials as needed.
- Harvest: When material is dark and crumbly, use it in beds, pots, or as mulch.
What to Include and What to Avoid
Knowing what to add helps beginners avoid common mistakes.
- Include: fruit and vegetable peels, coffee grounds, eggshells, yard trimmings, shredded paper.
- Avoid: meat, dairy, greasy foods, diseased plants, pet waste (can attract pests or pathogens).
- Chop large items to speed decomposition and maintain even moisture.
Common Problems and Quick Fixes for Home Composting for Beginners
Beginners often face a few recurring issues. Most have easy fixes.
- Bad smell: Add more browns and turn the pile to add air.
- Too dry: Sprinkle water and mix; cover the top to retain moisture.
- Slow breakdown: Chop materials smaller, add greens for nitrogen, and increase turning frequency.
- Pests: Avoid adding meat and bury food scraps in the center of the pile.
Timeframe to Finished Compost
Compost can take 2 months to 1 year depending on system, materials, and care. Hot, frequently turned piles finish faster.
Vermicompost (using worms) can produce usable castings in as little as 2–3 months under ideal conditions.
Small Real-World Example: A Balcony Compost Case Study
Maria lives in a two-bedroom apartment and started a worm bin on her balcony. She used a 10-gallon container with bedding made from shredded newspaper and kitchen scraps.
After three months, her worm bin produced about 8 liters of dark castings. She mixed the castings into potted plants, which improved growth and reduced fertilizer use.
Her routine was simple: add scraps every 2–3 days, check moisture weekly, and harvest every 3 months. This small system diverted around 120 pounds of food waste in the first year.
Practical Tips to Keep Going
Consistency beats perfection. Add a small amount of waste regularly rather than saving up large quantities.
Label a kitchen container for scraps and empty it into the bin daily. Keep a small bag of dry browns nearby for quick layering.
Test your soil: finished compost should smell earthy, be dark brown, and crumble easily. If it looks raw or smells sour, give it more time and aeration.
Home composting for beginners becomes easier with a simple routine and attention to balance. Start small, observe, and adjust.