
Why Grow Microgreens at Home
Microgreens are young vegetable and herb seedlings harvested after the first true leaves form. They are nutrient-dense, fast to grow, and fit small spaces, so they are ideal for beginners and apartment growers.
Growing microgreens at home reduces grocery trips and gives you fresh greens for salads, sandwiches, and garnishes in as little as 7–21 days.
Basic Equipment to Grow Microgreens at Home
You do not need expensive gear. Start with a few basic items and upgrade as you learn.
- Shallow growing trays (with drainage) or seed flats
- Potting mix or seed-starting mix, or hydro mats for soilless grows
- Seeds labeled for microgreens or untreated culinary seeds
- A spray bottle for gentle watering
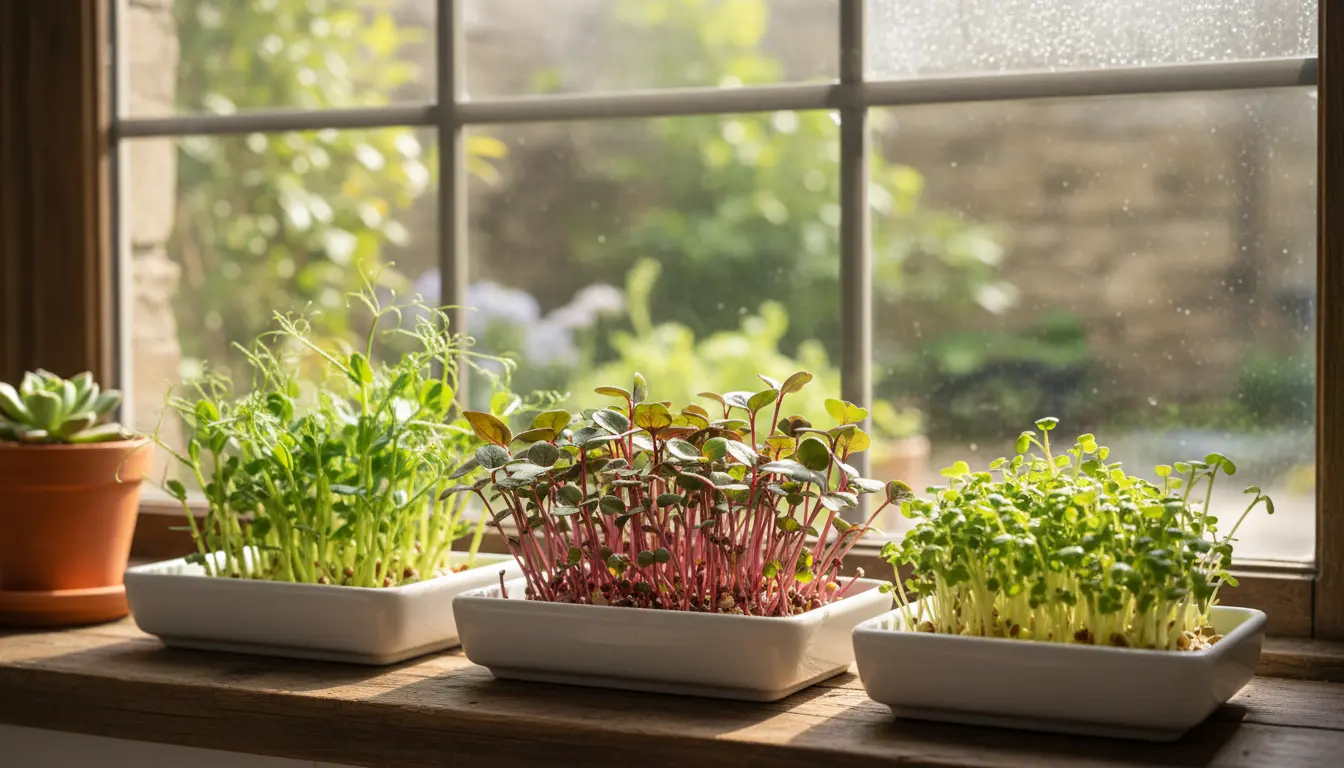
- Grow light or a bright sunny windowsill
Choosing Seeds to Grow Microgreens at Home
Select seeds that are commonly grown as microgreens: radish, mustard, arugula, sunflower, pea, basil, cilantro, and beet. Avoid seeds treated with fungicides or coated with chemicals.
Start with one or two easy varieties like radish or sunflower to build confidence.
Step-by-Step Process to Grow Microgreens at Home
The basic workflow is straightforward: prepare, sow, cover, water, provide light, and harvest.
1. Prepare the Tray and Medium
Fill your tray with 1–1.5 inches of moistened potting mix. If you use a hydroponic mat, cut it to fit and dampen thoroughly.
Level the surface so seeds sit uniformly—this helps even sprouting.
2. Sow Seeds
Sow seeds evenly across the tray. For microgreens, higher density is common: seeds can be close but not piled on top of each other.
Use roughly 5–12 grams of seed per 10×20-inch tray depending on seed size. Label the tray with seed type and sow date.
3. Cover and Germinate
Cover the tray with another tray, a lid, or a dark cardboard layer to create humidity and promote even germination. Keep covered for 2–4 days depending on the variety.
Check daily and mist to maintain moisture. Remove the cover once most seeds show green sprouts.
4. Light and Water
Place trays under a grow light or on a sunny windowsill with bright indirect light. Most microgreens do best with 12–16 hours of light per day.
Water gently from the top with a spray bottle or by bottom-watering. Avoid waterlogging; drainage is important to prevent mold.
5. Harvesting
Microgreens are typically harvested when the first true leaves appear, usually 7–21 days after sowing. Use clean scissors to cut just above the soil line.
Harvest in the morning for the freshest flavor and highest moisture content.
Pest, Disease, and Quality Tips
Mold is the most common issue in dense trays. Prevent it by ensuring good airflow and avoiding overwatering.
- Use clean trays and fresh soil each cycle
- Provide a small fan for airflow in cramped spaces
- Discard any trays with persistent foul odor or slimy growth
Storage and Use
After harvesting, rinse lightly and spin or pat dry. Store microgreens in a breathable container or a paper-towel-lined airtight box in the fridge for up to 7 days.
Use them raw as garnishes, in salads, or blended into pestos for concentrated flavor and nutrition.
Microgreens can contain up to 40 times more vitamins and antioxidants by weight than their mature counterparts, depending on the variety.
Small Real-World Example
Case Study: Sarah, an apartment dweller, started growing radish and basil microgreens on a sunny shelf. She used one 10×20 tray and a basic LED grow light.
Within two weeks she harvested 80 grams of mixed microgreens, enough for several salads and to top sandwiches for her family. The initial cost for trays and seeds paid back in saved grocery purchases in three months.
Common Mistakes When You Grow Microgreens at Home
Avoid these pitfalls to improve success and yield.
- Overcrowding trays so air cannot circulate
- Using treated seeds that reduce germination or safety
- Keeping trays too wet, leading to mold
- Insufficient light causing leggy, weak growth
Quick Schedule Guide to Grow Microgreens at Home
- Day 0: Prepare tray and sow seeds
- Days 1–3: Keep covered and mist daily
- Days 4–7: Remove cover, provide light, water lightly
- Days 7–21: Harvest when first true leaves appear
Final Tips and Next Steps
Start small, track each variety’s timing, and adjust watering and light based on results. Over time you can expand to multiple trays and try specialty seeds like cilantro or mizuna.
Growing microgreens at home is low-risk and fast; it’s a great way to add fresh nutrients to meals and learn indoor gardening techniques that scale well.