
Why Start a Vegetable Garden at Home
Starting a vegetable garden brings fresh food, lower grocery bills, and a hobby that improves wellbeing. It also lets you control soil quality, pesticide use, and harvest timing.
How to Start a Vegetable Garden: Quick Overview
Before digging, plan layout, choose easy crops, and test sunlight. A simple plan reduces wasted time and resources and increases early success.

Most vegetable crops need at least 6 hours of direct sunlight daily to produce well. Leafy greens can tolerate a little less.
Step 1: Choose the Best Location for Your Vegetable Garden
Pick a spot with the most consistent sunlight, good drainage, and convenient access to water. Avoid low spots where water pools after rain.
Consider proximity to your kitchen for easy harvests and to increase the likelihood you’ll tend the garden regularly.
Sunlight and Shade
Observe the site at different times of day. Note where shadows fall and track hours of direct sun. Aim for 6–8 hours for sun-loving crops like tomatoes.
Soil and Drainage
Test drainage by digging a small hole and filling it with water. If the water drains within a few hours, drainage is adequate. If not, consider raised beds.
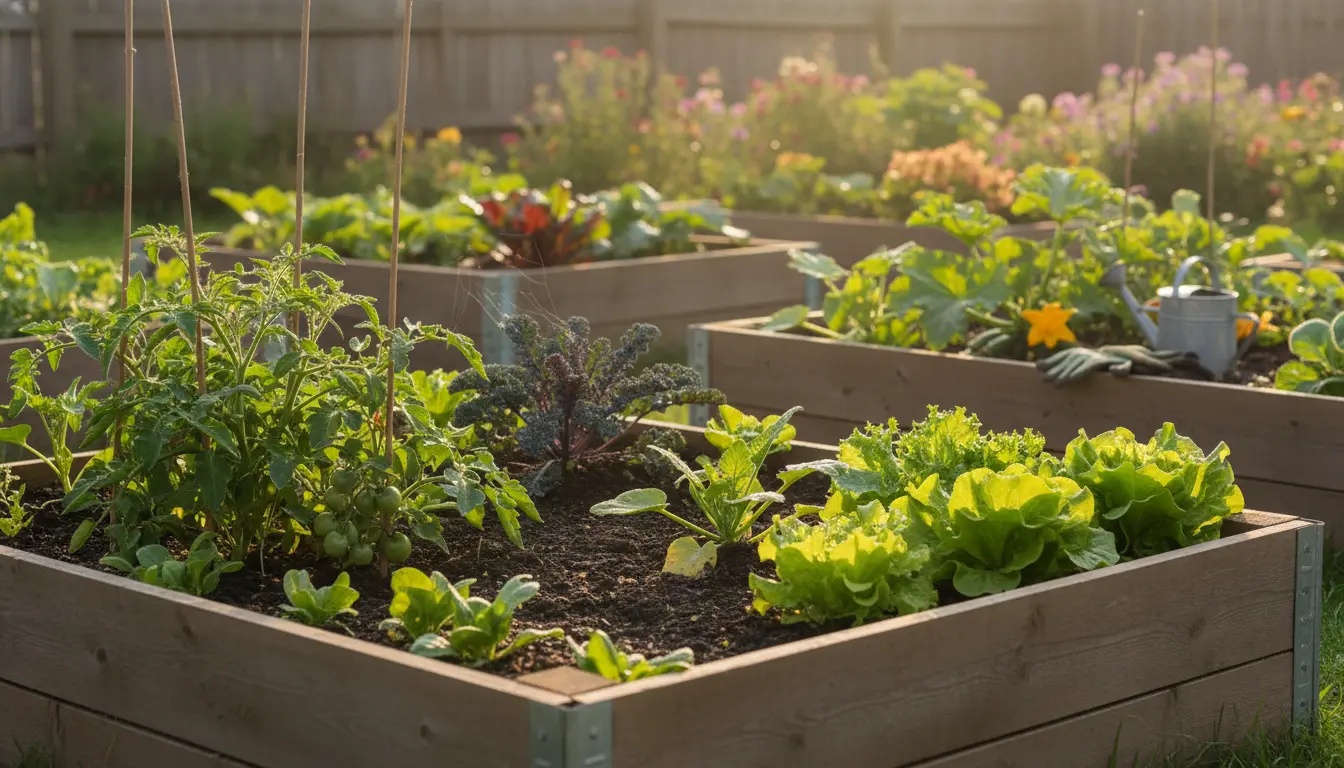
Step 2: Prepare Soil and Beds
Healthy soil is the foundation. Start by clearing grass or weeds and loosening the soil to 6–12 inches where possible.
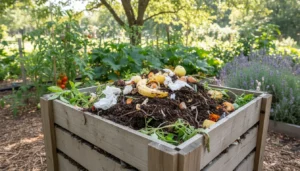
Amend soil with organic matter: compost, well-rotted manure, or leaf mold. This improves structure, nutrients, and moisture retention.
- Use a soil test kit to check pH and nutrient levels.
- Add lime if soil is very acidic, or sulfur if very alkaline—follow test recommendations.
- Mix 2–4 inches of compost into the topsoil for new beds.
Step 3: Choose Crops to Plant
Begin with easy, high-reward crops: lettuce, radishes, beans, cherry tomatoes, zucchini, and herbs. These mature quickly and tolerate common beginner mistakes.
Plan for Succession and Companion Planting
Stagger planting times to extend harvest. Pair compatible plants like basil with tomatoes to potentially improve flavor and deter pests.
Step 4: Planting and Spacing
Follow seed packet or plant label spacing instructions. Crowding reduces air flow and increases disease risk.
Use simple layouts: rows, square-foot gardening, or raised bed blocks. Mark rows with string or stakes for tidy planting.
Step 5: Watering and Mulching
Water deeply and infrequently to encourage strong root growth. Most vegetables need about 1 inch of water per week, more during heat waves.
- Water at the base of plants to keep leaves dry.
- Use drip irrigation or soaker hoses for efficiency.
- Apply 2–3 inches of organic mulch to conserve moisture and suppress weeds.
Step 6: Pest and Disease Management
Monitor plants weekly for signs of pests or disease. Early detection makes control easier and reduces crop loss.
Low-Impact Control Methods
Use hand-picking for large pests, sticky traps for flying insects, and row covers to protect young plants. Encourage beneficial insects with flowering herbs.
Harvesting and Maintenance
Harvest regularly to encourage more production. Pick vegetables at peak ripeness according to the variety’s guidance.
Keep beds weeded, rotate crops each season, and add compost yearly to maintain fertility.
Simple Tools You Need
- Hand trowel and garden fork
- Watering can or hose with shutoff
- Pruners and gloves
- Soil test kit and compost
Common Beginner Mistakes and How to Avoid Them
- Planting too densely — follow spacing guidelines.
- Overwatering — check soil moisture before watering.
- Skipping soil improvement — add compost before planting.
- Ignoring local climate — choose varieties adapted to your zone.
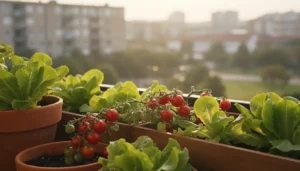
Real-World Example: Small Raised Bed Success
Case study: Maria, a city renter, converted a 6×4 foot balcony into a productive vegetable space. She used two 4×2 raised beds filled with a mix of garden soil and compost.
Maria planted cherry tomatoes, lettuce, bush beans, and basil. She installed a simple drip line and mulched beds. In the first season she harvested lettuce every week and picked tomatoes for three months.
Key takeaways from Maria: start small, use containers or raised beds if ground soil is poor, and water consistently.
Seasonal Tips
- Spring — start seeds indoors for a head start on tomatoes and peppers.
- Summer — mulch and water deeply; shade young plants during heat spikes.
- Fall — plant cool-season crops like kale and spinach; add compost when clearing beds.
Final Checklist to Start a Vegetable Garden
- Choose sunny, well-drained location
- Prepare soil with compost and test pH
- Select easy crops and plan spacing
- Set up watering and mulch beds
- Monitor and manage pests early
Starting a vegetable garden is a manageable project if you plan, choose the right site, and focus on soil health. Small, consistent efforts yield steady harvests and growing experience.