
Why a Kitchen Herb Garden Works
A kitchen herb garden brings fresh flavor to meals and saves money on store-bought herbs. It also fits small spaces and adds greenery to a windowsill or counter.
This guide covers the practical steps to start, maintain, and harvest a healthy kitchen herb garden for beginners.
Choose the Right Herbs for a Kitchen Herb Garden
Select herbs that match your cooking and light conditions. Start with easy, low-maintenance varieties to build confidence.
- Basil — Good for sunny spots and frequent harvesting.
- Parsley — Tolerates moderate light and regular cutting.
- Chives — Hardy in partial sun and useful fresh or cooked.
- Mint — Vigorous grower; keep in its own pot to avoid spreading.
- Thyme and rosemary — Prefer bright light and drier soil.
Essential Tools and Supplies for a Kitchen Herb Garden
You do not need many tools to begin. Focus on proper containers, soil, and drainage for healthy plants.
- Containers with drainage holes (pots or a window planter).
- Quality potting mix formulated for herbs or vegetables.
- A small hand trowel and pruning shears or scissors.
- A spray bottle for misting and a watering can for even watering.
Container Tips for a Kitchen Herb Garden
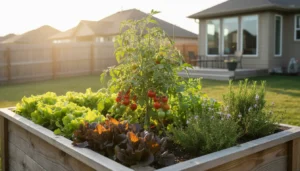
Choose pots sized for the herb: 4–6 inches for small herbs, 8–12 inches for larger varieties. Proper drainage prevents root rot.

When using long window boxes, group herbs with similar water and light needs together to simplify care.
Positioning and Light Requirements
Most culinary herbs need 4–6 hours of direct or bright light to thrive. South- or west-facing windows provide the best natural light in many homes.
If natural light is limited, add a slim LED grow light above the pots. Place lights 6–12 inches above plants and run them 10–12 hours per day.
Soil, Watering, and Feeding
Use a well-draining potting mix with added perlite or coarse sand. Herbs do not like heavy, waterlogged soil.
Water when the top inch of soil feels dry. Water thoroughly until it drains from the bottom, then allow the soil to dry slightly before the next watering.
- Watering frequency: typically every 4–7 days depending on light and temperature.
- Fertilizing: use a balanced liquid fertilizer once a month during the growing season.
- Avoid overfeeding; too much nitrogen produces leggy, weak growth.
Common Problems and Simple Fixes
Yellow leaves often indicate overwatering; reduce frequency and improve drainage. Pale or stretched plants need more light.
Pests like aphids or spider mites are rare indoors but can be managed with a strong water spray or insecticidal soap applied to foliage.
Harvesting herbs regularly encourages bushier growth. Snipping the tips stimulates new stems and prevents flowering, which can reduce flavor.
Planting and Pruning Techniques for a Kitchen Herb Garden
Plant seedlings at the same depth they were in their nursery pots. Firm the soil gently and water in to settle roots.
Prune herbs by cutting stems just above a leaf node. Remove up to one-third of growth at a time to avoid shock.
- Pinch basil tops to prevent flowering and to encourage branching.
- Harvest parsley by cutting outer stems at the base to allow inner growth.
- Divide crowded pots every 12–18 months to refresh soil and reduce disease risk.
Harvesting and Storing Fresh Herbs
Harvest in the morning when oils are strongest for best flavor. Use sharp scissors to avoid tearing stems.
For short-term storage, wrap herbs in a damp paper towel and refrigerate in a plastic bag. For longer storage, chop and freeze in ice cube trays with olive oil.
Example Harvest Plan
Basil: harvest 1–2 times per week in warm months. Parsley: cut every 1–2 weeks. Chives: snip as needed for garnish.
Small Case Study: A Real Kitchen Herb Garden
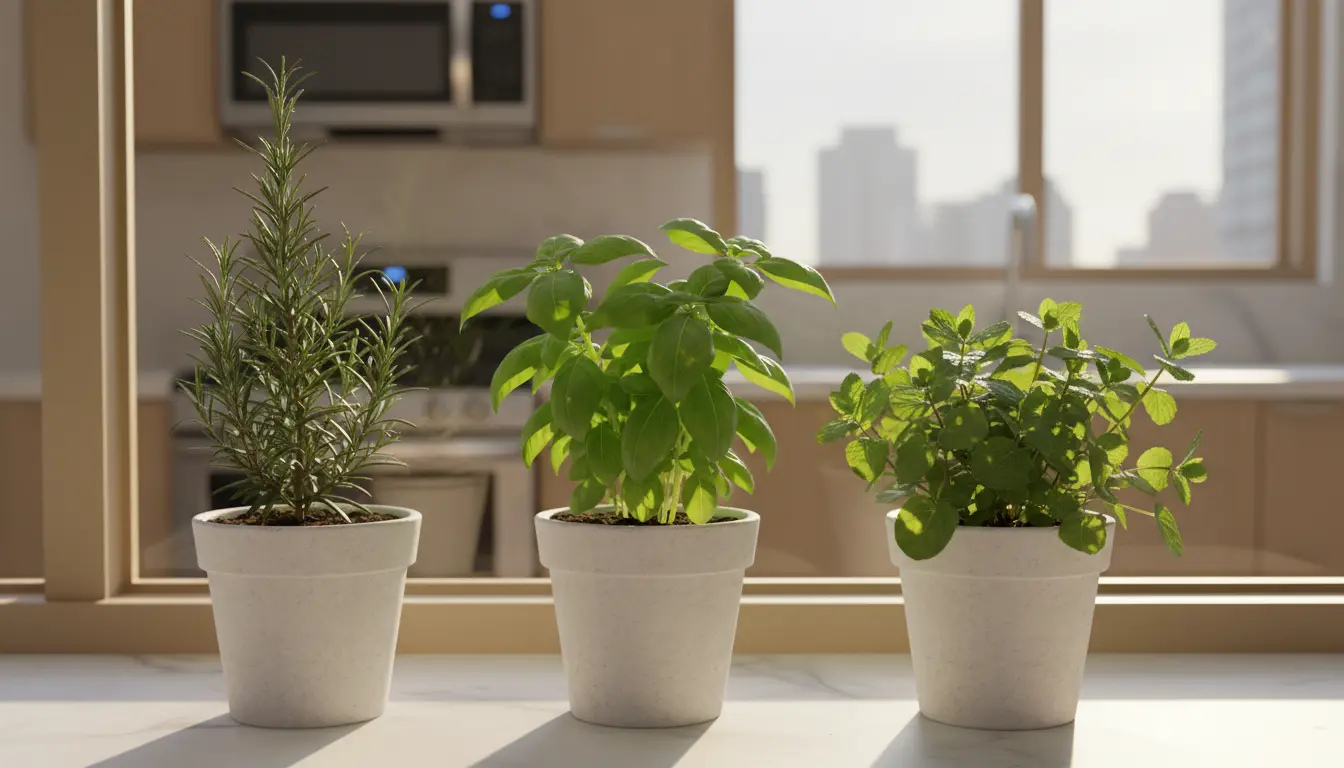
Sara, a renter in a small apartment, started a kitchen herb garden on her south-facing windowsill. She used three 6-inch pots for basil, parsley, and chives.
Within two months she harvested enough basil weekly for pesto and kept parsley fresh for salads. She added a small LED light for winter months and replaced soil after one season.
Her success showed that consistent light, moderate watering, and regular harvesting are the keys to a productive kitchen herb garden.
Quick Checklist to Start a Kitchen Herb Garden
- Pick 3–5 easy herbs that match your light.
- Buy pots with drainage and quality potting mix.
- Place pots in bright light or install a grow light.
- Water when topsoil is dry and fertilize monthly.
- Harvest regularly and prune to encourage growth.
Final Tips for Success with a Kitchen Herb Garden
Start small and learn each herb’s needs. Keep a simple journal recording watering, light, and harvest frequency to spot patterns and improve care.
With modest effort, a kitchen herb garden provides fresh flavor, decorative value, and a satisfying hobby that fits even the smallest spaces.