
Home composting turns kitchen scraps and yard waste into nutrient-rich soil for gardens and potted plants. This guide gives clear, practical steps to set up a compost system at home and keep it healthy all year.
Why Home Composting Matters
Home composting reduces household waste and lowers landfill burden. It returns organic matter to soil, improving structure and water retention.
Composting also saves money on fertilizer and creates a local source of soil amendment for gardens, lawns, and indoor plants.
How to Start Home Composting
Starting home composting is mostly about choosing the right system and learning to balance materials. Follow these actionable steps.
Choose a Compost Bin or Method
Pick a system that fits your space and lifestyle. Options include:
- Open pile for large yards and simple turning.
- Compost tumblers for faster mixing and easier turning.
- Worm bins (vermicomposting) for small kitchens and apartments.
- Cold composting in a bin for low-maintenance, slower results.
Select a bin with good drainage and access for turning or harvesting finished compost.
Pick a Location
Place your bin on bare soil if possible to allow worms and microbes to migrate in. Choose a level spot with partial sun and easy access.
A shady area helps prevent overheating in summer. For balconies or indoors, use a sealed container and vermicomposting setup.
Balance Greens and Browns
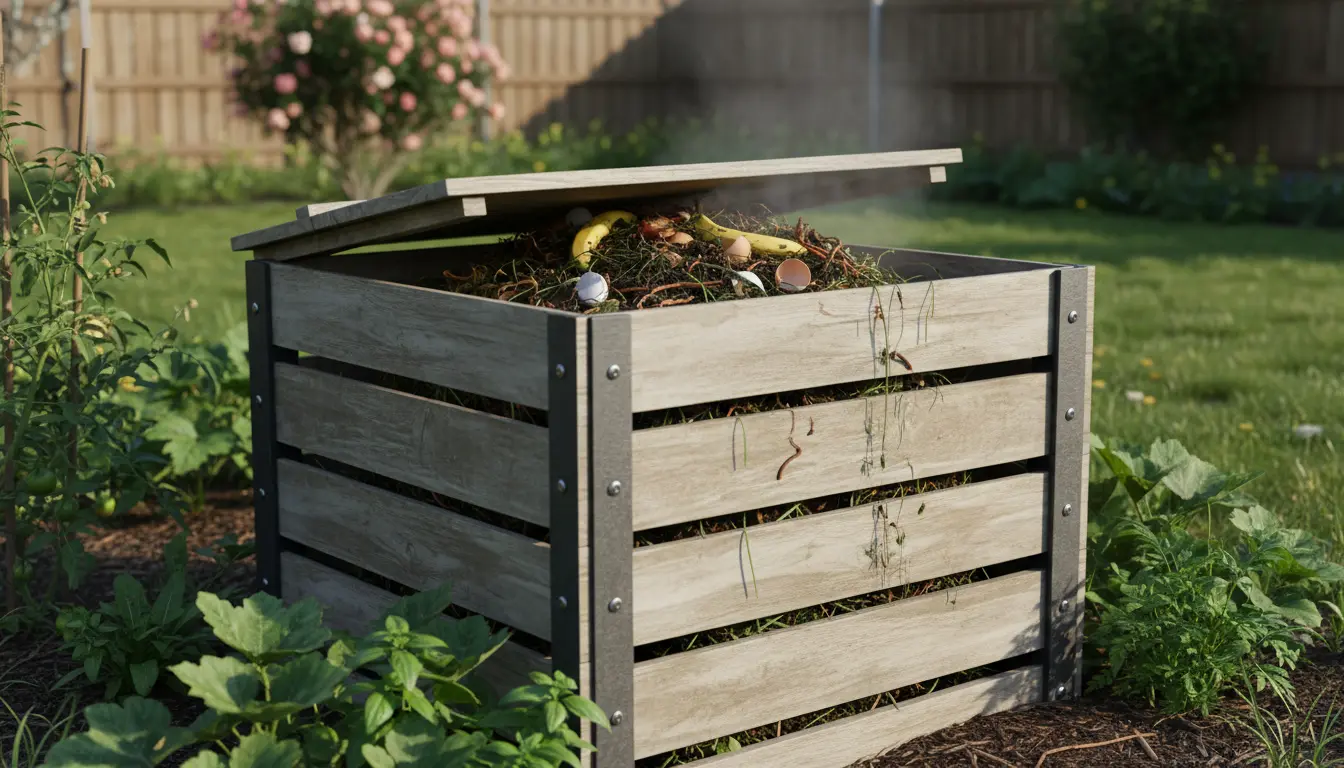
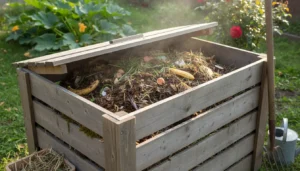
Healthy compost needs a balance of nitrogen-rich ‘greens’ and carbon-rich ‘browns’. Aim for a mix close to 30 parts carbon to 1 part nitrogen by weight, but practical guidance is easier:
- Greens: vegetable scraps, coffee grounds, fresh grass clippings, tea bags.
- Browns: dry leaves, shredded paper, cardboard, straw, small wood chips.
Layering helps: start with a layer of browns, add greens, and finish with another brown layer to reduce odors and flies.
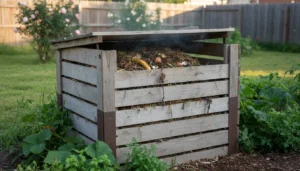
Maintain Your Compost
Key maintenance tasks are turning, moisture control, and monitoring temperature. Turn the pile every 1–2 weeks for hot composting; less often for cold methods.
Keep the pile moist like a wrung-out sponge. If it smells, add more browns and turn the pile. If it dries out, add water and cover during hot, dry weather.
Troubleshooting Common Issues
Problems are usually simple to fix:
- Bad odor: too wet or too many greens. Add browns and turn.
- Slow decomposition: insufficient nitrogen or no turning. Add greens and mix.
- Pests: avoid meat, dairy, oily foods; use a closed bin or bury scraps.
What You Can and Cannot Compost
Common acceptable items: fruit and vegetable scraps, coffee grounds, eggshells, yard waste, paper towels, and shredded paper.
Items to avoid in most home piles: meat, dairy, bones, diseased plants, and pet waste from carnivores. These attract pests or carry pathogens.
Compost Uses and Application
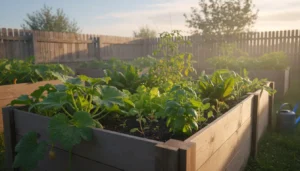
Finished compost looks dark and crumbly and smells earthy. Use it as:
- A soil amendment mixed into garden beds.
- A top dressing for lawns or potted plants.
- A component of potting mixes when well screened.
Apply 1–3 inches of compost to beds in spring or fall and lightly work it into the topsoil.
Small Real-World Example
Case study: A two-bedroom household in a suburban area switched to a 60-liter tumbler and vermicomposting for kitchen scraps. They collected food scraps in a countertop pail and emptied it into the tumbler twice a week.
Within six months they had enough compost to top-dress vegetable beds and potted herbs. They reported fewer trash pickups and saved on store-bought soil and fertilizer.
Quick Start Checklist for Home Composting
- Choose the right bin for your space (tumbler, open pile, worm bin).
- Find a level, accessible location with partial shade.
- Keep a steady mix of greens and browns; avoid prohibited items.
- Monitor moisture and turn the pile regularly.
- Harvest finished compost when it is dark and crumbly.
Home composting is flexible and scalable. Start small, learn from simple mistakes, and expand your system as you gain confidence. With basic care, you can turn household waste into a valuable resource for your garden.