
Composting at home reduces waste and creates nutrient-rich soil for gardens. This practical guide explains how to set up and maintain a home compost bin using simple tools and common household scraps.
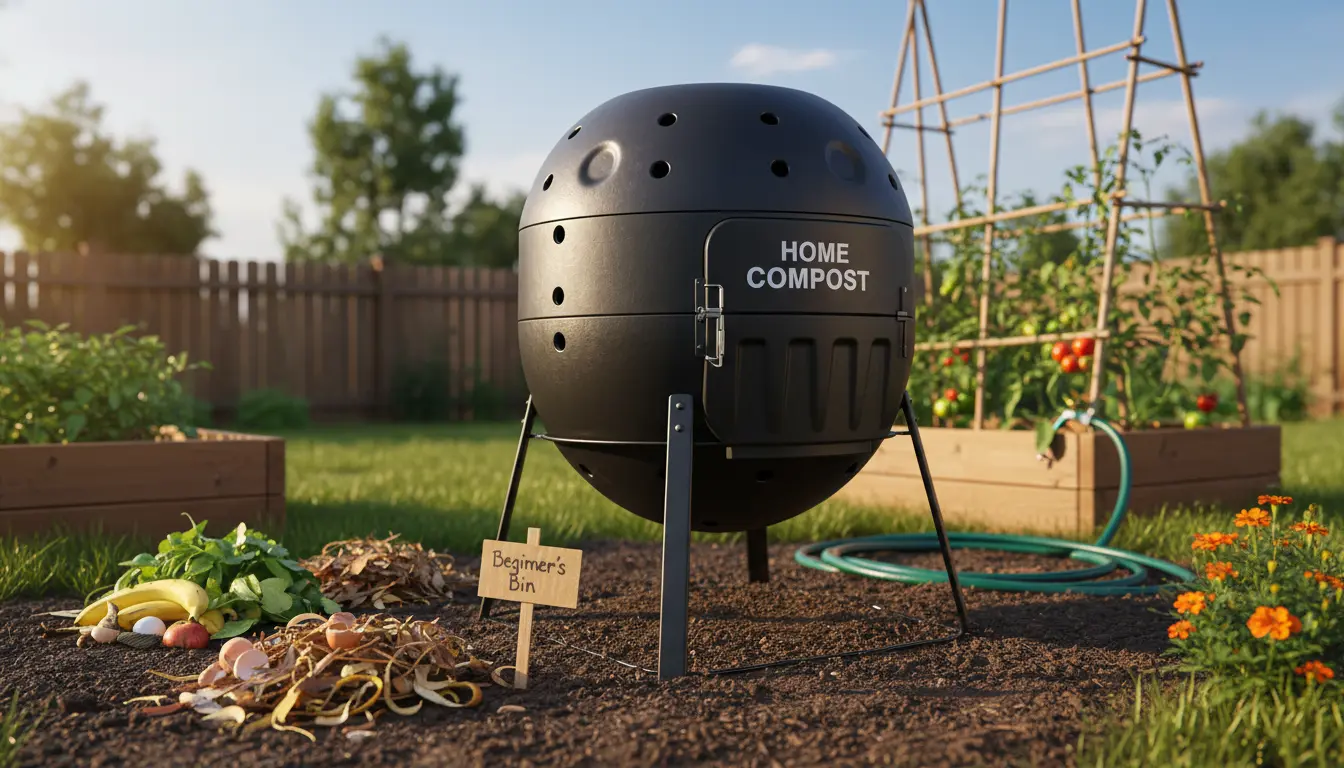
Why choose a home compost bin
A home compost bin keeps organic waste out of the trash and speeds up decomposition. It is a controlled way to make compost without taking too much space or time.
Benefits of a home compost bin
- Reduces home waste and landfill contributions.
- Produces soil amendment for potted plants and gardens.
- Can be simple and low-cost to manage.
What you need to start a home compost bin

Gather a few basic items before you begin. Many homes already have what they need.
- A bin or container with some ventilation and drainage.
- Kitchen scraps (greens) and yard waste (browns).
- A pitchfork or garden fork for turning the pile.
- A small outdoor space or a balcony corner for the bin.
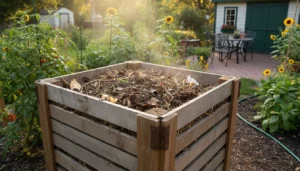
Choosing the right bin
Select a bin that fits your space and volume of waste. Options include a simple open pile, a plastic tumbler, or a wooden compost bin.
Consider these factors when choosing a bin:
- Size: 3x3x3 feet is ideal for most households but smaller options work for balconies.
- Access: Make sure you can turn or remove finished compost easily.
- Ventilation: Adequate air flow prevents odors and speeds decomposition.
How to build a balanced compost in your home compost bin

Compost works best when you balance greens (nitrogen) and browns (carbon). This balance helps microbes break material down efficiently.
What counts as greens and browns
- Greens: fruit and vegetable scraps, coffee grounds, fresh grass clippings.
- Browns: dry leaves, shredded paper, cardboard, straw.
Layering method for beginners
Start with a layer of coarse brown material at the bottom to help drainage. Alternate thin layers of greens and browns.
- Base: 2–4 inches of twigs or straw.
- Layer 1: 1–2 inches of kitchen greens.
- Layer 2: 2–3 inches of dry browns.
- Repeat until bin is filled to two-thirds capacity.
Maintenance tips for a healthy home compost bin
Routine care keeps the pile active and odor-free. These tasks take just a few minutes each week.
- Turn the pile every 1–2 weeks to add oxygen.
- Keep the pile as moist as a wrung-out sponge—add water if dry.
- Avoid adding meat, dairy, and oily foods that attract pests.
- Chop large items to speed decomposition.
Troubleshooting common issues
If your compost smells bad, add more browns and turn the pile. If decomposition is slow, chop materials finer and ensure the pile has enough moisture and heat.
Properly balanced compost can reach internal temperatures of 120–160°F (50–71°C), killing many weed seeds and pathogens. A smaller home pile may not get this hot, so avoid adding persistent weed roots or seeds.
Harvesting and using compost from your home compost bin
Finished compost looks dark, crumbly, and earthy. Sift or screen it if you prefer a finer texture for potting mixes.
Use finished compost as:
- Top dressing for lawns and garden beds.
- A soil amendment mixed into garden beds.
- Part of potting mixes for container plants.
How long does compost take?
Time to finish depends on materials and care. With regular turning and a good balance, expect usable compost in 2–4 months. Slower methods can take up to a year.
Small real-world example
Case study: A two-person household began using a 50-gallon tumbler and a kitchen scrap container. They collected fruit and vegetable scraps, coffee grounds, and yard leaves for six months. By month four they had enough compost to enrich three raised beds, which improved water retention and reduced store-bought fertilizer use.
Quick checklist to start your home compost bin
- Choose a bin that fits your space.
- Collect greens and browns separately.
- Layer materials and keep the pile moist.
- Turn regularly and monitor odors.
- Harvest when material is dark and crumbly.
Starting a home compost bin is a low-cost, practical way to recycle organic waste and support a healthier garden. With a simple setup and consistent maintenance, you can transform kitchen scraps into valuable soil in a few months.