
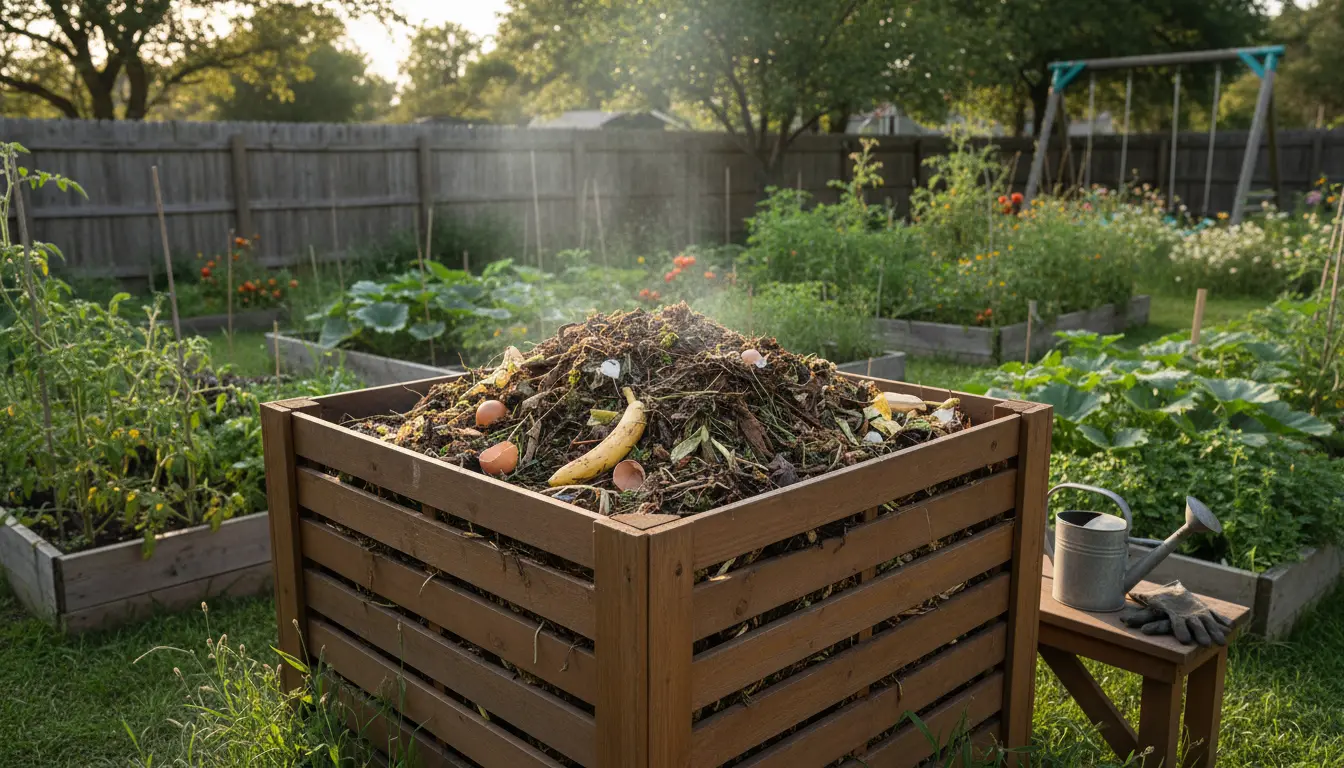
Composting at home turns food scraps and yard waste into a valuable soil amendment. A simple home compost bin reduces waste, improves garden soil, and saves money on fertilizers.
Why Choose a Home Compost Bin
A home compost bin concentrates heat and moisture to speed decomposition. It keeps the pile tidy and reduces pests when managed correctly.

Common benefits include less household trash, richer garden soil, and reduced need for chemical fertilizers.
Essential Materials for a Home Compost Bin
Begin with the right balance of materials and a suitable container. These choices affect how quickly and cleanly compost forms.
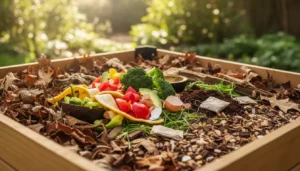
- Greens (nitrogen): fruit and vegetable scraps, coffee grounds, fresh grass clippings.
- Browns (carbon): dry leaves, shredded paper, straw, cardboard pieces.
- Water: keep the pile moist like a wrung-out sponge.
- A bin or tumbler: choose a size that fits your space—typically 50–100 gallons for most households.
How to Build a Home Compost Bin
Follow these steps to set up a reliable home compost bin that produces consistent results.
- Pick a dry, shaded spot with good drainage and easy access from the kitchen or garden.
- Place a 4–6 inch layer of coarse browns (twigs or straw) at the bottom for air circulation.
- Add alternating layers of greens and browns. Aim for roughly 2:1 or 3:1 brown to green by volume.
- Moisten each layer lightly. The mixture should feel damp but not dripping wet.
- Cover or close the bin to retain heat and moisture while keeping pests out.
Maintaining Your Home Compost Bin

Routine maintenance keeps your home compost bin active and odor-free. Simple checks a few times a week are enough.
- Turn or aerate every 1–2 weeks to introduce oxygen and speed decomposition.
- Monitor moisture: add water if dry, add dry browns if too wet.
- Chop or shred large items before adding to the bin to accelerate breakdown.
Turning Methods for a Home Compost Bin
How you turn depends on the container. Tumblers are turned easily; stationary bins need a pitchfork or compost aerator.
Turning helps reduce odors and prevents compacting, which can create anaerobic spots.
Troubleshooting a Home Compost Bin
Common problems are easy to solve once you know the signs. Address issues quickly to keep your bin productive.
- Bad smell: Usually too wet or too many greens. Add dry browns and turn frequently.
- Slow decomposition: Not enough nitrogen or oxygen. Add kitchen scraps and turn more often.
- Pests: Avoid meat, dairy, oily foods, and keep the bin closed. Bury kitchen scraps under browns.
How to Know When Compost Is Ready
Mature compost is dark, crumbly, and smells earthy. Depending on conditions, this can take 2–6 months.
Use finished compost to amend potting mixes, enrich garden beds, or as a mulch layer around plants.
Adding a handful of finished garden soil or mature compost to a new pile introduces beneficial microbes that speed up decomposition.
Small Real-World Case Study
Case: A small urban household with limited yard space converted kitchen scraps into compost using a 55-gallon tumbler.
They layered shredded newspaper and dry leaves with kitchen waste, turned the tumbler weekly, and maintained moisture. After four months they produced enough compost to top-dress potted vegetables and reduce store-bought soil purchases by half.
Tips to Speed Up Compost in a Home Compost Bin
These practical tips help you get finished compost faster while keeping management simple.
- Shred or chop yard waste into smaller pieces before adding.
- Keep a thermometer at the center; 120–160°F indicates active decomposition.
- Keep the pile insulated in colder months using a thicker layer of browns or a bin with better insulation.
How Much Material to Add Each Week
For a typical family, add kitchen scraps daily or every few days and a layer of browns weekly. Balance is more important than exact measurements.
Using Finished Compost from Your Home Compost Bin
Apply finished compost as a soil amendment by mixing 1–3 inches into topsoil or use as mulch around plants. It improves soil structure, water retention, and nutrient levels.
Store any excess compost in a dry bin or use it to top-dress lawns and garden beds in the spring and fall.
Final Checklist for a Successful Home Compost Bin
- Select a bin that fits your space and volume needs.
- Maintain a good green-to-brown balance and moisture level.
- Turn the pile regularly and troubleshoot odors or pests promptly.
- Harvest finished compost and use it to improve garden soils.
With a basic bin, a little attention, and the right balance of materials, a home compost bin becomes a reliable source of rich compost and an easy way to cut household waste.