
Why Start Composting at Home
Composting reduces household waste and produces nutrient-rich soil for gardens and potted plants. It lowers landfill contributions and can improve plant health without chemical fertilizers.
This guide explains how to start composting at home, practical steps, and simple troubleshooting tips for beginners. Follow these steps to make composting a manageable part of your routine.
How to Start Composting at Home: Basic Principles
Composting relies on balancing three elements: greens, browns, and air. Greens are nitrogen-rich materials and browns provide carbon.
Microorganisms break down the mix into humus when moisture and aeration are adequate. Aim for a ratio near 1 part greens to 3 parts browns by volume.
Choose a Composting Method
Select a method that fits your space, time, and needs. Each method has pros and cons for beginners.
- Open pile: Best for large yards. Simple but needs more space and may be slower.
- Bin composting: Ideal for small yards or patios. Keeps the pile contained and limits pests.
- Tumbler: Faster decomposition and easy turning. More costly but very convenient.
- Vermicomposting: Uses worms for fast, low-odor compost in small spaces. Requires worm care.
What Materials to Use

Use a mix of greens and browns. Green materials are wet and rich in nitrogen. Brown materials add carbon and structure.
- Greens: fruit and vegetable scraps, coffee grounds, fresh grass clippings.
- Browns: dry leaves, shredded paper, cardboard, straw.
- Avoid: meat, dairy, oily foods, diseased plants, and pet waste from carnivores.
Step-by-Step: Start Composting at Home
Follow these actionable steps to build and maintain a healthy compost pile. Each step takes a few minutes but sets the pile up for steady breakdown.
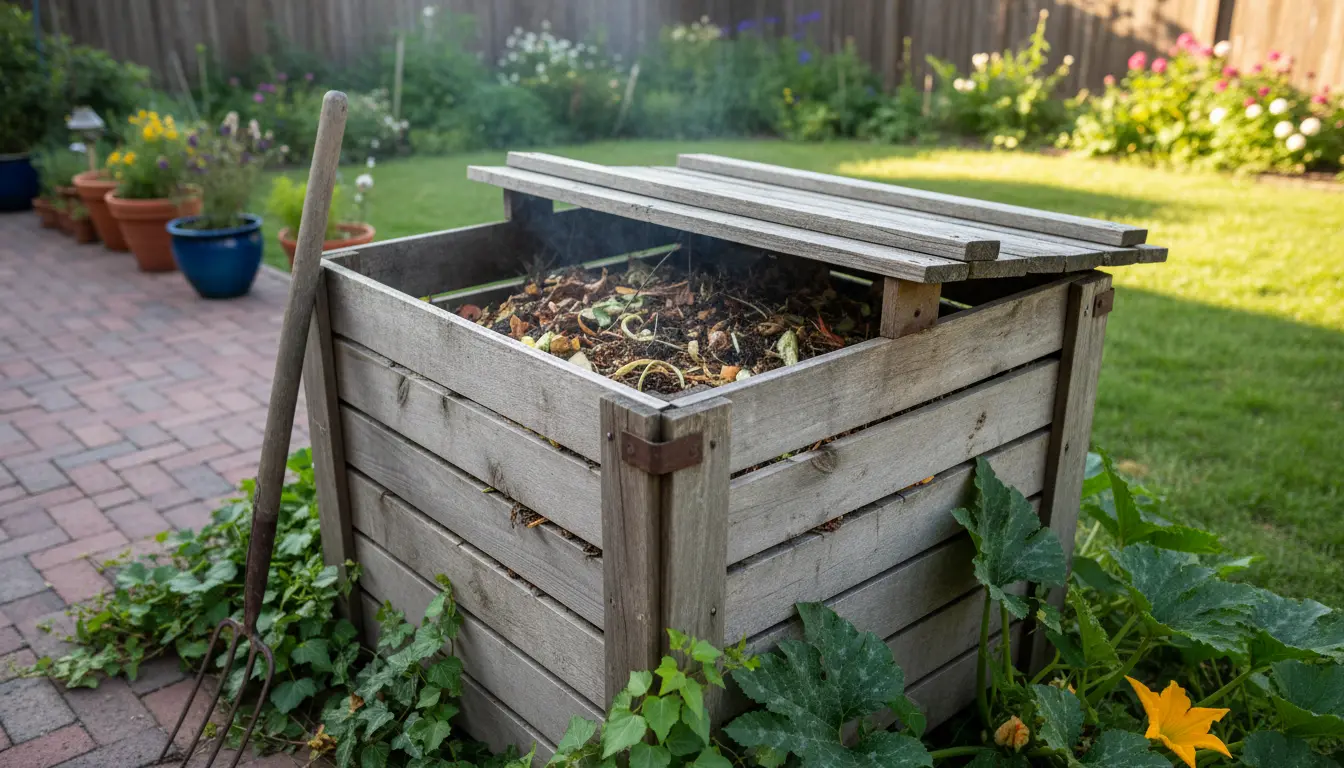
- Pick a location: Choose a partly shaded spot with good drainage close to your kitchen or garden.
- Prepare the bin or pile: If using a bin, place it on soil to allow organisms to enter. For piles, start with a layer of coarse browns for airflow.
- Add materials in layers: Alternate greens and browns. Keep particle sizes small for faster decomposition.
- Maintain moisture: The pile should be as damp as a wrung-out sponge. Add water or dry material to adjust.
- Turn the pile: Every 1–2 weeks for hot composting, less often for slower methods. Turning adds oxygen and speeds up breakdown.
- Harvest finished compost: After a few months to a year, compost will look dark and crumbly. Sift and use in pots or garden beds.
Temperature and Timing
Hot composting reaches 131–160°F (55–70°C) and breaks down materials in weeks. Cold composting takes months but requires less work.
Measure temperature with a compost thermometer if you want faster results. Maintain frequent turning and a balanced mix for hot composting.
Composting can reduce household waste by up to 30 percent and cut methane emissions from landfills. Using finished compost improves soil structure and water retention.
Common Problems and Fixes
Beginners often face a few recurring problems. Most are easy to fix with small adjustments.
- Bad smell: Usually from too many greens or lack of air. Add browns and turn the pile to aerate.
- Slow decomposition: Materials may be too large or dry. Chop items and adjust moisture.
- Pests: Avoid adding meat and dairy, and use a closed bin or wire mesh to protect the pile.
- Pile too wet: Add more browns, and turn to increase evaporation and airflow.
Practical Tips for Consistent Results
Keep a small kitchen scrap container with a lid to collect greens. Empty it into your bin every few days to maintain steady inputs.
Shred or chop large pieces to speed breakdown. Layer materials rather than dumping a large amount of greens at once.
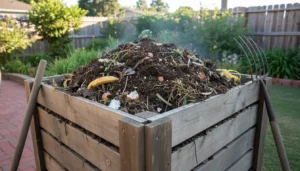
Case Study: A Small Urban Garden Success
Sarah, a renter with a small backyard, started a 55-gallon compost bin to cut food waste. She combined kitchen scraps with shredded cardboard and dry leaves.
After six months of regular turning and moisture checks, she had dark, crumbly compost. She mixed it into raised beds and reported healthier tomato plants and less need for store-bought fertilizer.
Using Finished Compost
Finished compost can be used as a soil amendment, mulch, or potting mix ingredient. Apply a 1–2 inch layer around plants or mix one part compost to three parts soil for containers.
Compost improves nutrient availability, soil structure, and water retention. Start with small amounts and observe plant response.
Quick Checklist: How to Start Composting at Home
- Choose a method that fits your space.
- Balance greens and browns (about 1:3 by volume).
- Keep the pile moist and aerated.
- Avoid problem materials like meat and dairy.
- Turn regularly for faster results.
Composting at home is practical and scalable. Start small, learn by doing, and adjust as your composting habit grows. With a consistent routine, you can turn household waste into a valuable resource for your garden.