
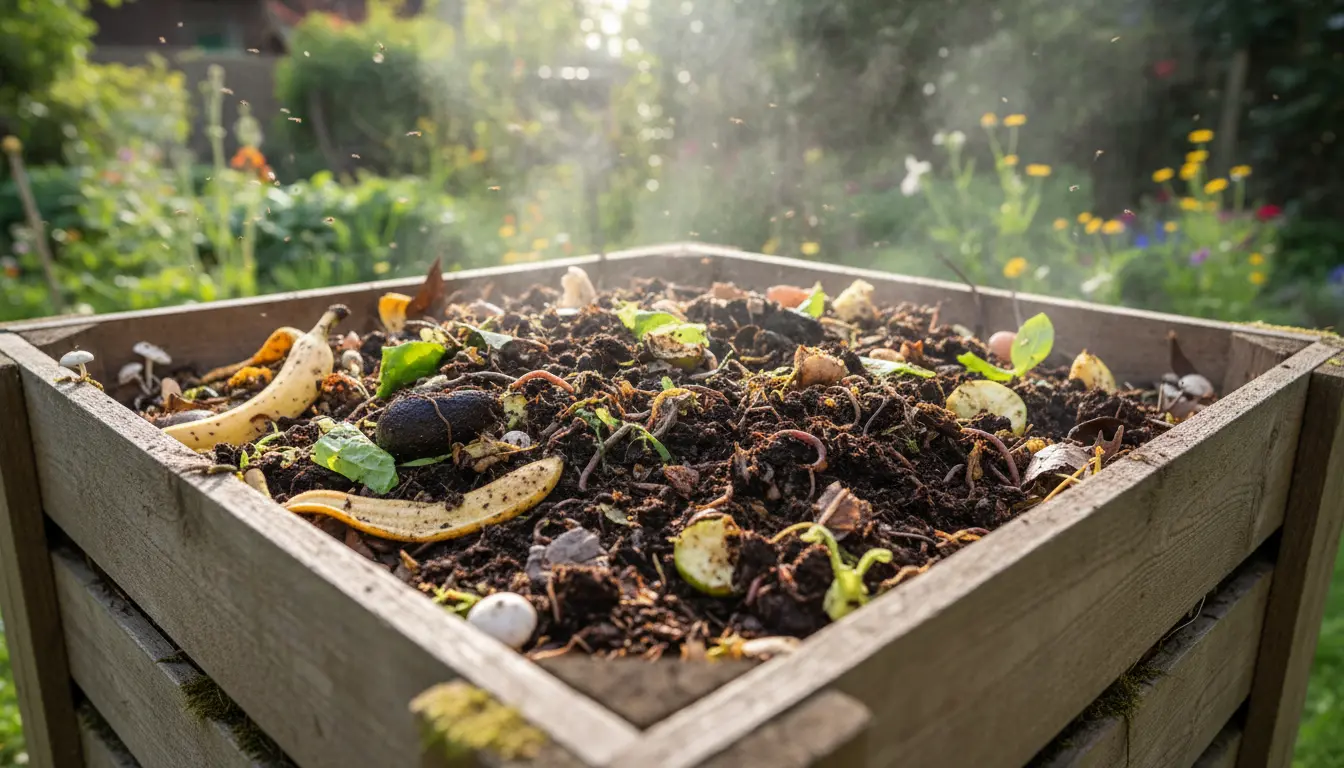
Composting at home turns kitchen scraps and yard waste into a useful soil amendment. This guide gives clear, practical steps to begin composting in any space, from a backyard pile to a small apartment bin.
Why Composting at Home Matters
Composting at home reduces landfill waste and returns nutrients to soil. It lowers household greenhouse gas emissions and supports healthier garden soil.
For beginners, composting is inexpensive and scalable. You can start with simple techniques and upgrade tools later.
Basic Materials for Composting at Home
Good compost needs a balance of materials, air, and moisture. Knowing the basic inputs helps avoid common mistakes.
What to Compost at Home
- Greens: vegetable peels, fruit scraps, fresh grass clippings, coffee grounds.
- Browns: dry leaves, shredded paper, cardboard, small wood chips.
- Avoid: meat, dairy, grease, diseased plants, and pet waste.
Browns, Greens, and Water
Greens supply nitrogen and speed decomposition. Browns supply carbon and structure. Aim for a rough ratio of 2–3 parts browns to 1 part greens by volume.
Keep the pile as damp as a wrung-out sponge. Too dry and decomposition stops; too wet and it smells.
Choosing a Composting Method for Home
Select a method that fits your space, time, and effort. Each method works with the same basic inputs and principles.
Common Home Composting Methods
- Open pile or heap: Best for large yards; low cost and simple to maintain.
- Compost bin: Contained and tidy; good balance for most homeowners.
- Tumbler: Faster turning and aeration; ideal for small to medium volumes.
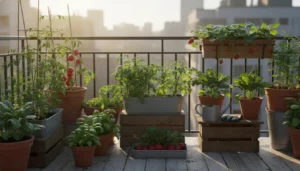
- Vermicomposting: Uses worms indoors or in shaded spots; great for apartments and food scraps.
Step-by-Step: Start Composting at Home
Follow these practical steps to create your first batch of compost.
- Choose a location: level, accessible, and with some shade.
- Set a base layer: coarse browns like twigs to improve drainage and airflow.
- Add materials in layers: alternate greens and browns, aiming for variety.
- Turn or aerate: every 1–2 weeks for faster composting; less often if using vermicomposting.
- Monitor moisture: add water if dry, or more browns if too wet.
- Wait and use: finished compost is dark, crumbly, and earthy-smelling—usually ready in 2–6 months.
Troubleshooting Common Home Compost Problems
Problems usually have simple fixes. Identify the symptom and adjust materials or care.
- Bad odor: add more browns and turn the pile to introduce air.
- Slow decomposition: chop materials smaller, add greens, and check moisture.
- Pests or rodents: avoid meat and dairy, use a closed bin, or secure with wire mesh.
- Too dry: water thoroughly and cover to retain moisture.
Home composting can divert up to 30 percent of household waste from landfill, depending on diet and yard size. Even apartment composting reduces the carbon footprint of food waste.
Case Study: Small Balcony Composting Success
Jane, a city renter, started vermicomposting in a 20-liter bin on her balcony. She used red wiggler worms and a mix of shredded paper and vegetable scraps.
Within three months she produced rich compost used in potted herbs. Her food waste volume dropped noticeably and she saved on store-bought potting mixes.
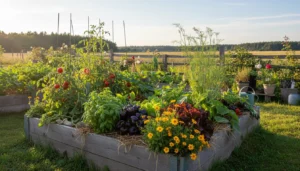
How to Use Finished Compost from Home
Use finished compost to enrich garden beds, top-dress lawns, or mix into potting soil. It improves soil structure and nutrient retention.
Application tips:
- Vegetable beds: mix 1–2 inches into the top 6–8 inches of soil before planting.
- Containers: blend 20–30% compost with potting mix for seedlings and potted plants.
- Lawn: spread a thin top dressing to boost soil health and water retention.
Quick Checklist to Start Composting at Home
- Pick a method that fits your space and schedule.
- Gather a mix of greens and browns before starting.
- Maintain moisture and aeration; monitor weekly.
- Use finished compost to improve garden or container plants.
Composting at home is a low-cost, high-impact habit. Start small, learn by doing, and scale as your confidence grows. With a little attention, you can turn everyday waste into a valuable resource for your plants and soil.