
Why Start Composting at Home
Composting turns kitchen scraps and yard waste into nutrient-rich soil. It reduces trash, lowers methane emissions, and saves money on fertilizer.
Starting composting at home is simple and fits most living situations. You only need the right container, a basic mixing routine, and a little patience.
Types of Home Composting
Choose a method that matches your space and lifestyle. Each option has trade-offs for speed, smell control, and maintenance.
- Backyard bin: Good for yards, low maintenance, moderate speed.
- Tumbler composter: Faster breakdown, turns easily, higher cost.
- Bokashi system: Ferments food waste including meat and dairy, requires a second burial step.
- Vermicomposting: Uses worms to produce high-quality compost; ideal for small spaces or balconies.
How to Start Composting at Home: Step-by-Step
Follow these practical steps to get a working compost system. Each step focuses on common, easy-to-follow actions.
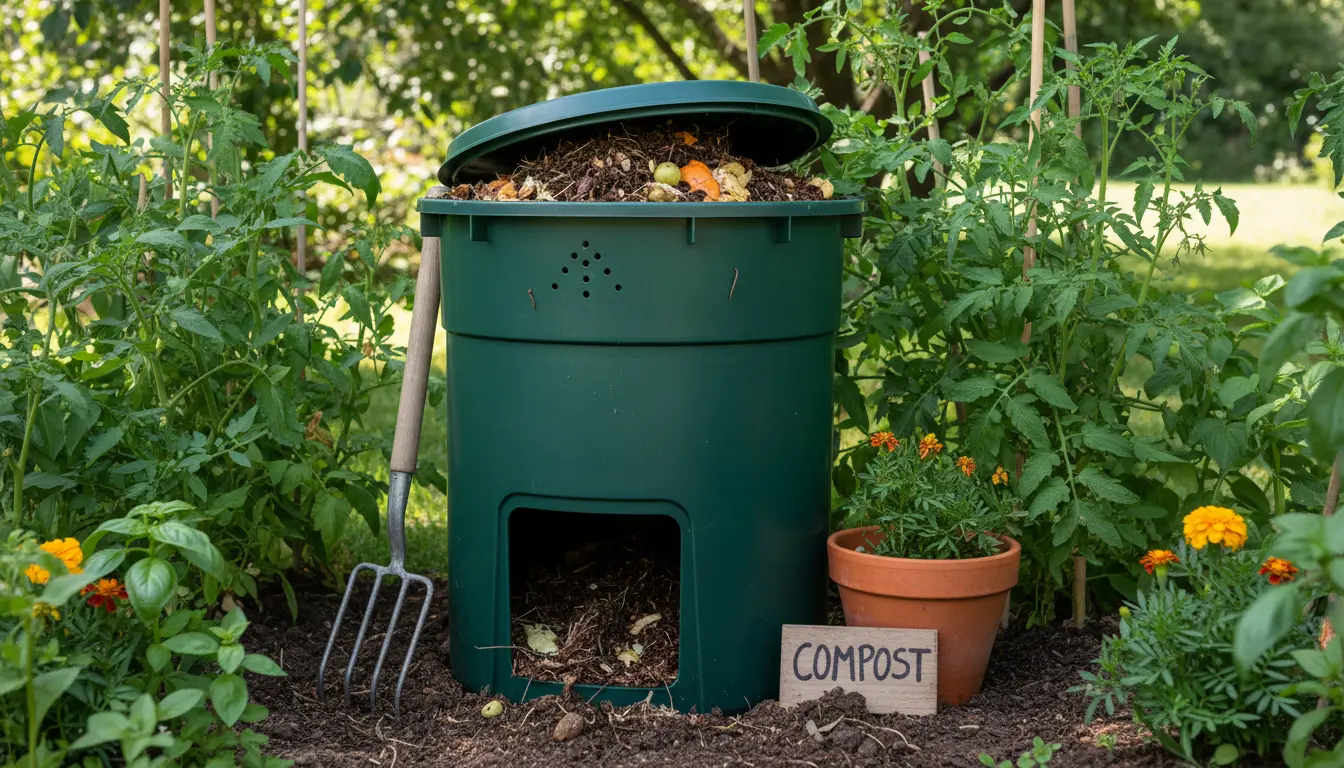
1. Pick a Location and Container
Place the bin on soil if possible to allow organisms to move in. For balconies or patios, use a sealed container or a worm bin to avoid pests.
Make sure the spot has partial sun and is reachable for regular turning or harvesting. Accessibility increases the chance you will maintain the pile.
2. Understand Greens and Browns
Compost needs a balance of nitrogen-rich “greens” and carbon-rich “browns.” Greens are wet and protein-rich; browns are dry and fibrous.
- Greens: vegetable scraps, coffee grounds, fresh grass clippings.
- Browns: dry leaves, shredded paper, straw, cardboard.
A common target ratio is roughly 2 or 3 parts browns to 1 part greens by volume. Adjust slightly depending on how wet the pile is.
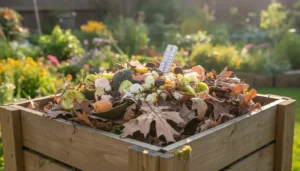
3. Layer and Maintain
Start with a layer of coarse browns for airflow. Add greens and cover with more browns to reduce odor and flies.
Turn the pile every 1–2 weeks to introduce oxygen and speed decomposition. If you’re using a tumbler, rotate it weekly.
4. Monitor Moisture and Temperature
Compost should feel like a wrung-out sponge — moist but not soggy. Excess water slows decomposition and creates odors.
Thermophilic compost heats to 120–160°F (50–70°C) when actively breaking down. This is normal and helps kill pathogens and seeds.
Common Problems and Solutions
Most compost issues are easy to fix with small adjustments. Use this quick reference to troubleshoot.
- Foul smell: Too wet or too many greens. Add browns and turn the pile.
- Pests: Use a closed bin, bury food scraps, and avoid adding meat or oily foods to open piles.
- Slow decomposition: Add nitrogen-rich greens, increase moisture slightly, and turn more often.
- Dry pile: Add water and greens, then mix to distribute moisture.
What to Compost and What to Avoid
Safe items include most kitchen scraps, coffee grounds, eggshells, and yard trimmings. Shred larger items to accelerate breakdown.
Avoid adding meat, dairy, diseased plants, pet waste, or oily foods to open outdoor piles. Bokashi can handle some of these safely indoors.
Timeframe and Harvesting
Compost readiness depends on method and attention. Hot, well-managed piles can finish in 2–3 months; passive piles may take a year.
Finished compost is dark, crumbly, and smells earthy. Sift out large pieces and return them to the active pile to finish decomposing.
Food scraps and yard waste make up about 30% of household trash by weight. Composting can divert most of that from landfill and turn it into valuable soil amendment.
Small Case Study: Apartment Composting Success
Emma, a city renter, started with a 10-liter worm bin on her balcony. She separated food scraps and added shredded cardboard as bedding.
Within four months she produced rich worm castings and reduced her trash output by half. She used the castings for balcony tomatoes and shared extras with neighbors.
Practical Tips and Examples
Use a kitchen caddy with a tight lid to collect scraps. Empty it into your outdoor bin or worm bin every 2–3 days to control odor.
Layering example: start with twigs or straw, add 3–4 inches of mixed greens and browns, then repeat. Chop large items to speed processing.
Final Checklist to Start Composting at Home
- Choose container: bin, tumbler, worm bin, or Bokashi.
- Set up location with partial sun and easy access.
- Keep a balance of greens and browns and monitor moisture.
- Turn regularly and troubleshoot odors or pests immediately.
- Harvest when dark and crumbly; use as mulch or soil amendment.
Starting composting at home takes a little setup and routine, but the benefits are long-lasting. With the right container and simple maintenance, anyone can turn waste into a useful resource.