
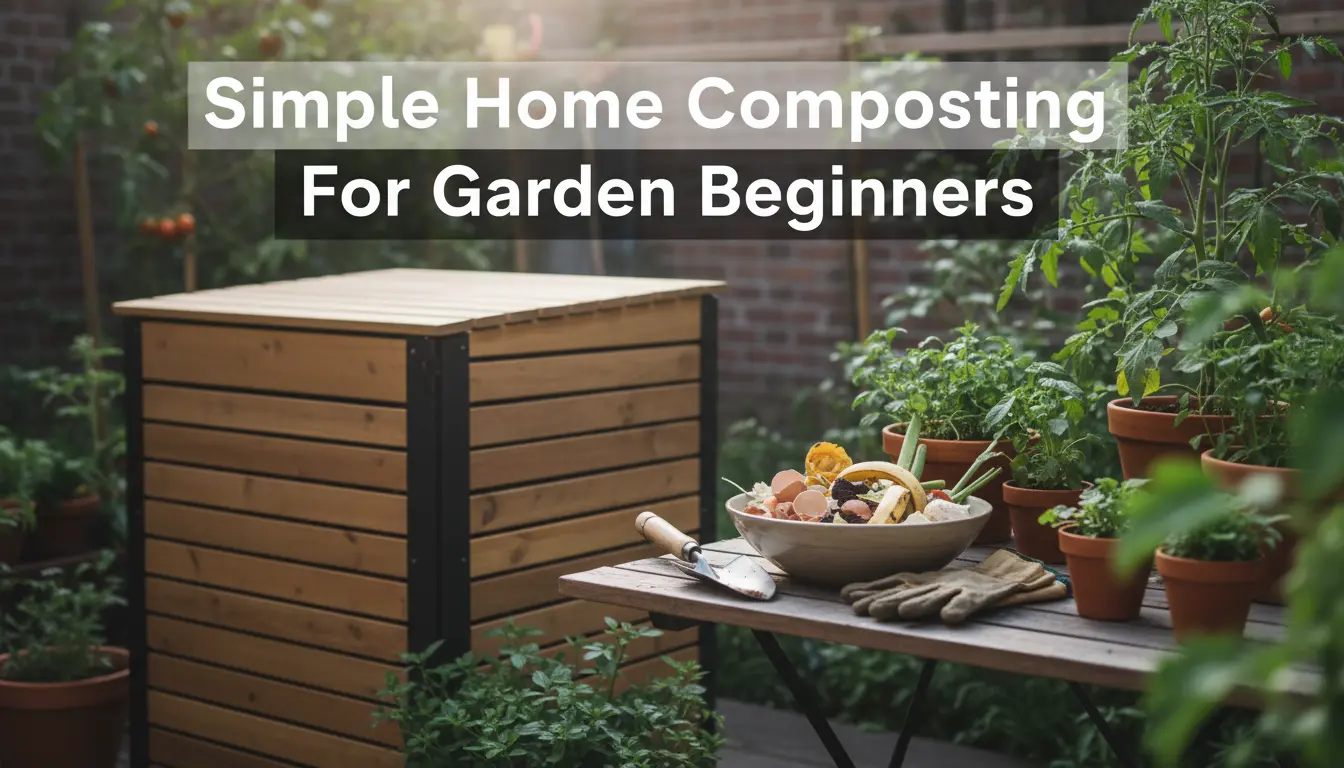
Why Home Composting Matters
Home composting turns kitchen and yard waste into nutrient-rich material you can use in your garden. It reduces landfill waste and lowers household trash costs.
This guide explains how to start composting at home with simple tools and clear steps. The focus is on practical actions you can take today.
Choosing a Compost Method for Home Composting
Pick a method that fits your space and lifestyle: an outdoor bin, a worm (vermicompost) bin, or a bokashi system for apartments. Each method has different space, time, and maintenance needs.
- Outdoor compost bin: Good for yards, low maintenance, larger volume.
- Worm bin (vermicompost): Works well indoors or on a balcony, processes food scraps quickly.
- Bokashi: Fermentation system ideal for small kitchens and apartments, accepts meat and dairy in small amounts.
Basic Materials and What to Compost
Compost requires a mix of ‘greens’ (nitrogen) and ‘browns’ (carbon). Maintain a balance to encourage decomposition and avoid odors.
- Greens: fruit and vegetable scraps, coffee grounds, fresh grass clippings.
- Browns: dry leaves, shredded paper, cardboard, straw.
- Avoid: meat, bones, oily food, pet waste (unless using bokashi or special systems).
Simple Ratio for Home Composting
A common starting point is roughly 2 parts browns to 1 part greens by volume. Adjust if your pile is too wet or smells strong.
If the pile is too wet or smells, add more browns. If decomposition is slow, add more greens and keep the pile moist but not soggy.
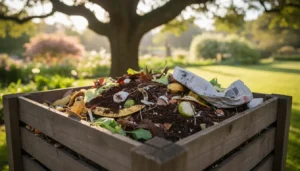
Setting Up Your Compost Bin
Place an outdoor bin on soil or a well-drained surface to allow organisms and worms to access the material. For indoor bins, choose a ventilated container and a place that is easy to service.
- Mix materials in layers rather than single types to speed decomposition.
- Chop or shred large pieces to increase surface area and accelerate breakdown.
- Keep the pile moist like a wrung-out sponge; water occasionally during dry spells.
Maintaining Your Compost
Turn the pile with a pitchfork or compost aerator every 1–2 weeks to add oxygen. Aeration helps microbes break down material faster and prevents foul odors.
Monitor temperature if possible. Active compost heats up in the center; cooling usually means the most active phase has passed and the pile is maturing.
Troubleshooting Common Problems
Smell: usually caused by too many greens or poor aeration. Add browns and turn the pile.
Slow breakdown: add moisture and greens, chop materials smaller, or increase aeration.
Pests: secure the bin, bury food scraps under browns, avoid meats and oils in open bins.
Composting can reduce household waste by up to 30 percent depending on diet and yard care. Even small-scale composting in apartments diverts significant food waste from the trash.
How Long Until Compost Is Ready?
Depending on method and maintenance, compost can be ready in 2 months to 1 year. Hot, well-managed piles mature quickly; slow piles take longer but still produce good material.
Finished compost is dark, crumbly, and smells earthy. If you can no longer recognize the original materials, it is likely ready to use.
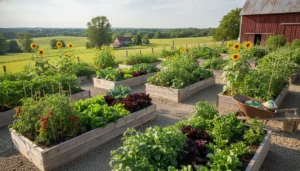
Using Finished Compost in Your Garden
Mix finished compost into garden beds, use as a top dressing, or blend into potting mixes. Compost improves soil structure, water retention, and nutrient content.
- Vegetable beds: mix 1–2 inches of compost into the top 6–8 inches of soil.
- Flower beds and lawns: apply 1/4 to 1/2 inch compost as a top dressing.
- Potted plants: mix one part compost to three parts potting soil for a richer medium.
Small Case Study: Apartment Worm Composting
Maria, a two-person household in a rented apartment, started a 10-liter worm bin under her sink. She added kitchen scraps and shredded cardboard, feeding the worms three times per week.
Within three months she harvested dark vermicompost and reduced her kitchen waste by nearly 40 percent. She used the vermicompost for balcony plants and shared excess with neighbors.
This example shows that with modest effort and a small system, urban households can compost effectively.
Practical Tips and Final Checklist for Home Composting
- Start small: choose a bin that fits your space and waste volume.
- Balance materials: aim for 2:1 browns to greens to begin.
- Chop and layer: smaller pieces speed decomposition.
- Turn and monitor: aerate regularly and keep moisture balanced.
- Be patient: composting is a process; consistency matters more than perfection.
Home composting is a low-cost, practical way to reduce waste and improve soil health. Begin with a simple method, learn from each batch, and scale as you gain confidence.