
Introduction to Home Composting
Home composting turns kitchen scraps and yard waste into rich soil for gardens and planters. This guide explains simple steps, common systems, and how to manage a healthy compost pile at home.
Why Home Composting Matters
Composting reduces landfill waste and cuts methane emissions from organic material. It also produces a nutrient-rich amendment that improves soil structure and plant health.

Many cities offer composting programs, but doing it at home gives you control and faster results. You can compost in small spaces, on a balcony, or in a backyard.
How to Start Home Composting
Starting takes three basic choices: the compost system, the location, and the mix of ingredients. Each choice affects speed, smell, and maintenance.
Choosing a Compost System
Select a system based on space, budget, and how much waste you produce. Common options work for most households.
- Open pile: Cheap and simple for yards with space.
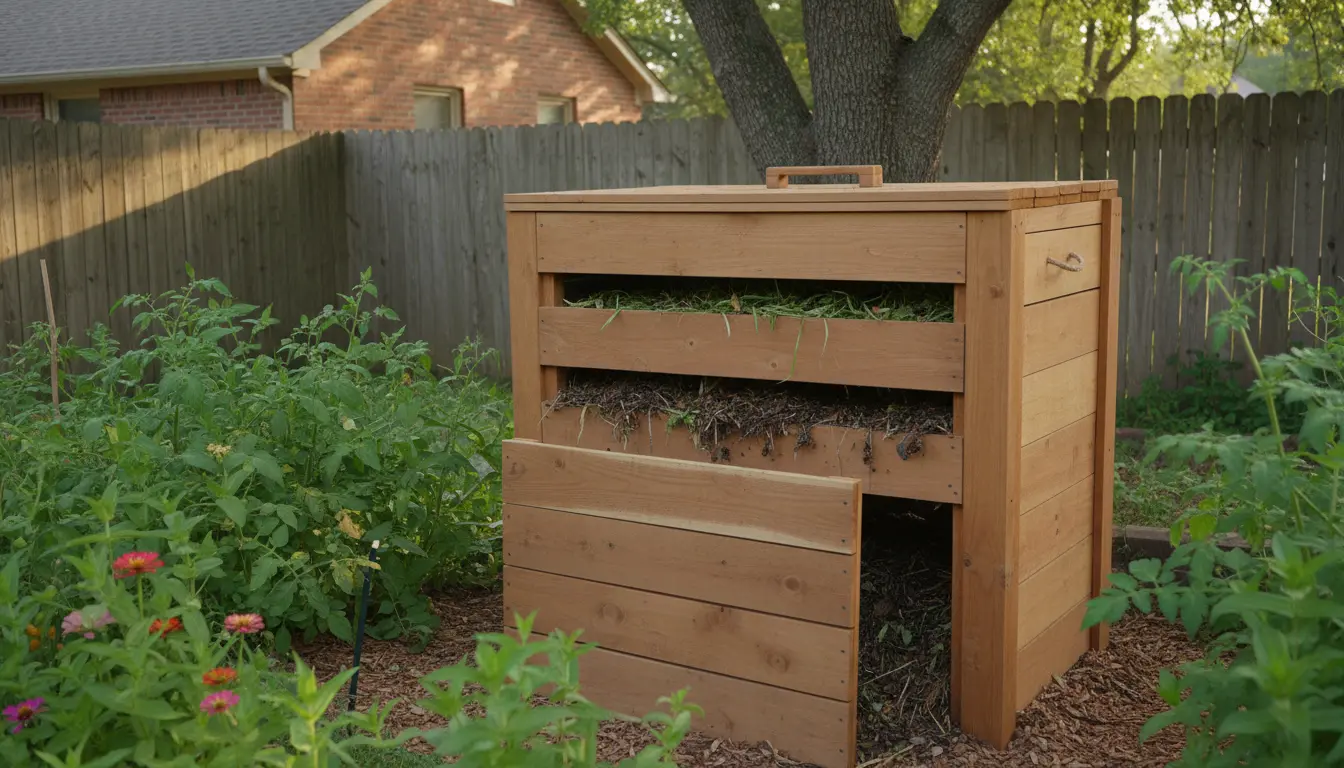
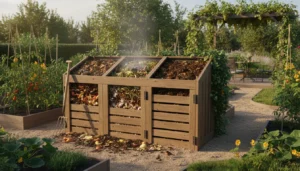
- Compost bin: Contained, tidy, and faster when turned.
- Tumbler: Easy to turn, good for small yards and faster results.
- Vermicompost (worm bin): Best for indoors or apartments to process kitchen scraps quickly.
Compost Ingredients and Ratios
Compost needs a balance of carbon (browns) and nitrogen (greens). Aim for a rough ratio of 25–30 parts carbon to 1 part nitrogen by mass in a typical backyard pile.
- Greens (nitrogen): fruit and vegetable scraps, coffee grounds, fresh grass clippings.
- Browns (carbon): dry leaves, shredded paper, cardboard, straw.
Practical mix: add a shovel of greens and two shovels of browns. Layering green and brown materials helps aeration and decomposition.
Managing Moisture and Aeration
Compost should feel like a wrung-out sponge—moist but not soggy. Too wet leads to odors; too dry slows decomposition.
- If dry, add water and more greens.
- If soggy, add dry browns and turn the pile to increase airflow.
- Turn the pile every 1–2 weeks to supply oxygen and speed up the process.
Troubleshooting Common Problems
Problems are usually signs the pile needs adjusting rather than a reason to stop. Identify the issue and apply simple fixes.
- Bad smell: Add more browns and turn the pile to add oxygen.
- Slow breakdown: Chop materials smaller, add nitrogen-rich greens, and keep the pile moist.
- Pests: Use a closed bin, bury food scraps under browns, and avoid meat or oily foods.
Practical Tips for Successful Home Composting
Small practices make composting easier and cleaner. Adopt routines that fit your household habits.
- Collect kitchen scraps in a counter caddy and empty daily into your compost system.
- Shred or chop bulky items to speed decomposition.
- Keep a layer of browns on top of fresh food to deter flies and odors.
- Use finished compost as top dressing, potting mix amendment, or in raised beds.
How Long Until Compost Is Ready?
Finish time varies by method: tumblers and hot piles can finish in 2–3 months, while passive piles may take 6–12 months. Vermicompost can be ready in a few months under good conditions.
Small Case Study: A Family Reducing Waste
Sarah, a family of four in a suburban home, started a 200-liter bin in spring. They added kitchen scraps and yard trimmings and turned the bin weekly with a rake.
After six months they produced about 120 liters of finished compost. Their curbside waste decreased by roughly 35 percent, and their vegetable garden yield improved the next season.
Examples of What to Compost and Avoid
Knowing what to add keeps the system healthy. Here is a quick reference list.
- Good: fruit and vegetable peels, coffee grounds, eggshells, grass clippings, dry leaves.
- Avoid: meat, dairy, oils, diseased plants, pet feces.
- Acceptable with care: cooked vegetable scraps (bury well), paper and cardboard (shredded).
Final Steps and Using Finished Compost
Finished compost looks dark, crumbly, and earthy-smelling. Screen or break up larger chunks before use for a consistent texture.
Use it to improve soil, top dress lawns, mix into potting soil, or enrich planting beds. A little compost goes a long way—around 1–3 inches spread over beds once a year is effective.
Getting Started Checklist
- Choose a bin type that fits your space.
- Gather tools: a pitchfork or compost turner, a kitchen caddy, and a small shovel.
- Start with a base layer of browns, then alternate greens and browns.
- Monitor moisture and turn regularly.
Home composting is a practical way to cut waste and create valuable soil. With a simple system and a little attention, most households can produce usable compost within a season.