
Home composting turns kitchen scraps and yard waste into nutrient-rich soil. This guide gives step-by-step, practical advice for beginners to set up and maintain a home compost system with minimal fuss.
Why choose home composting
Home composting reduces household waste, saves money on soil amendments, and improves garden health. It is a low-cost way to close the loop on organic materials from your home.

Compost also increases soil water retention and supports beneficial microbes. Those benefits help potted plants, vegetable beds, and lawn areas thrive with less chemical input.
How to start home composting
Getting started requires choosing a method and collecting the right mix of materials. The basic goal is to balance ‘greens’ (nitrogen) and ‘browns’ (carbon), maintain moisture, and provide air.
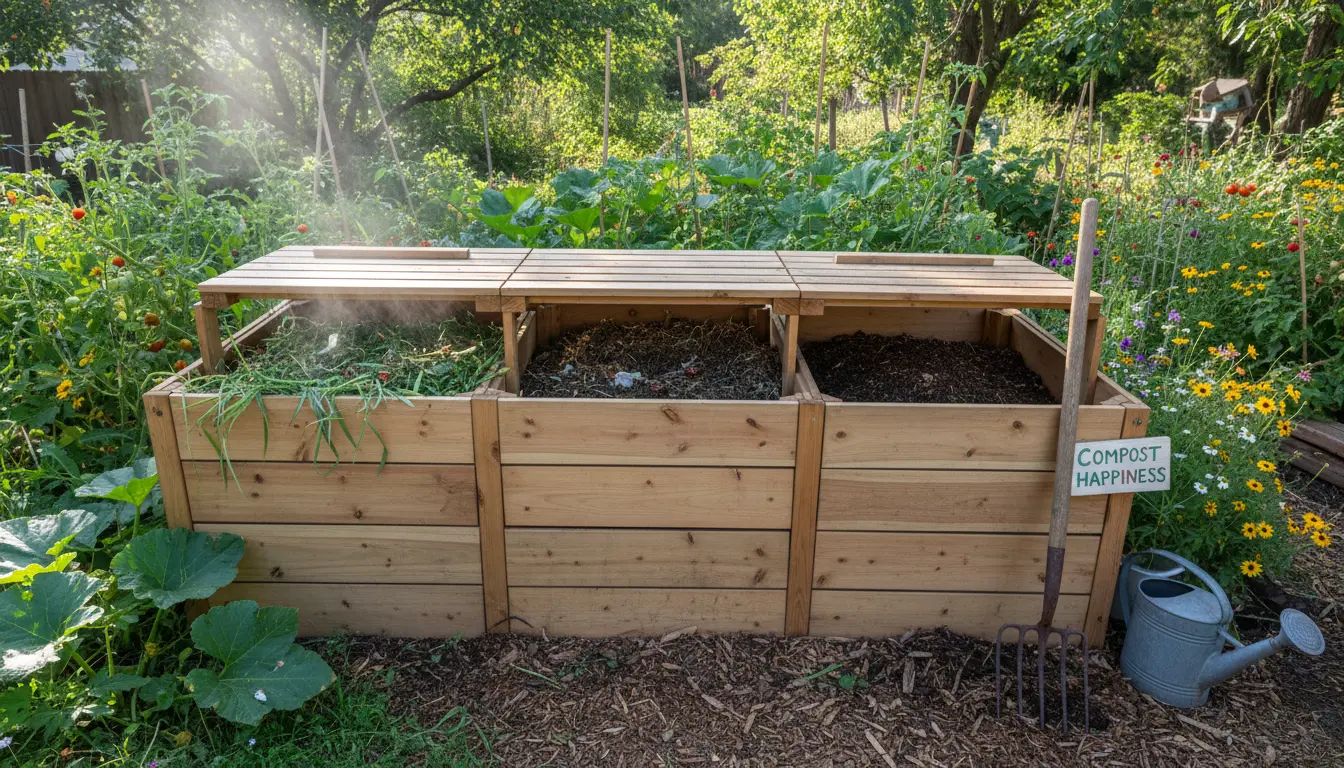
Choose a compost system
Pick a system that suits space, budget, and effort. Common options include:
- Open bin: Simple and cheap for yards with space.
- Tumbler: Easier turning and faster results for small yards.
- Vermicompost: Worm bins for apartments or indoor setups.
- Cold pile: Low maintenance, slower decomposition, good for large volumes.
Location and setup for home composting

Site your compost in partial shade on bare soil if possible. This helps drainage and lets organisms enter the pile.
For bins and tumblers, ensure access for turning and adding material. Use a base of twigs or straw to improve airflow and drainage.
What to add to your compost
Balance greens and browns for effective decomposition. Aim roughly for a 2:1 or 3:1 ratio of browns to greens by volume.
- Greens (nitrogen): vegetable scraps, coffee grounds, fresh grass clippings, tea bags.
- Browns (carbon): dry leaves, straw, shredded paper, cardboard, wood chips.
Avoid adding meat, dairy, oily foods, diseased plants, or pet waste. These items attract pests and slow composting.
Basic maintenance for home composting
Simple, regular checks keep compost healthy. Turn or aerate the pile weekly if possible to add oxygen and speed decomposition.
Monitor moisture: the pile should feel like a wrung-out sponge. Add water during dry spells and more browns if it becomes too wet or smelly.
When is compost ready?
Finished compost is dark, crumbly, and earthy-smelling. Most systems produce usable compost in 2–6 months depending on materials and management.
Tips for successful home composting
- Chop or shred large items to speed breakdown.
- Mix different materials to keep a balanced carbon-nitrogen ratio.
- Insulate in winter with extra browns or a cover to maintain activity.
- Use kitchen scrap catchers with lids to reduce odor and pests before transferring to the bin.
- Label bins or layers to track start dates for better timing of harvest.
Common problems and fixes in home composting
Odor: Usually from too much green or too wet. Fix by adding dry browns and turning the pile.
Slow decomposition: Caused by low nitrogen, large pieces, or cold temperature. Add greens, chop materials, or use a tumbler to accelerate the process.
Pests: Avoid meat and oily foods, secure lids, and bury food scraps within the pile. For persistent pests consider a sealed tumbler or indoor worm bin.
Small case study: A backyard compost success
Sarah, a homeowner in a small suburban lot, started a 55-gallon tumbling composter. She collected kitchen scraps and mixed them with shredded leaves in a 3:1 ratio of browns to greens.
By turning the tumbler twice a week and monitoring moisture, she produced finished compost in four months. Sarah used the compost in her vegetable beds and observed healthier tomatoes and reduced need for store-bought fertilizer.
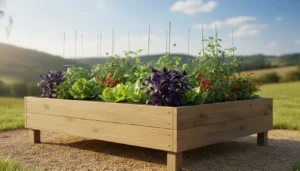
Practical examples of use
Use finished compost as a soil amendment, potting mix ingredient, or mulch top dressing. Typical rates:
- Vegetable beds: mix 1–2 inches into top 6–8 inches of soil annually.
- Potted plants: blend 10–30% compost into potting mix for nutrients and water retention.
- Mulch: spread 1 inch over garden beds to slowly feed soil and retain moisture.
Conclusion: Keep composting simple
Home composting is flexible and scales to your lifestyle. Start small, learn from quick adjustments, and build a routine that fits your household.
With basic balance, moisture control, and occasional turning, you can turn everyday waste into a valuable resource for your garden.