
Why home composting works
Home composting turns organic kitchen and yard waste into a nutrient-rich amendment for soil. It reduces landfill waste and improves garden health without expensive inputs.
Composting is a managed natural process where microbes break down organic matter into stable humus. With basic attention to balance, moisture, and aeration, most households can produce useful compost.
Step-by-step guide to home composting
Follow these practical steps to start home composting today. Each step is simple and designed for small spaces and busy schedules.
1. Choose a compost system
Select a method that fits your space and routine. Options include tumblers, stationary bins, compost piles, and vermicomposting (worms).
- Tumbler: Good for faster turning and limited space.
- Stationary bin: Low-cost and low-maintenance for yards.
- Compost pile: Works if you have more yard space and bulk material.
- Vermicomposting: Ideal for apartments or small kitchens; uses red wiggler worms.
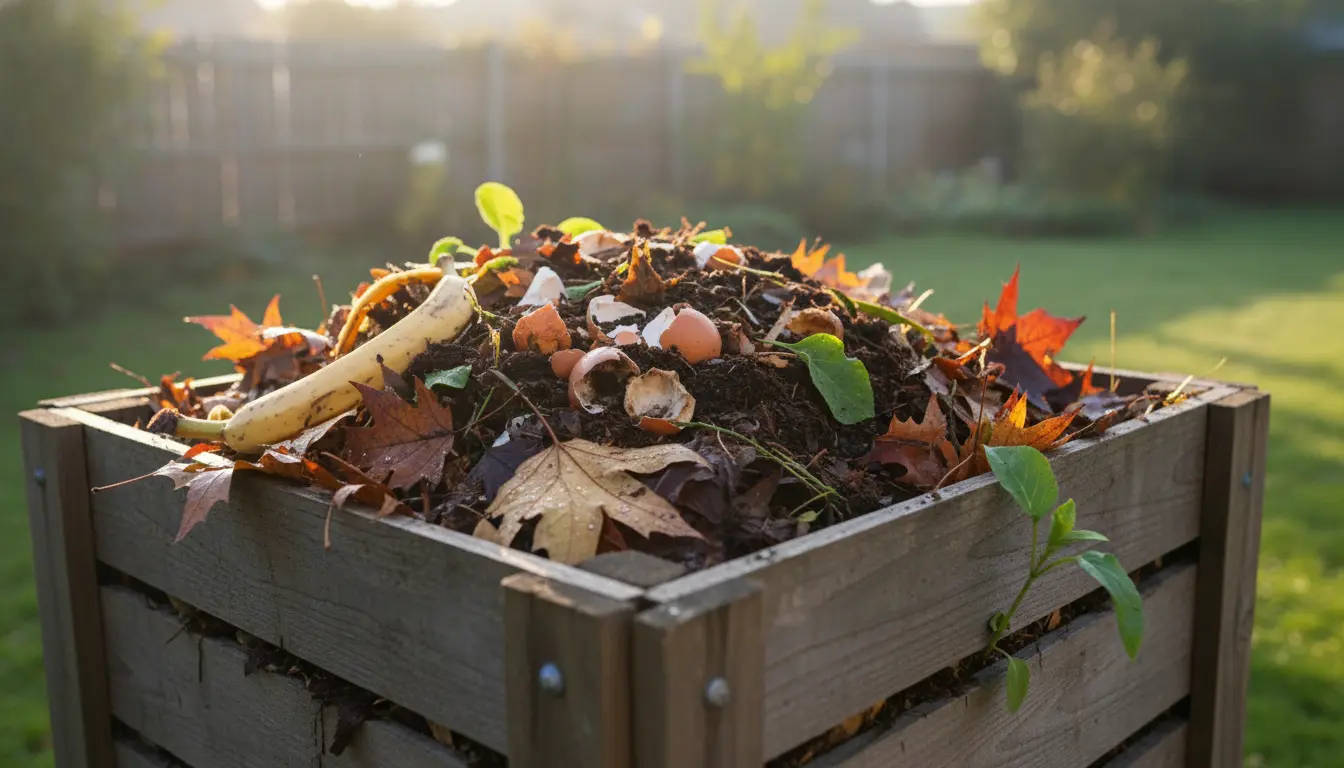
2. Decide what to compost
Balance ‘green’ (nitrogen) and ‘brown’ (carbon) materials. Greens heat the pile and feed microbes; browns add structure and reduce odors.
- Greens: vegetable scraps, coffee grounds, fresh grass clippings, tea bags.
- Browns: dried leaves, shredded paper, cardboard, straw, wood chips.
A good starting mix is roughly 2 parts brown to 1 part green by volume. Adjust based on smell and moisture.
3. Layer and build the pile
Start with a coarse brown base to promote airflow. Then add alternating layers of greens and browns. Aim for layers a few inches thick and a total pile size of at least 3×3 feet for efficient heating.
If using a tumbler or bin, fill steadily and rotate according to the product instructions.
4. Manage moisture and aeration

Compost should be as damp as a wrung-out sponge. Too dry slows decomposition; too wet creates odors. Add water sparingly or cover during heavy rain.
Turn the pile every 1–2 weeks to introduce oxygen. Tumblers make aeration easy. For worm bins, gently stir bedding and avoid over-turning.
5. Monitor temperature and time
Active hot composting reaches 130–160°F (55–70°C) and can finish in 2–3 months with good management. Cold composting works more slowly and may take 6–12 months.
Use a compost thermometer for precise monitoring, or rely on touch and smell: a warm, earthy-smelling pile is working well.
Troubleshooting common issues in home composting
Bad smells
Smells usually mean excess moisture or too many greens. Fix it by adding dry browns, turning the pile, and aerating to let odors dissipate.
Slow decomposition
Slow breakdown is often caused by lack of nitrogen, moisture, or surface area. Chop or shred larger items, add more green materials, and keep the pile moist.
Pests
Avoid attracting animals by burying food scraps within the pile and keeping meat, dairy, and oily foods out of backyard compost. Use enclosed bins or secure lids where pests are a problem.
Practical tips and best practices for home composting
- Chop kitchen scraps before adding to speed decomposition.
- Keep a countertop collection pail with a lid for convenience.
- Use shredded paper or cardboard as free brown material.
- Place your compost bin in partial shade to keep moisture balanced.
- Save finished compost in a covered container to cure for 2–4 weeks before use.
One household can divert 200–300 pounds of organic waste per year by composting. That compost can replace several bags of commercial fertilizer annually.
Small real-world example: A backyard kitchen-to-garden loop
Case study: A family of four started a 65-gallon stationary bin in spring. They added shredded leaves and kitchen scraps in a 2:1 brown-to-green ratio, turned it every two weeks, and kept it slightly moist.
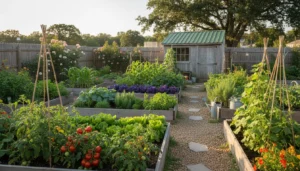
By autumn, they had about 2 cubic feet of finished compost. They used it to top-dress vegetable beds, which improved soil texture and reduced watering needs the following season.
Result: Less waste to the curb, reduced grocery costs from better yields, and healthier soil with visible improvements in tomato and pepper growth.
When your compost is ready and how to use it
Finished compost looks dark, crumbly, and smells earthy. There should be no recognizable food scraps. Sift or let it cure if needed before applying.
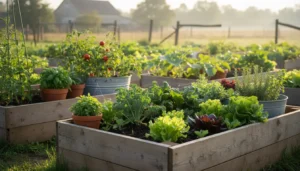
- Mix 1–2 inches into garden beds before planting.
- Top-dress existing beds with a 1/2–1 inch layer and let rain or water work it in.
- Use as a potting mix amendment at 10–30% by volume for container plants.
Final checklist to start home composting
- Choose a bin or method that fits your space.
- Gather browns (leaves, cardboard) and greens (kitchen scraps, grass clippings).
- Balance moisture and aeration; turn regularly.
- Monitor for pests and smells and adjust materials accordingly.
- Harvest dark, crumbly compost after 2–12 months depending on method.
Home composting is a low-cost, high-benefit practice that improves soil and reduces household waste. Start small, observe your pile, and adjust materials. Over time you’ll develop a routine that suits your schedule and garden needs.