
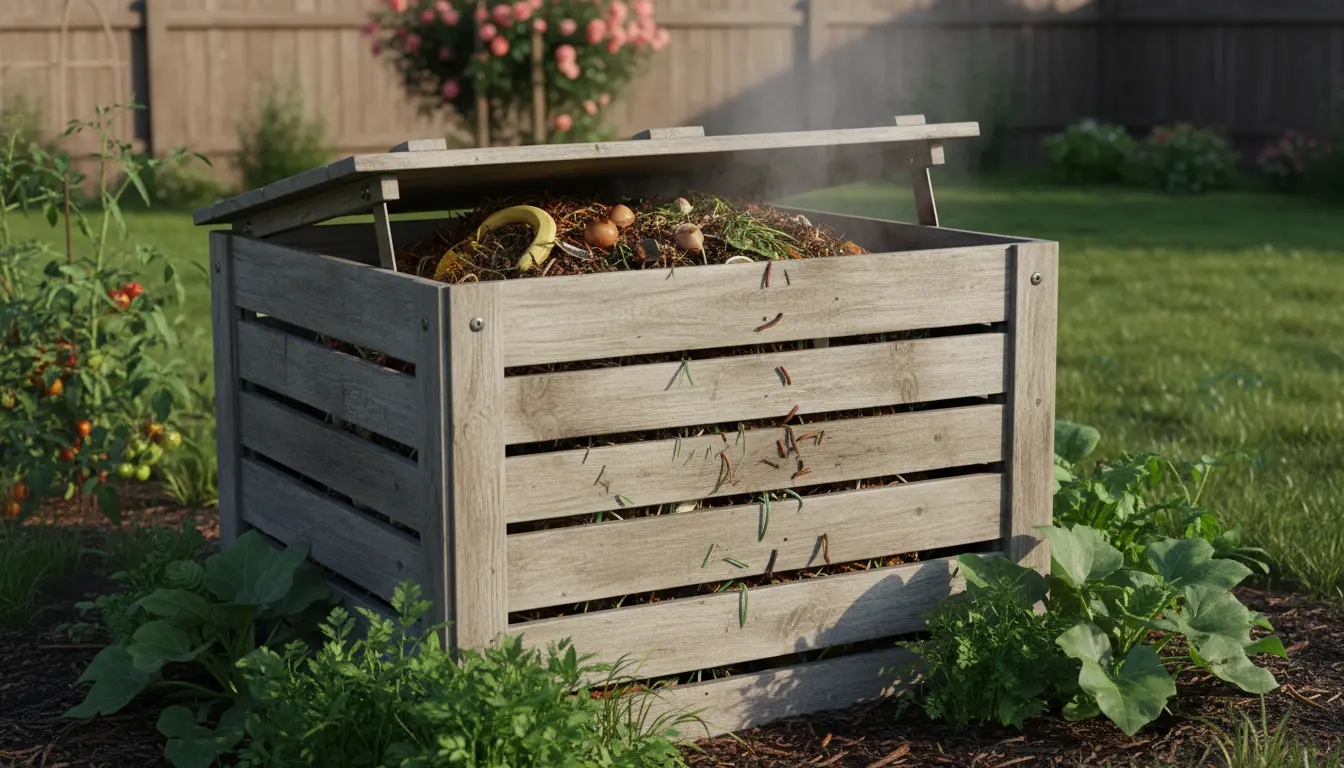
Why home composting matters
Home composting turns kitchen scraps and yard waste into a useful soil amendment while cutting household waste. This practical approach lowers landfill contributions and improves garden soil without chemicals.
Composting is simple once you know the basic steps, suitable for a backyard, balcony, or even small urban spaces.
What is home composting?
Home composting is the controlled breakdown of organic materials by microbes, worms, and other organisms. The result is humus, a nutrient-rich material that improves soil structure, water retention, and plant health.
There are several methods—cold composting, hot composting, vermicomposting—each chosen based on the space, time, and effort you can commit.
Benefits of home composting
- Reduces household waste and trash pickups.
- Improves garden soil structure and fertility.
- Helps retain soil moisture and reduces erosion.
- Eliminates the need for synthetic fertilizers.
How to start home composting
Starting home composting involves choosing a method and maintaining a balance of materials and moisture. Below are the practical steps to begin.
Choose a compost method and bin
Select a system that fits your space and schedule. For most beginners, a simple backyard bin or tumbling composter works well. For apartments, use a worm bin (vermicompost).
- Backyard bin: inexpensive, low maintenance, good for larger volumes.
- Tumbler: speeds mixing and aeration, easier to turn.
- Worm bin: ideal indoors and for small kitchens; produces rich castings.
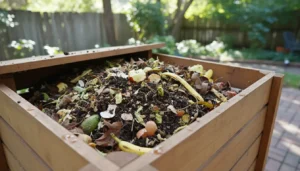
What to compost
Balance brown (carbon) and green (nitrogen) materials for healthy decomposition. Aim for roughly a 3:1 ratio of browns to greens by volume.
- Greens: fruit and vegetable scraps, coffee grounds, fresh grass clippings.
- Browns: dried leaves, shredded paper, straw, cardboard.
- Avoid: meat, dairy, oils, diseased plants, and pet waste to prevent pests and odors.
Layering and aeration
Start with a layer of coarse browns at the bottom to aid drainage and airflow. Alternate greens and browns in 2–4 inch layers. Mix or turn the pile every 1–2 weeks to keep oxygen flowing.
Maintain moisture like a wrung-out sponge: not dry, not dripping wet. Add water during dry periods or more browns if too wet.
Temperature and timing
Hot composting reaches 130–160°F (55–70°C) and breaks materials faster, often finishing in a few months. Cold composting is slower and can take a year but requires less turning.
Vermicomposting works at ambient temperatures and produces usable castings in a few months with regular feeding and harvesting.
Troubleshooting common problems in home composting
Even beginners encounter issues. Here are quick fixes for the most common problems:
- Bad smells: add browns and turn the pile to increase aeration.
- Pests: avoid adding meat or oily foods; use a closed bin or mesh around the base.
- Slow decomposition: chop materials smaller and maintain moisture and a proper greens-to-browns balance.
Practical tips for faster home composting
- Shred or chop kitchen scraps to increase surface area and speed breakdown.
- Keep a countertop container for scraps and empty it daily into the compost.
- Layer garden trimmings with leaves or shredded cardboard for carbon input.
- Use a compost thermometer for hot composting to monitor activity.
- Turn the pile regularly and add water on dry days.
Composting can reduce household waste by up to 30 percent. Properly managed compost also traps greenhouse gases that would otherwise be released from landfills.
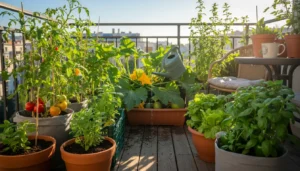
Small real-world example: Apartment worm bin case study
Maria, a city renter with a small balcony, started vermicomposting in a 20-liter plastic bin. She fed the bin her vegetable scraps, coffee grounds, and shredded paper.
Within three months she harvested about 10 liters of worm castings. Maria mixed a handful into potted plants weekly and noticed improved plant vigor and fewer watering needs.
This small setup diverted nearly 50 kg of organic waste from the trash in the first year and produced free, high-quality fertilizer for her balcony garden.
Using finished compost
Finished compost is dark, crumbly, and earthy-smelling. Use it as a soil amendment, top dressing, or to make compost tea for plant feeding.
- Mix into garden beds at 10–30 percent of planting soil volume.
- Top-dress lawns and container plants to slowly release nutrients.
- Blend with potting mix to improve water retention in containers.
Final checklist to start home composting
- Choose a bin or method that fits your space.
- Collect and balance greens and browns.
- Maintain moisture and aeration.
- Troubleshoot quickly when problems appear.
- Harvest and use finished compost in your garden.
Home composting is accessible and scalable. With basic care, you can transform waste into a resource that benefits both your garden and the environment.