
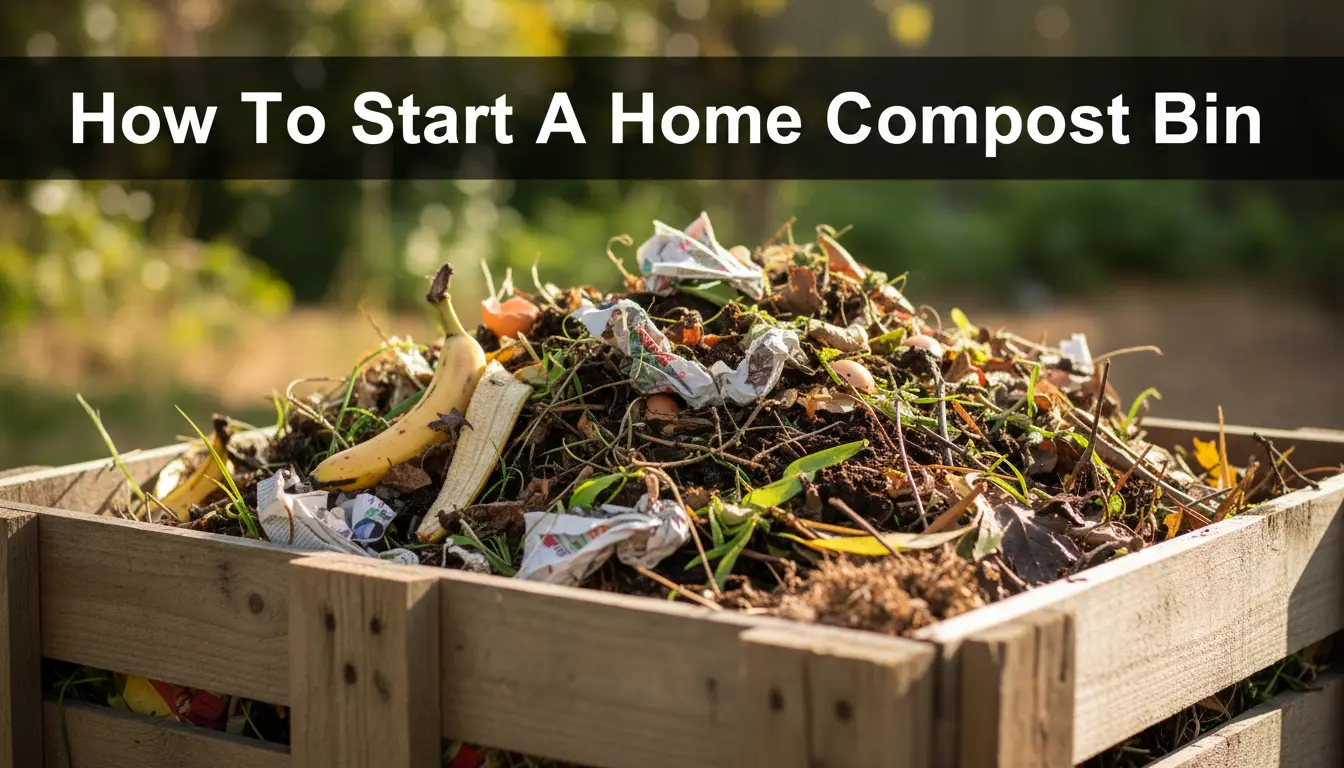
Why Start a Home Compost Bin
Starting a home compost bin turns food scraps and yard waste into valuable soil for gardens. It reduces landfill waste and improves soil structure for healthier plants.
Home composting is simple, cost-effective, and accessible to most households. This guide explains what you need and how to keep a successful system.
What You Need to Start a Home Compost Bin
Gather basic supplies before you begin. You do not need expensive equipment — just a container, some brown and green materials, and a little attention.
- Compost bin or tumbler (plastic, wood, or homemade pallet bin)
- Brown materials: dry leaves, shredded paper, cardboard
- Green materials: fruit and vegetable scraps, coffee grounds, grass clippings
- Water source and a garden fork or compost aerator
- Optional: compost thermometer and kitchen scrap pail
Step-by-Step: How to Build and Maintain Your Home Compost Bin
Follow these practical steps to create an effective home compost bin that breaks down materials quickly and without odors.
1. Choose the Right Location for Your Home Compost Bin
Place your bin on soil or grass to allow worms and microbes to enter. Pick partial shade to avoid overheating and make access easy for adding materials and turning.
2. Create Proper Layers
Start with a coarse layer to improve airflow. Alternate green and brown layers to balance moisture and nitrogen.
- Base layer: small branches or straw (2–4 inches)
- Next: a layer of greens (kitchen scraps, fresh clippings)
- Top with browns (dry leaves, shredded paper) to control smells
3. Maintain Moisture and Airflow
Compost should feel like a damp sponge. Add water during dry spells and add dry browns if it becomes too wet. Turn the pile every 1–2 weeks to introduce oxygen and speed decomposition.
4. Monitor Temperature
A hot compost pile (between 120–150°F or 49–66°C) breaks down materials faster and kills weed seeds. If you don’t have a thermometer, check by feeling heat in the center with a stick.
Troubleshooting Your Home Compost Bin
Small issues are common and fixable. Use these quick diagnostics to keep your compost healthy.
- Bad odors: add more brown materials and turn the pile to add air.
- Pile too dry: add greens or water and mix well.
- Slow decomposition: chop materials smaller and increase turning frequency.
- Pests: avoid meat, dairy, and oily foods; use a closed bin or bury scraps in the center.
Examples and Practical Tips
Use a kitchen scrap pail with a tight lid to collect greens. Freeze bones or citrus rinds and add them in small amounts to prevent pests. Shred cardboard boxes instead of tossing them; they are excellent brown material.
Compost can be used as mulch, mixed into garden beds, or brewed into compost tea for watering plants.
Composting reduces methane emissions from landfills and returns nutrients to the soil. A typical household can divert hundreds of pounds of organic waste from the trash each year.
Small Real-World Case Study
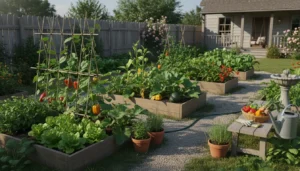
Case Study: Clara’s Three-Bin System. Clara, a city gardener, started with a 35-gallon plastic bin. She moved to a simple three-bin wooden system to rotate batches.
Results in six months: she cut kitchen waste sent to the trash by 60%. Her tomato plants produced 30% more fruit after she mixed finished compost into the beds. She turned each bin every 7–10 days and kept a balance of one part greens to two parts browns.
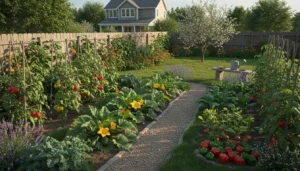
Tips for Different Living Situations
Apartment dwellers can use a small worm bin (vermicompost) or bokashi system for indoor-friendly composting. Homeowners with yards can use larger tumblers or stationary bins for faster results.
- Small spaces: worm bins, bokashi buckets, community compost drop-offs
- Suburban yards: tumblers or multi-bin systems for batch composting
- Rural properties: open piles or large windrows work well
When Is Compost Ready?
Finished compost is dark, crumbly, and smells earthy. Particles are small and uniform. It usually takes 2–6 months depending on materials, temperature, and how often you turn the pile.
Use finished compost as a soil amendment, top dressing, or in potting mixes. Avoid using unfinished compost directly on sensitive seedlings.
Final Checklist to Start Your Home Compost Bin
- Choose a bin and location
- Gather brown and green materials
- Layer and monitor moisture
- Turn regularly and troubleshoot issues
- Harvest finished compost and apply to soil
Starting a home compost bin is a small habit that yields big benefits for your garden and the environment. Follow these steps, adapt to your space, and you’ll have rich compost to support healthier plants.