
Composting at home turns kitchen scraps and yard waste into nutrient-rich soil. This guide gives clear, practical steps to set up and maintain a compost system that fits small yards, balconies, or indoor setups.
Why Composting at Home Helps
Composting reduces landfill waste and lowers methane emissions from organic matter. It also returns nutrients to your soil, improving plant health and water retention.
Home composting saves money on fertilizer and supports a circular household routine. For many gardeners, it becomes a satisfying, low-effort habit with visible benefits.
How to Start Composting at Home
Starting composting at home requires a few simple decisions and regular but minimal maintenance. Follow these steps to get a working bin in a weekend.
1. Choose a Location and Container
Select a spot with partial shade and good drainage. If you have limited space, a small tumbler or a sealed bin on a balcony works well.
Options include stationary bins, tumblers, worm bins (vermicomposters), or simple compost piles. Each suits different household sizes and effort levels.
2. Gather Materials: Browns and Greens
Composting needs a balance of carbon-rich “browns” and nitrogen-rich “greens.” This balance helps microbes break down material efficiently.
- Greens: vegetable scraps, fruit peels, coffee grounds, fresh grass clippings.
- Browns: dry leaves, shredded paper, straw, cardboard, wood chips.
A good target is roughly 2–3 parts browns to 1 part greens by volume. Adjust as you observe moisture and smell.
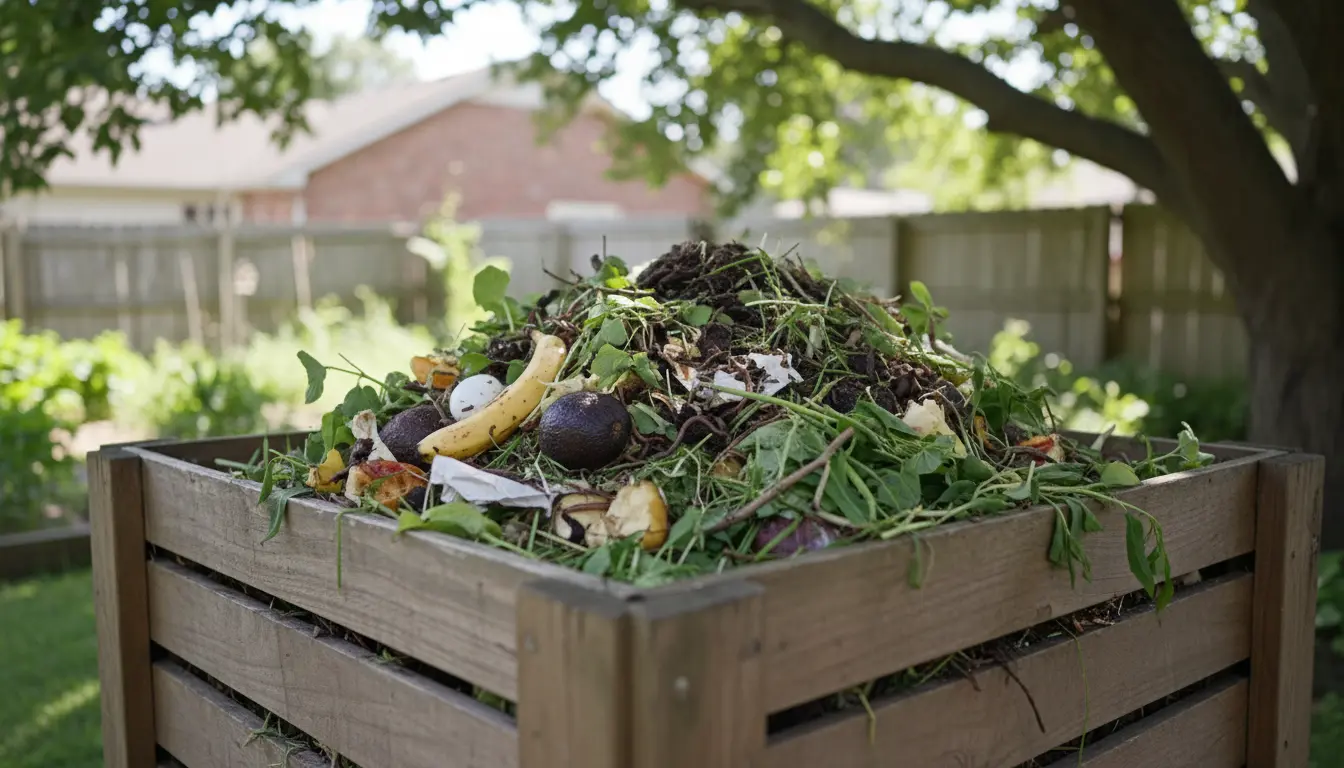
3. Build the Pile
Start with a layer of coarse browns for airflow. Alternate layers of greens and browns. Keep pieces small to speed decomposition.
Maintain moisture like a wrung-out sponge; too dry slows the process, too wet creates odors.
Choosing a Compost System
Your choice depends on space, effort, and output needs. Here are common setups and who they suit:
- Open pile: Best for large yards; low cost but less tidy.
- Compost bin: Good for small yards; contains material and looks neater.
- Tumbler: Easier turning; faster results for medium households.
- Vermicomposting: Ideal for apartments; uses worms and produces fast, rich compost.
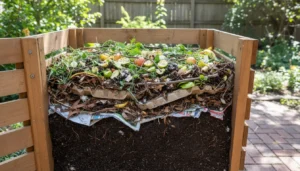
Maintaining a Healthy Compost Pile
Routine care keeps composting at home productive. Check the pile weekly for temperature, moisture, and odors.
- Turn or mix every 1–2 weeks to add oxygen and speed decomposition.
- Add dry browns if the pile is soggy, or water lightly if it’s too dry.
- Chop large items to increase surface area and reduce processing time.
Troubleshooting Common Problems
Bad smells usually mean too much moisture or greens. Fix this by adding browns and turning the pile.
If decomposition is very slow, try increasing the surface area, adding nitrogen (greens), and maintaining warmth by insulating the bin in cooler months.
What You Can and Cannot Compost
Most plant-based kitchen scraps are safe. Avoid meat, dairy, fats, and diseased plants in regular backyard compost unless you use a hot composting method.
- Safe: fruit and vegetable scraps, coffee grounds, eggshells, yard trimmings.
- Avoid in home bins: bones, meat, dairy, oils, pet waste, invasive weeds with seeds.
Composting can cut household waste by up to 30 percent and the finished compost can improve soil structure and water retention, reducing the need for frequent watering.
Small Real-World Case Study: Urban Balcony Composting
Anna, an apartment dweller, started vermicomposting in a 10-liter bin. She used coffee grounds, vegetable peels, and shredded paper. After three months she had rich compost she mixed into potted herbs.
Her tips: keep the bin in indirect light, feed small amounts regularly, and harvest worm castings every 2–3 months. This produced enough compost for four medium pots with minimal space and no odors.
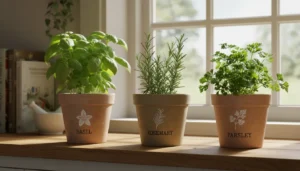
Using Finished Compost
Finished compost looks dark and crumbly and smells earthy. Use it as a top dressing, mix it into potting soil, or work it into garden beds in spring and fall.
Add compost at a rate of 1–2 inches as a soil amendment or mix 1 part compost to 3 parts soil for container plants.
Quick Checklist to Start Composting at Home
- Pick a container and location
- Collect greens and browns
- Layer materials and keep moist
- Turn regularly and monitor conditions
- Harvest finished compost and apply to plants
Composting at home is flexible and scalable. Start small, observe how your system behaves, and adjust materials and maintenance to suit your space and needs. Over time, you’ll refine a routine that reduces waste and improves your garden.