
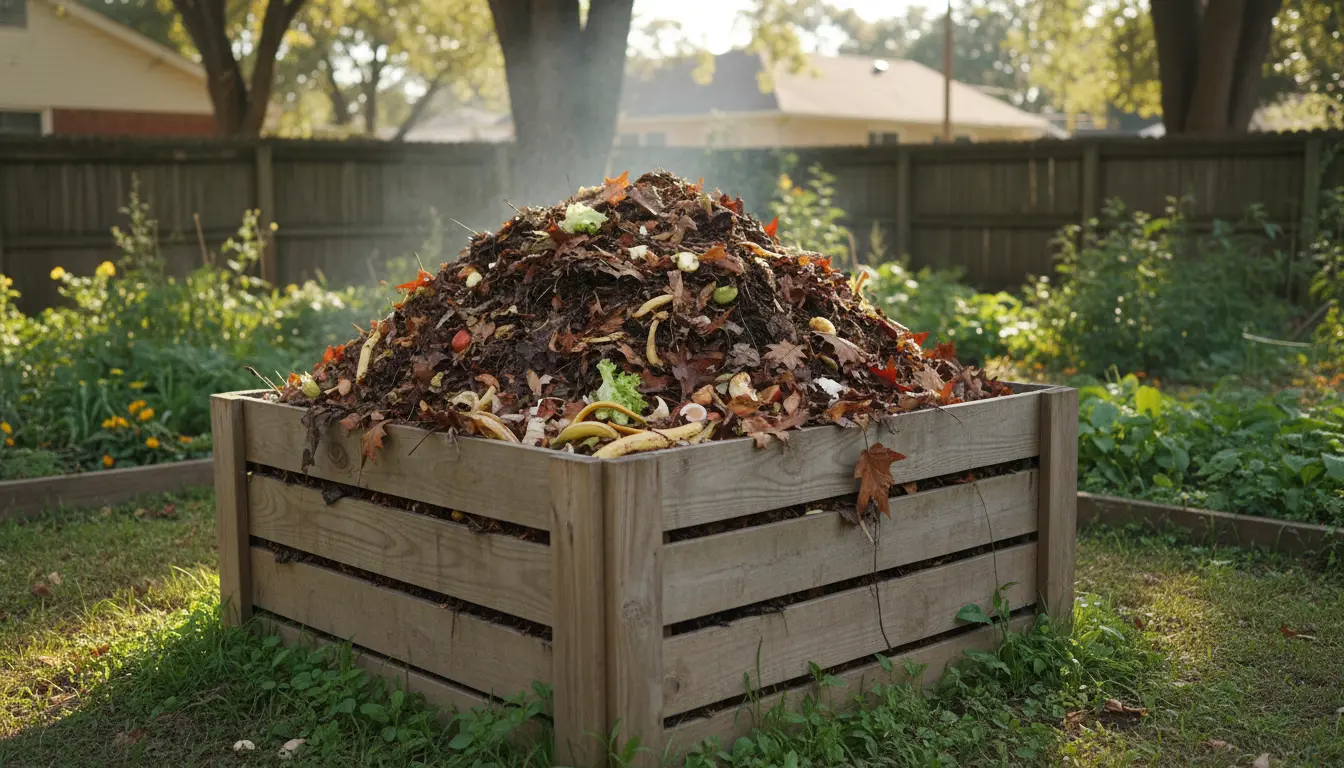
Why composting at home matters
Composting at home turns organic waste into valuable soil amendment. It reduces landfill volume and returns nutrients to your garden.
Home compost helps retain moisture, improves soil structure, and supports plants. It is a low-cost way to close the loop on food and yard waste.
How to start composting at home
Starting composting at home is straightforward when you follow a few steps. Choose the method that fits your space, time, and garden needs.
Step 1: Choose a compost method
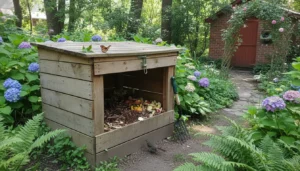
Pick from common systems like a backyard bin, tumbler, or worm composting (vermicompost). Each has pros and cons depending on space and speed.
- Backyard bin: Low cost, holds a lot, needs occasional turning.
- Tumbler: Faster aeration, easier turning, ideal for small yards.
- Vermicompost: Great for apartments and indoor use, produces nutrient-rich castings.
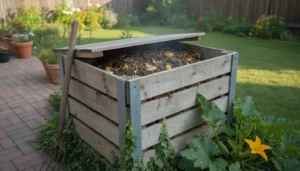
Step 2: Pick a location and a container
Place your compost bin in a partly shaded spot with good drainage and easy access. Keep it near the kitchen for convenience but not too close to living areas.

Containers range from homemade wire bins to commercial tumblers. Ensure the container retains heat and moisture while allowing aeration.
Step 3: Build the right mix
Compost needs a balanced mix of carbon rich (brown) and nitrogen rich (green) materials. Aim for roughly a 3:1 ratio by volume of browns to greens.
- Greens: vegetable scraps, fruit peels, coffee grounds, fresh grass clippings.
- Browns: dry leaves, shredded paper, straw, cardboard.
- Avoid: meat, dairy, oily foods, diseased plants, and pet waste.
Step 4: Maintain your pile
Maintain moisture like a wrung-out sponge. Turn the pile every 1–2 weeks for aerobic composting. For vermicompost, maintain gentle aeration and avoid big temperature swings.
- Temperature: Active piles heat to 120–160°F (49–71°C).
- Moisture: Add water during dry spells; add dry browns if too wet.
- Turning: Encourages faster breakdown and reduces odors.
Troubleshooting common problems when composting at home
Problems usually come from imbalance, moisture issues, or wrong materials. Troubleshoot quickly to keep the pile healthy.
Bad smells
Smelly piles are often too wet or lack oxygen. Add dry browns and turn the pile to restore airflow. Avoid adding meats or dairy that attract pests.
Slow decomposition
Slow breakdown can result from an excess of browns, cold weather, or lack of moisture. Add more greens, chop materials smaller, and keep the pile insulated.
Pests
Avoid food scraps like meat and oily foods. Use a closed container or bury kitchen scraps in the center of the pile to reduce pest attraction.
Harvesting and using finished compost
Finished compost is dark, crumbly, and smells earthy. Sift out large pieces and return them to the pile for more breakdown.
Use finished compost as a soil top dressing, mix into potting soil, or add to vegetable beds at a rate of 1–3 inches worked into the topsoil.
Simple schedule for new composters
- Daily: Add kitchen scraps to a covered container.
- Weekly: Add browns, check moisture, and turn if needed.
- Monthly: Monitor temperature and look for pests or odors.
Real-world example: A small household case study
Case study: A two-person household in suburban Austin switched to backyard composting using a tumbling composter. They collected kitchen scraps and yard trimmings for 12 months.
Results: They diverted roughly 360 pounds of organic waste in the first year. Garden benefits included improved soil moisture retention and a 20% increase in tomato yield.
Key actions that made a difference:
- Consistent brown-to-green balance (3:1).
- Weekly turning with the tumbler for faster breakdown.
- Using finished compost as a top dressing in spring and fall.
Quick checklist to start composting at home
- Choose a bin type: backyard bin, tumbler, or worm bin.
- Pick a convenient, partly shaded location.
- Collect greens and store browns nearby.
- Keep the mix moist and turn regularly.
- Harvest compost when dark and crumbly.
Composting at home is low effort and high impact. Start with small, consistent actions and adjust as you learn. Over time, you’ll reduce waste and create better soil for your plants.