
Start Composting at Home: Simple Steps to Begin
Composting at home turns kitchen scraps and yard waste into nutrient-rich soil. This guide gives clear, practical steps so you can begin composting at home without expensive equipment or advanced skills.
Read each section to decide which method fits your space and schedule, then follow the basic routine to keep your compost healthy.
Why Composting at Home Works
Composting reduces household waste and improves soil structure for gardens and potted plants. When organic materials decompose aerobically, they produce stable humus and return nutrients to the soil.
Composting at home also lowers methane emissions from landfills and can cut your trash volume significantly.
Benefits of Composting at Home
- Reduces landfill waste and greenhouse gases.
- Creates free, organic fertilizer for soil health.
- Improves moisture retention and plant growth.
- Costs little and requires minimal tools.
How to Start Composting at Home
Choose a compost method that matches your living situation: open pile, bin, tumbler, or worm composting for indoors. Each has pros and cons for space, maintenance, and speed.

Below are steps to start a simple backyard bin or a small indoor system for apartment dwellers.
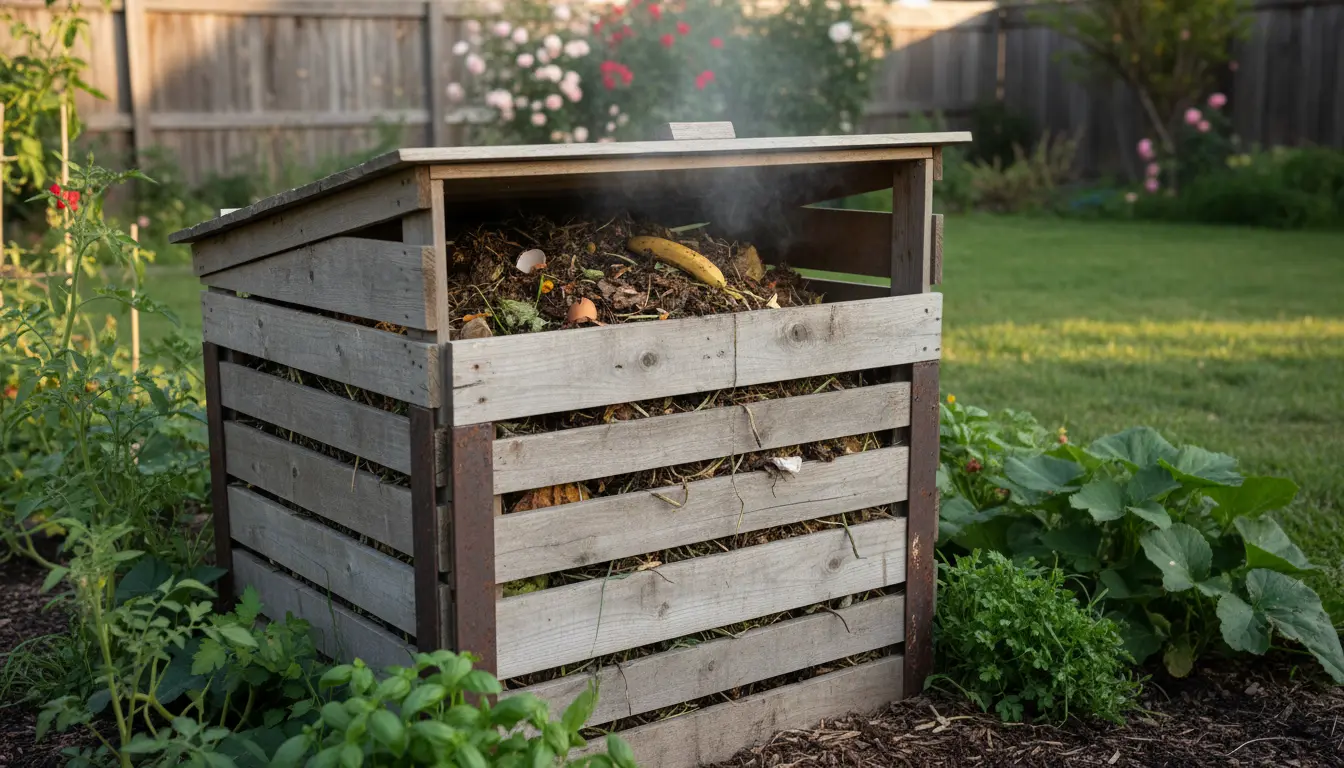
Step 1: Pick a Location and Container
For outdoor composting at home, place the bin on bare soil in partial shade to allow drainage and access to soil organisms. For small spaces, use a sealed compost bin or worm composter indoors.
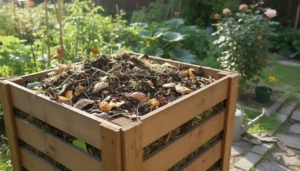
Common container options include: wooden pallets, plastic compost bins, tumblers, or a simple enclosed container for balcony use.
Step 2: Balance Greens and Browns
Healthy compost needs a balance of green (nitrogen-rich) and brown (carbon-rich) materials. Aim for roughly 2–3 parts brown to 1 part green by volume.
- Greens: vegetable scraps, fruit peels, coffee grounds, fresh grass clippings.
- Browns: dry leaves, straw, shredded paper, cardboard, small wood chips.
If your pile smells, add more browns. If decomposition is slow, add more greens and water.
Step 3: Maintain Moisture and Aeration
Compost should feel like a wrung-out sponge — moist but not dripping. Water occasionally during dry periods, and cover with a lid or tarp if heavy rain threatens to waterlog the pile.
Turn or aerate the pile every 1–2 weeks for faster decomposition. Tumblers make turning simple; with static bins, use a pitchfork to mix layers.
Step 4: Know What Not to Compost
Avoid adding meat, dairy, oils, diseased plants, or pet waste to home compost. These items attract pests, create odors, and can introduce pathogens.
Also avoid large branches or thick woody material unless chipped or shredded to speed breakdown.
Troubleshooting Composting at Home Problems
Common issues like bad smells, slow breakdown, or pests are usually easy to fix. The key is adjusting balance, moisture, and aeration.
Problem: Smelly Compost
Cause: Too many greens or anaerobic conditions. Remedy: Add brown materials, turn the pile, and aerate. Keep moisture moderate.
Problem: Compost Not Breaking Down
Cause: Too dry, too much brown material, or lack of nitrogen. Remedy: Add water, add greens or a nitrogen source like grass clippings or a handful of blood meal, and increase surface area by shredding materials.
Problem: Fruit Flies or Rodents
Cause: Exposed food scraps or unsecured bin. Remedy: Bury food scraps under brown layers, use sealed bins, or switch to a closed tumbler. Avoid adding meat or oily foods.
One household can divert up to 30% of its waste from the bin by composting kitchen and yard scraps. That adds up to hundreds of pounds per year.
Composting at Home: Quick Tips and Examples
Small habits make composting manageable and consistent. Use these quick tips to keep momentum and avoid common mistakes.
- Collect kitchen scraps in a small counter caddy with a lid to reduce trips and smells.
- Shred cardboard and egg cartons before adding—smaller pieces decompose faster.
- Layer greens and browns instead of dumping large amounts of one type at once.
- Use finished compost as a top dressing for pots, lawns, or garden beds.
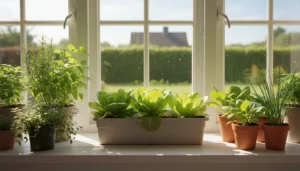
Real-World Example: A Small Balcony Compost Case Study
Case: Maria lives in a two-bedroom apartment with a small balcony. She started a 10-liter worm bin and a sealed countertop caddy.
Action: Maria collected vegetable scraps and coffee grounds, added shredded paper for browns, and fed her worms daily. She monitored moisture and harvested compost every three months.
Result: In six months Maria produced enough vermicompost to top-dress her potted herbs and reduce her trash by two bags per month. The process required about 10 minutes of maintenance per week.
When Is Compost Ready to Use?
Finished compost looks dark, crumbly, and earthy-smelling with no recognizable food bits. Depending on method and conditions, composting at home can take 2 months to a year.
Use finished compost as a soil amendment, mulch, or potting mix ingredient, usually at 10–30% by volume when mixing with existing soil.
Final Checklist for Successful Composting at Home
- Choose a bin or method that fits your space.
- Maintain a 2–3:1 ratio of browns to greens.
- Keep compost moist and aerated; turn regularly.
- Avoid banned items like meat and dairy.
- Harvest finished compost and use it in your garden or pots.
Composting at home is both practical and rewarding. With a small initial effort and regular attention to balance and moisture, you can transform waste into a valuable resource for your plants.