
Composting at home turns kitchen scraps and yard waste into rich soil for gardens. This guide explains how to set up, maintain, and troubleshoot a home compost bin with practical steps you can apply today.
Why start a home compost bin
Home composting reduces household waste, lowers garbage costs, and creates nutrient-rich compost for plants. It also reduces methane emissions that occur when food waste decomposes in landfills.

Many homeowners and renters can use a compact bin, tumbler, or simple pile to compost successfully. The key is balancing materials, moisture, and airflow.
How to set up a home compost bin
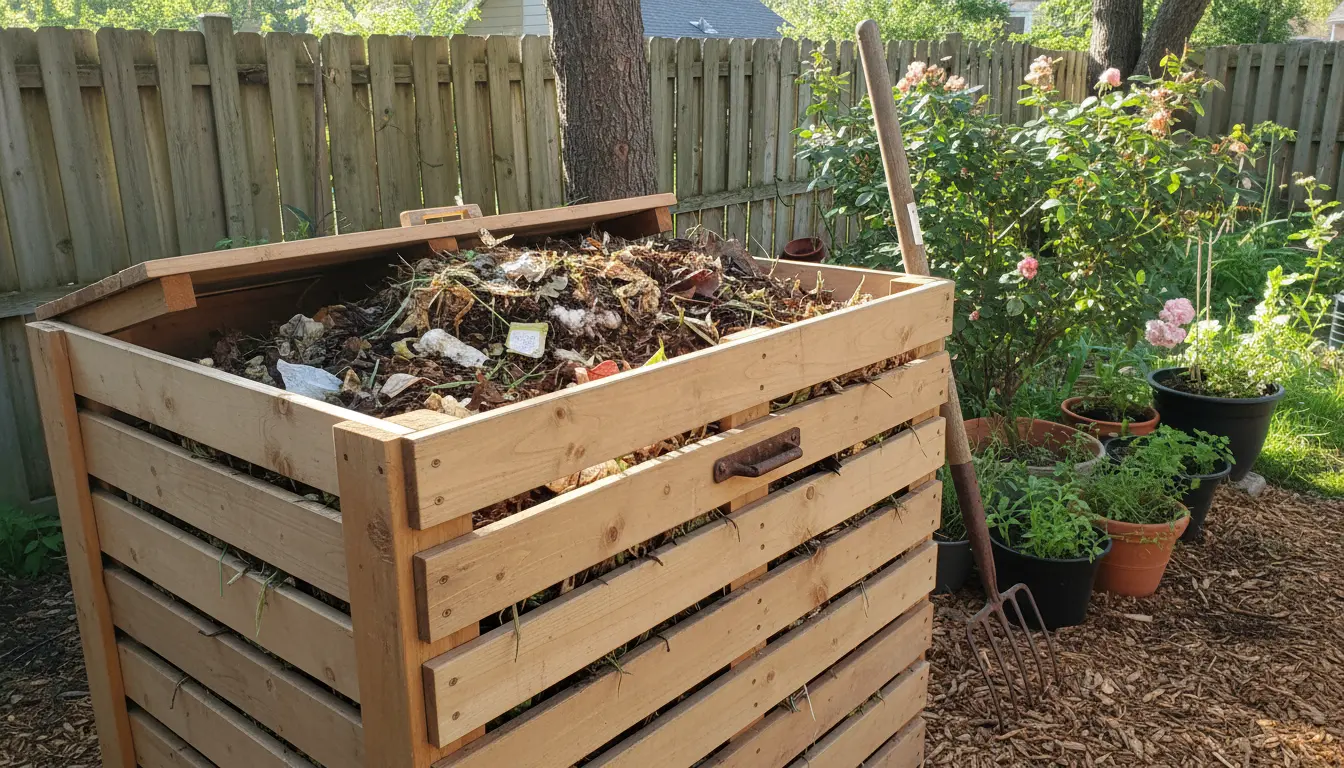
Choose a container that fits your space and needs. Options include enclosed tumblers, plastic bins with holes, wooden bays, or a simple open pile for larger yards.
Selecting the right location for your home compost bin
Place the bin on bare soil or a level surface with good drainage. A shaded area near a garden bed is ideal to keep moisture even and to make it easy to use the finished compost.
Materials to add to a home compost bin
Use a mix of “browns” (carbon-rich) and “greens” (nitrogen-rich). Aim for a roughly 2:1 volume ratio of browns to greens to support steady decomposition.
- Browns: dried leaves, straw, shredded paper, cardboard
- Greens: vegetable scraps, fresh grass clippings, coffee grounds
- Avoid: meat, dairy, oily foods, diseased plants, and pet waste from carnivores
How to start the pile in your home compost bin
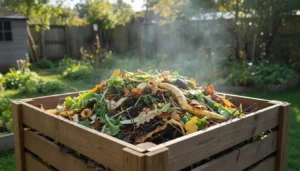
Begin with a 4–6 inch base layer of coarse browns for airflow. Add alternating layers of greens and browns, keeping materials small to speed breakdown. Water each layer lightly until the pile is as damp as a wrung-out sponge.
Maintaining a home compost bin
Active maintenance accelerates composting and prevents problems. Key tasks are turning, monitoring moisture, and adding the right materials.
Turning and aeration for a home compost bin

Turn the compost every 1–2 weeks with a garden fork or by rotating a tumbler. Turning adds oxygen and distributes moisture and heat, which speeds decomposition and prevents odors.
Moisture and temperature for your home compost bin
Compost should stay moist but not soggy. If it smells sour or looks slimy, add more browns and turn the pile. A properly balanced bin will heat to 120–140°F (49–60°C) during active composting, which helps kill weed seeds and pathogens.
Troubleshooting a home compost bin
Common issues have straightforward fixes. Identify the symptom and follow the suggested action below.
- Bad smells: Add dry browns, turn to add air, and reduce wet food scraps.
- Too dry: Add water and some greens, then turn to mix.
- Slow decomposition: Chop materials smaller, increase greens, and check moisture and temperature.
- Pests (rats, raccoons): Use a secure bin with a lid and avoid adding meat or oily foods.
Composting can reduce household waste sent to landfills by up to 30 percent. Even small urban bins can divert a significant portion of kitchen waste.
How to know when compost is ready from your home compost bin
Finished compost is dark, crumbly, and earthy-smelling. It should be free of recognizable food scraps and cool to the touch. This process may take 2–6 months depending on materials and maintenance.
Use finished compost as a soil amendment, potting mix ingredient, or mulch around plants to improve soil structure and fertility.
Quick tips and examples for a home compost bin
- Chop scraps: Smaller pieces break down faster.
- Layering: Alternate thin layers of browns and greens.
- Keep a kitchen caddy: Store scraps in a small container and empty into the bin daily to avoid pests.
- Compost tea: Steep finished compost in water for a mild liquid fertilizer.
Case study: One-family home compost bin success
A suburban family replaced their weekly kitchen waste bin with a 50-gallon tumbler. They balanced food scraps with yard waste and turned the tumbler weekly. Within four months they harvested compost and reduced their trash by about 40 percent.
They used the compost on vegetable beds and reported stronger plant growth and better soil moisture retention in summer. Their main change was consistently adding shredded leaves and cardboard when food scraps increased.
Final checklist to start your home compost bin
- Choose the right bin and location.
- Gather browns and greens; aim for a 2:1 ratio of browns to greens.
- Keep the pile moist and turn it every 1–2 weeks.
- Troubleshoot odors, pests, or dryness promptly.
- Use finished compost to enrich soil and reduce synthetic fertilizer use.
Starting a home compost bin is straightforward and flexible. With basic materials and a small routine, you can cut household waste and create valuable compost for your garden.