
Why Start Home Composting
Home composting reduces kitchen and yard waste while creating nutrient-rich soil for plants. It is a low-cost, practical way to close the loop on organic waste and improve garden health.
Anyone with outdoor space or even a small balcony can compost with the right approach. This guide focuses on simple steps to start and maintain a compost bin at home.
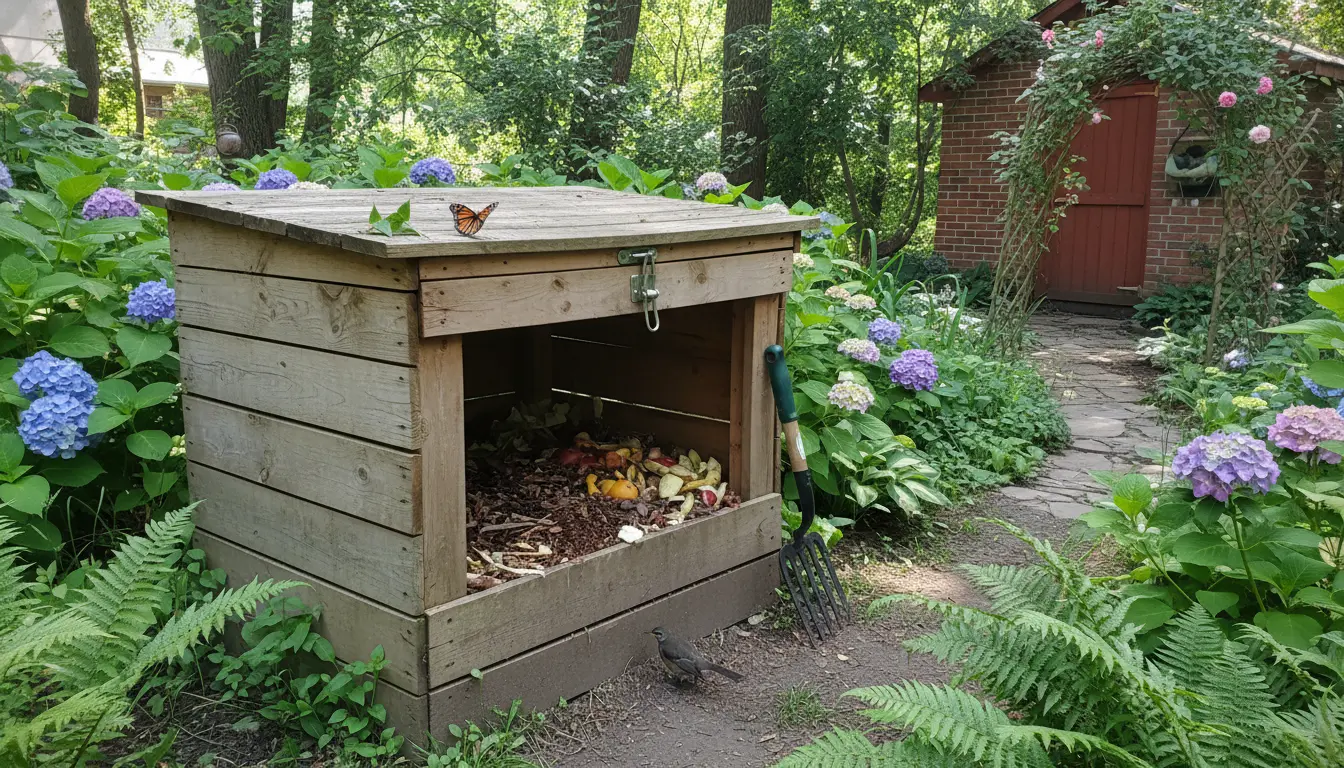
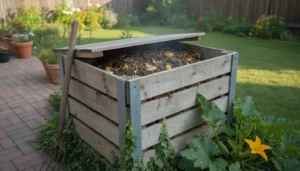
Choosing a Compost Bin for Home Composting
Select a bin that matches your space, budget, and the amount of waste you produce. Common options include tumblers, insulated plastic bins, and simple open compost piles.
Consider these factors when choosing a bin:
- Size: Match capacity to household waste (20–60 gallons for small families).
- Access: Easy flipping or turning makes maintenance simpler.
- Pest control: Sealed or elevated bins help deter rodents.
- Placement: A partly shaded, well-drained spot speeds decomposition.
What to Compost
Good compost needs a balance of carbon-rich and nitrogen-rich materials. Aim for a mix rather than relying on a single type of waste.
Typical materials to include:
- Greens (nitrogen): fruit and vegetable scraps, coffee grounds, fresh grass clippings.
- Browns (carbon): dry leaves, shredded paper, cardboard, straw.
- Small amounts of garden pruning and plant trimmings.
Materials to avoid: meat, dairy, oily foods, diseased plants, and pet waste. These can attract pests or introduce pathogens.
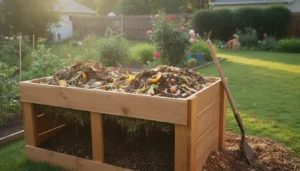
How to Maintain Your Compost Bin
Maintenance centers on three elements: airflow, moisture, and particle size. Regular attention keeps decomposition active and odor-free.
Airflow and Turning

Aerobic microbes need oxygen to break down material efficiently. Turn the pile every 1–2 weeks with a pitchfork or use a tumbler for easy aeration.
Turning distributes heat and speeds decomposition. If the pile cools, frequent turning and adding fresh greens can revive activity.
Moisture Management
Compost should be as damp as a wrung-out sponge. Too dry and microbes slow down; too wet and the pile becomes anaerobic and smelly.
Adjust moisture by adding water or layering more browns to absorb excess. Covering the bin during heavy rain helps prevent waterlogging.
Particle Size and Layering
Smaller pieces decompose faster. Chop or shred large items before adding them. Build layers of greens and browns to maintain balance.
Example layering routine:
- Start with coarse browns for drainage.
- Add a thin layer of greens.
- Cover greens with a thicker layer of browns.
- Repeat until the bin is full, then turn every 1–2 weeks.
Troubleshooting Common Problems in Home Composting
Problems are usually easy to fix once you identify the cause. Check smell, temperature, and pests to diagnose issues quickly.
- Bad odor: Often due to anaerobic conditions. Turn the pile and add dry browns.
- Slow decomposition: Likely too dry, too cold, or lacking nitrogen. Add water and greens.
- Pests: Use closed bins, avoid meat and dairy, and bury food scraps under browns.
How to Know When Compost Is Ready
Finished compost is dark, crumbly, and earthy-smelling. Most home systems produce usable compost in 3–12 months, depending on management and materials.
Test readiness by placing a small amount around plant roots; if it doesn’t heat up or smell, it is mature and safe to use.
Using Finished Compost
Use finished compost to enrich garden beds, potting mixes, or as a top-dressing for lawns. A typical application is 1–2 inches of compost over soil, then lightly mix it in.
Compost improves soil structure, water retention, and nutrient content. It also supports beneficial microbial life in the soil.
Adding small amounts of crushed eggshells supplies calcium to compost and helps reduce acidity. Rinse shells before composting to limit odors.
Simple Case Study: Balcony Composting in a Small Apartment
Maria, a city renter with a small balcony, started a 10-gallon tumbler to compost kitchen scraps. She layered shredded paper with fruit and vegetable scraps and turned the tumbler twice a week.
Within six months she had enough compost to refresh three potted herb plants. Key actions that worked for her were shredding material for faster breakdown and keeping the tumbler shaded to maintain moisture balance.
Quick Start Checklist for Home Composting
- Choose a bin suited to your space and waste levels.
- Balance greens and browns (aim for roughly 2–3 parts brown to 1 part green).
- Turn regularly and monitor moisture.
- Avoid meat, dairy, and pet waste.
- Harvest finished compost and use it in your garden.
Final Tips for Successful Home Composting
Start small and adjust as you learn. Composting is forgiving; simple fixes like adding browns or turning the pile usually solve most issues.
Regular, light maintenance pays off with rich soil that benefits plants and reduces household waste. Begin with basic steps and expand your system as you become more confident.