
Composting at home turns kitchen and yard waste into useful soil material. This guide gives clear steps, tools, and troubleshooting tips to start home composting today.
Why Home Composting Matters
Home composting reduces landfill waste and returns nutrients to soil. It also lowers household trash volume and can improve garden health.
Environmental and Practical Benefits of Home Composting
Composting cuts methane emissions from landfills and reduces the need for chemical fertilizers. It also saves money on garden amendments and improves soil water retention.
Food scraps make up about 20 to 30 percent of household waste in many countries. Composting those scraps can significantly reduce your trash and nourish your garden.
What You Need to Start Home Composting
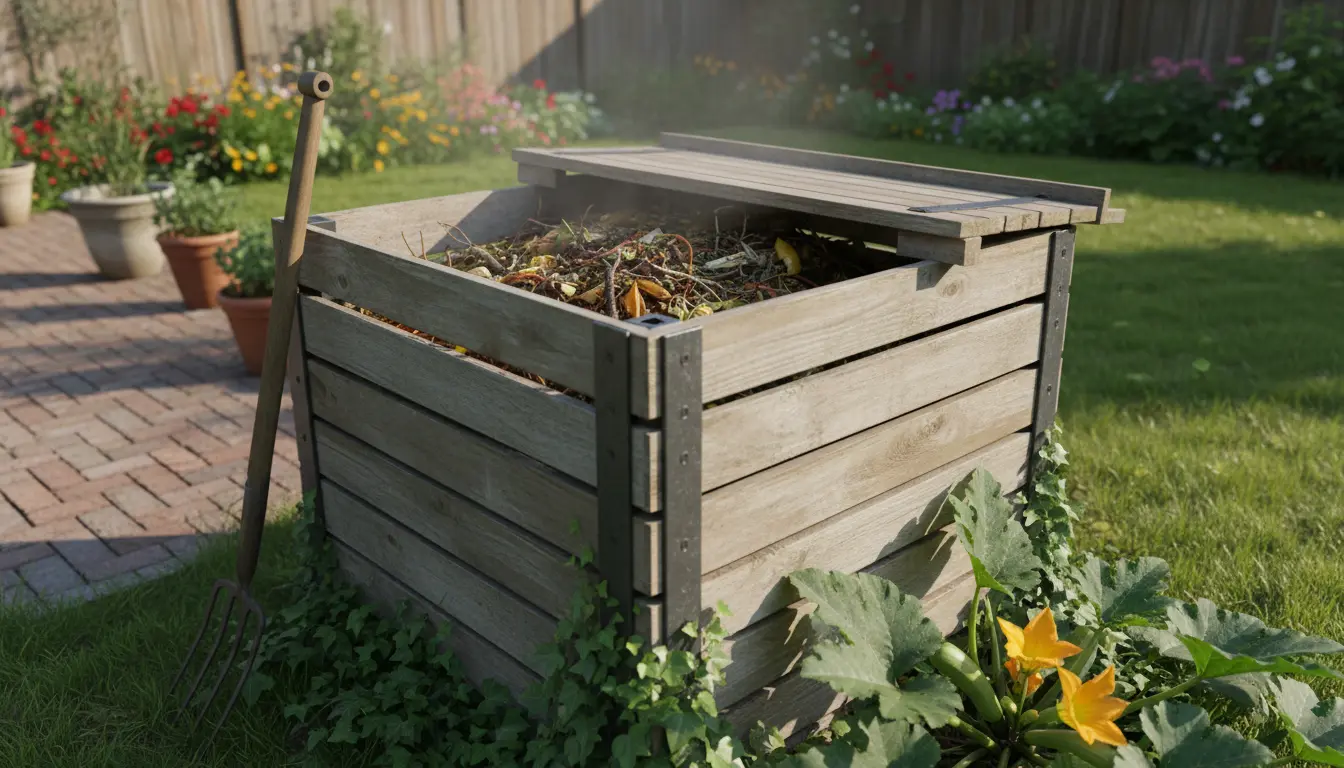
Starting home composting does not require fancy equipment. Most beginners choose between a simple pile or a closed bin based on space and aesthetics.
Containers, Materials, and Location for Home Composting
Choose a well-drained spot with partial sun. Options include tumblers, stationary bins, or an open pile. Each works; choose what fits your yard and routine.
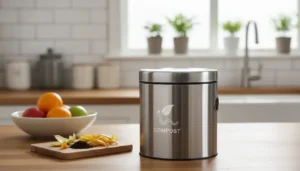
- Basic container choices: compost bin, tumbler, or open heap.
- Essential tools: garden fork, watering can, and a secure lid for bins.
- Good materials: kitchen scraps, yard trimmings, shredded paper.
Step-by-Step Home Composting Process
Follow a simple cycle of adding, aerating, and moisture control to keep decomposition steady. Regular attention speeds results.
Balancing Greens and Browns in Home Composting
Balance nitrogen-rich “greens” with carbon-rich “browns.” A common target ratio is roughly 1 part greens to 2 or 3 parts browns by volume.
- Greens: fruit and vegetable scraps, coffee grounds, fresh grass clippings.
- Browns: dry leaves, straw, shredded cardboard, paper.
Layer materials as you build the pile, or mix small amounts regularly for even breakdown.
Turning, Moisture, and Troubleshooting
Turn the pile every 1–2 weeks to add oxygen and distribute heat. The pile should feel like a wrung-out sponge: moist but not dripping.
Troubleshoot by adjusting balance: add browns if it smells, add greens or water if it is too dry, and turn more often if decomposition stalls.
Common Problems and Solutions in Home Composting
Beginner composters often face odors, pests, or slow breakdown. Most issues have simple fixes that restore good composting conditions.
Bad Odors, Pests, and Slow Decomposition
Bad odors usually mean too many greens or poor aeration. Add dry browns and turn the pile to fix this.
Pests are attracted to exposed food scraps. Bury scraps under browns and use a closed bin or secure lid to reduce visits from animals.
Slow decomposition can result from dryness or large pieces. Chop materials smaller and keep moisture moderate to speed up the process.
Real-World Example: Backyard Compost for a Family of Four
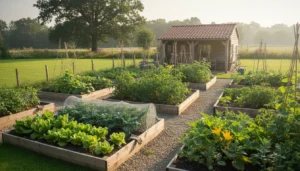
A family of four produced an average of two buckets of kitchen scraps per week. They chose a 200-liter bin and a small outdoor area with morning sun.
They layered browns and greens, turned the bin every 10 days, and added water during dry spells. After four months they had crumbly compost used for vegetable beds.
Result: reduced trash by one bag per week and improved tomato yields the following season.
Quick Tips and Maintenance Schedule for Home Composting
- Weekly: Add food scraps and a cover layer of browns.
- Every 1–2 weeks: Turn or mix the pile to add air.
- Monthly: Check moisture and add water or browns as needed.
- Every 3–6 months: Harvest finished compost from the bottom or side of the bin.
Labeling a small calendar or setting a reminder helps maintain a steady routine that produces consistent compost.
Resources and Further Reading on Home Composting
Local extension services and municipal recycling sites often provide region-specific guidance and restrictions. Look for composting workshops or guides from trusted local sources.
Using practical steps and a simple schedule will let you turn household waste into valuable compost without significant effort.