
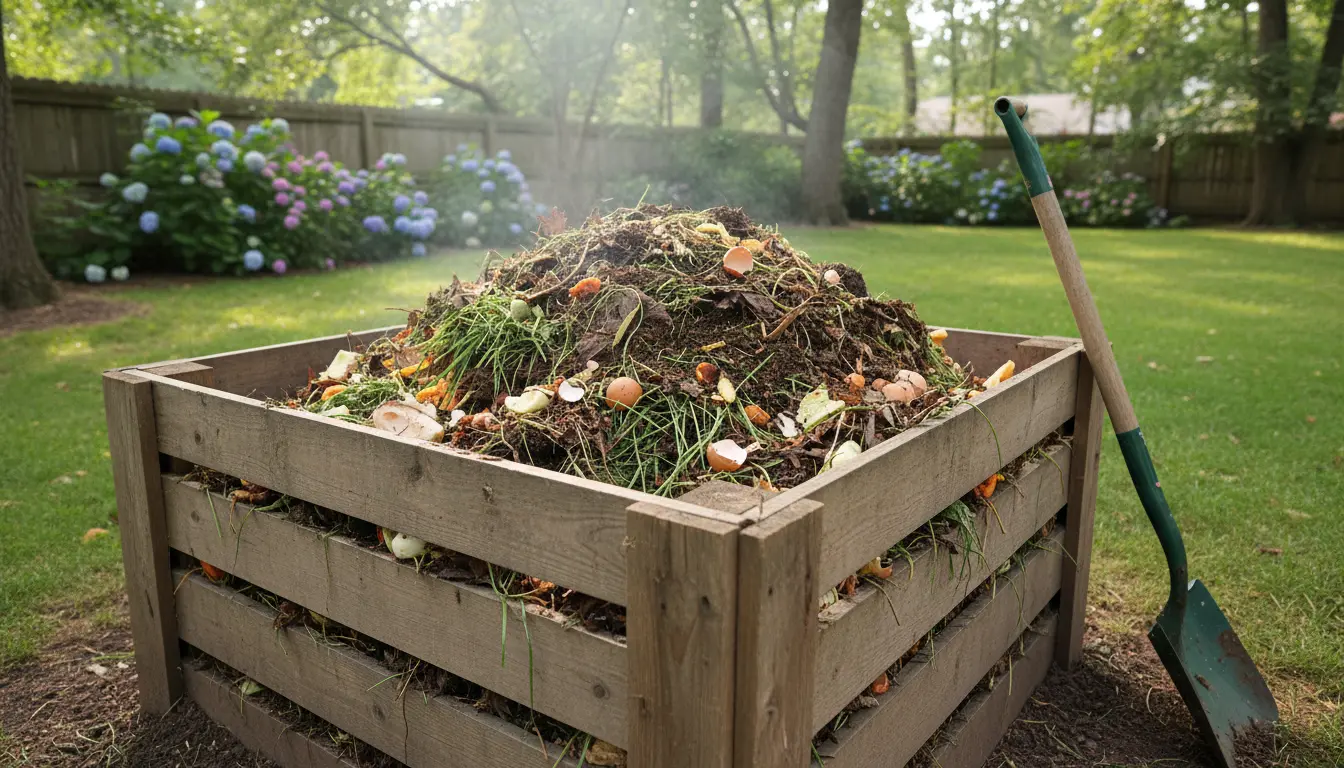
Why home composting matters
Home composting turns kitchen scraps and yard waste into a nutrient-rich soil amendment. It reduces landfill waste and improves garden health without special equipment.
This guide shows simple, practical steps to start composting at home and avoid common mistakes.
Home composting basics

Composting is a controlled breakdown of organic material by microbes and invertebrates. You need three things: carbon (browns), nitrogen (greens), and moisture.
Most successful home systems balance these elements and provide occasional aeration.
What to compost
Typical compostable items include fruit and vegetable scraps, coffee grounds, eggshells, yard clippings, and shredded paper. Avoid meat, dairy, oily foods, and diseased plants in small backyard bins.
- Greens (nitrogen): vegetable scraps, coffee grounds, fresh grass clippings.
- Browns (carbon): dry leaves, straw, shredded newspaper, cardboard.
- Optional: small amounts of wood ash and garden soil to add minerals and microbes.
Choosing a compost system

Pick a method that fits your space and lifestyle. Options include a simple heap, a covered bin, a tumbling composter, or a worm (vermicompost) setup for apartments.
- Open heap: low cost, needs space and occasional turning.
- Covered bin: neat, keeps pests out, retains heat and moisture.
- Tumbler: faster mixing, easier turning but more expensive.
- Vermicompost: indoors-friendly, great for small spaces and kitchen waste.
How to start home composting
Start in three simple steps: build the base, add materials in layers, and maintain moisture and airflow. These small actions set the stage for steady decomposition.
Step 1: Build the base
Place your bin on soil or a well-draining surface. A 3×3 foot pile is manageable and heats up well. If using a bin, leave vents or holes for airflow.
Step 2: Layer materials
Begin with a coarse layer like twigs to aid drainage. Alternate thin layers of greens and browns. Aim for roughly 2–3 parts browns to 1 part greens by volume.
- Start: twigs or straw (2–3 inches)
- Second: greens (1–2 inches)
- Next: a thicker brown layer (3–4 inches)
- Repeat until full
Step 3: Maintain your pile
Keep the pile as moist as a wrung-out sponge. Too dry and microbes slow down; too wet and it smells. Turn the pile every 1–2 weeks to add oxygen and speed up breakdown.
Troubleshooting common problems in home composting
Knowing common issues makes it easier to fix them quickly. Most problems relate to moisture, balance, or pests.
Bad odors
Smells usually mean excess nitrogen or poor aeration. Fix it by adding more browns, turning the pile, and ensuring drainage.
Slow decomposition
When compost is slow, check moisture and particle size. Chop or shred materials, add water if dry, and turn more often to speed the process.
Pests
Raccoons, rodents, and flies are attracted by meat, dairy, and open food scraps. Use a covered bin, bury food under browns, and avoid prohibited items.
Compost can reduce household waste by up to 30 percent and returns valuable nutrients to soil, improving water retention and plant growth.
Speed tips for home composting
Want finished compost faster? Increase surface area, maintain heat, and balance materials.
- Shred or chop scraps to increase microbe access.
- Stack a bigger pile (at least 3 feet wide) to retain heat.
- Turn weekly to keep oxygen levels high.
- Use a compost starter or a handful of garden soil to introduce microbes.
When is compost ready?
Finished compost is dark, crumbly, and smells earthy. It usually takes 2–6 months in a well-managed home system and longer if left untouched.
Using finished compost in your garden
Mix compost into garden beds, use as a top dressing for lawns, or blend it into potting mixes. Start with 1–3 inches in garden beds and 10–20 percent by volume in potting soil.
Examples of use
- Vegetable beds: mix 2 inches compost into the top 6–8 inches of soil before planting.
- Container plants: blend 1 part compost with 4 parts potting mix for better moisture retention.
- Lawns: spread a thin layer (1/4–1/2 inch) and water to improve soil health over time.
Small real-world case study: A family backyard bin
Case study: A four-person household started a 3×3 foot covered bin in spring. They collected kitchen scraps and yard waste for 9 months.
- Inputs per week: about 6 liters of kitchen scraps + weekly yard clippings.
- Actions: layered materials, turned every 2 weeks, kept moist.
- Results: usable compost after 4 months and 50 percent reduction in household waste sent to the curb.
This example shows consistent effort and simple maintenance produce steady results.
Final tips for successful home composting
Start small, be consistent, and learn by observing your pile. Adjust brown-to-green ratios and turning frequency based on smell and speed of decomposition.
Composting is flexible—find a method that fits your schedule and living situation, and you’ll turn waste into a valuable garden resource.