
Home Composting Basics
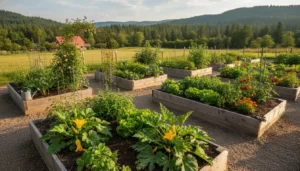
Home composting turns kitchen scraps and yard waste into rich soil amendment. It reduces waste, improves garden soil, and saves money on fertilizers.
This guide gives a practical, step-by-step approach for beginners so you can set up a reliable compost system at home.
What Is Home Composting
Composting is the controlled decomposition of organic materials by microorganisms. At home, you can manage a compost pile, bin, or tumbler to produce finished compost in a few months.
Key elements are carbon, nitrogen, moisture, and air. Balancing these creates the right environment for microbes.
What to Compost at Home
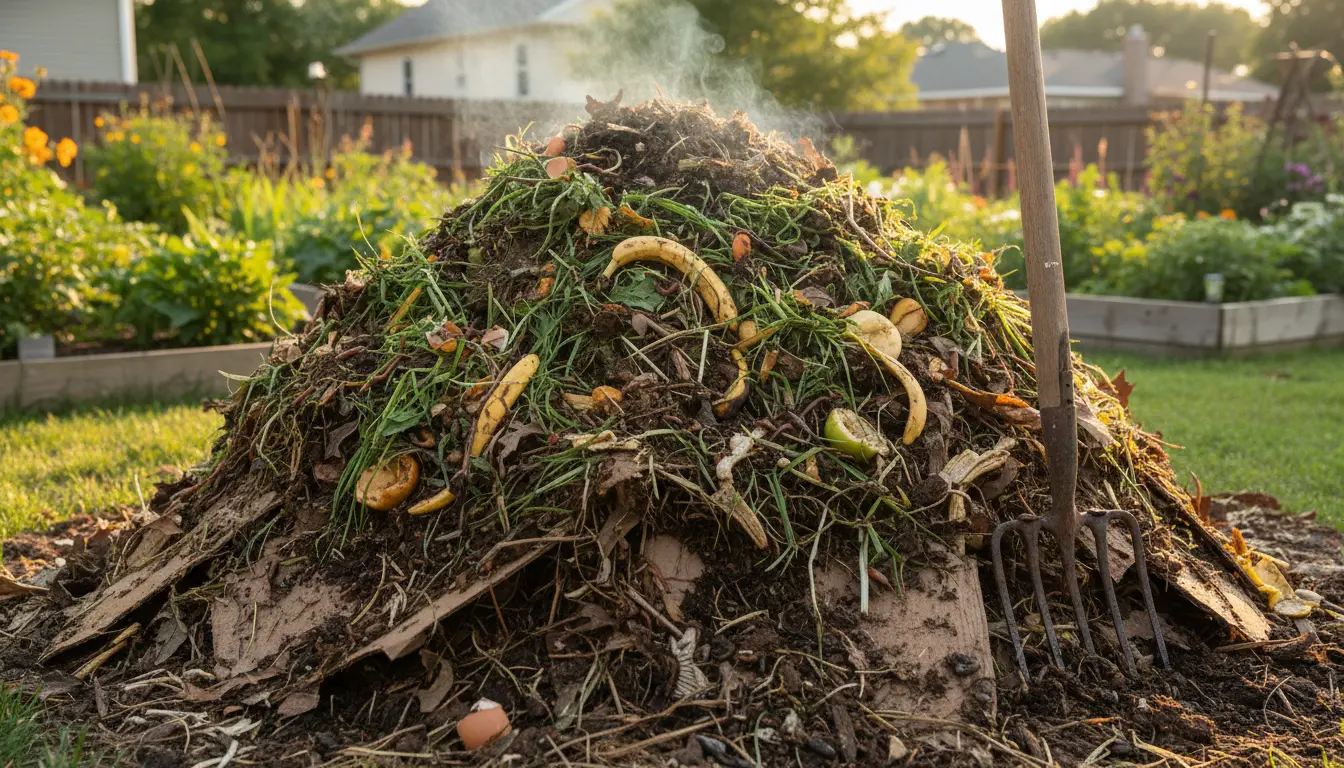
Start with common household and garden materials that break down easily. Avoid items that slow decomposition or attract pests.
Good Materials (Greens and Browns)
- Greens (nitrogen): vegetable scraps, fruit peels, coffee grounds, grass clippings.
- Browns (carbon): dry leaves, straw, shredded paper, cardboard.
- Small amounts of plant trimmings, eggshells, and sawdust are fine.
Materials to Avoid
- Meat, fish, dairy, oily foods (can attract pests and smell).
- Diseased plants or weeds that set seed (risk spreading).
- Large branches or non-biodegradable items like plastics.
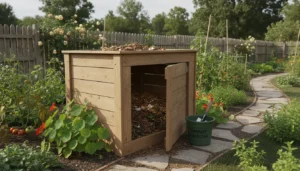
How to Start a Home Compost Bin
Choose a method that fits your space and lifestyle: open pile, enclosed bin, or tumbler. Each has trade-offs in speed, odor control, and effort.
Step-by-Step Setup
- Select a spot with partial shade and good drainage, near a water source if possible.
- Prepare a base layer of coarse material (small branches or straw) to improve airflow.
- Add alternating layers of greens and browns. Aim for roughly 2–3 parts brown to 1 part green by volume.
- Moisten each layer so it feels like a wrung-out sponge—too wet slows decomposition; too dry stops it.
- Turn or mix the pile every 1–2 weeks to add oxygen and speed up breakdown.
Maintaining Your Home Compost
Maintenance keeps the process active and prevents odors. Regular attention is simple and quick once you have a routine.
Routine Tasks
- Add a mix of greens and browns with each kitchen run.
- Moisten or cover the pile in dry weather; aerate in compacted piles.
- Turn the pile to reintroduce oxygen and redistribute moisture.
How to Tell When Compost Is Ready
Finished compost is dark, crumbly, and smells earthy. Most home systems produce usable compost in 3–9 months depending on management and materials.
Screen compost through a mesh to remove large bits; return those to the bin for further breakdown.
Troubleshooting Common Compost Problems
Problems are usually due to imbalanced ingredients, moisture, or lack of airflow. Fixes are straightforward and low cost.
Bad Odor
If your compost smells sour or rotten, it’s too wet or has too much green material. Add dry browns and turn the pile to reintroduce air.
Pests
Raccoons or rodents are attracted by meat, dairy, or exposed food scraps. Use a closed bin, bury food in the center, or use indoor kitchen caddies with carbon filters.
Slow Decomposition
Mixing large particles, low nitrogen, or dry conditions slow the process. Chop materials smaller, add greens like grass clippings, and moisten the pile as needed.
Small Real-World Example: Balcony Composting Case Study
Maria, an apartment dweller, started composting on a small balcony using a 20-liter tumbler. She composted vegetable scraps, coffee grounds, and shredded paper only.
Within six months she had enough finished compost to top-dress two container plants. Her routine took 10 minutes each week: adding scraps, tumbling, and checking moisture.
This shows that even limited-space households can get useful compost with modest effort and the right system.
Practical Tips and Examples
- Kitchen caddy: keep a small lidded container for scraps and empty it into the bin every 2–3 days.
- Shredding helps: chopping or shredding materials speeds decomposition significantly.
- Winter care: composting slows in cold months—insulate the bin or add more material to keep cores warm.
Final Checklist to Start Home Composting
- Choose your system: open pile, bin, or tumbler.
- Gather browns and greens and a small turning tool (pitchfork or compost aerator).
- Locate the bin in a convenient, well-drained spot.
- Monitor moisture and air; adjust by adding browns or turning.
- Be patient—quality compost takes a few months but yields long-term benefits.
Home composting is a low-cost, practical way to reduce waste and improve soil. With basic setup and simple weekly care, most beginners produce useful compost within a season.