
Why start home composting
Home composting turns kitchen scraps and yard waste into a useful soil amendment. It reduces household waste, improves garden soil, and saves money on fertilizers and bagged soil.
This guide gives clear, practical steps to start and maintain a working compost system at home. No fancy equipment or technical background required.
Home composting basics
Compost is the result of organic matter breaking down through the action of microbes and small organisms. The process requires three main elements: carbon, nitrogen, and air.
Balancing these elements makes the pile heat up and decompose efficiently. With attention to layers and moisture, you can avoid odors and pests.
Key components for home composting
- Carbon-rich ‘browns’ — dry leaves, paper, cardboard, straw.
- Nitrogen-rich ‘greens’ — vegetable scraps, coffee grounds, fresh grass clippings.
- Air — turn the pile or use an aerated bin to keep oxygen available.
- Moisture — the pile should feel like a wrung-out sponge, not soggy.
Choosing a bin for home composting
Select a system that fits your space and habits. Popular options include open piles, tumblers, and stationary bins.
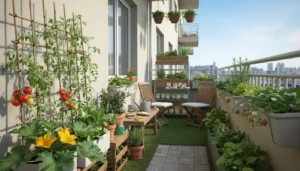
Consider size, ease of turning, and access. Small households often do well with a 50-100 gallon bin or a compact tumbler.
Bin types and pros/cons
- Open pile: Low cost, easy to start, needs more space and manual turning.
- Stationary bin: Controls appearance, retains heat, needs occasional aeration with a fork.
- Tumbler: Easy to aerate by rotating, less manual turning, more expensive but tidy.
How to build and maintain your compost
Start with a base layer of coarse materials like twigs to aid drainage. Alternate layers of browns and greens, aiming for roughly a 3:1 ratio by volume of browns to greens.
Turn the pile every 1–2 weeks to add oxygen. If using a tumbler, rotate it several times each week.
Daily and weekly tasks
- Add kitchen scraps and yard waste as they accumulate.
- Chop or shred large items to speed decomposition.
- Monitor moisture and add water or dry material to correct it.
- Turn or rotate to prevent anaerobic zones and odors.
What to compost and what not to compost
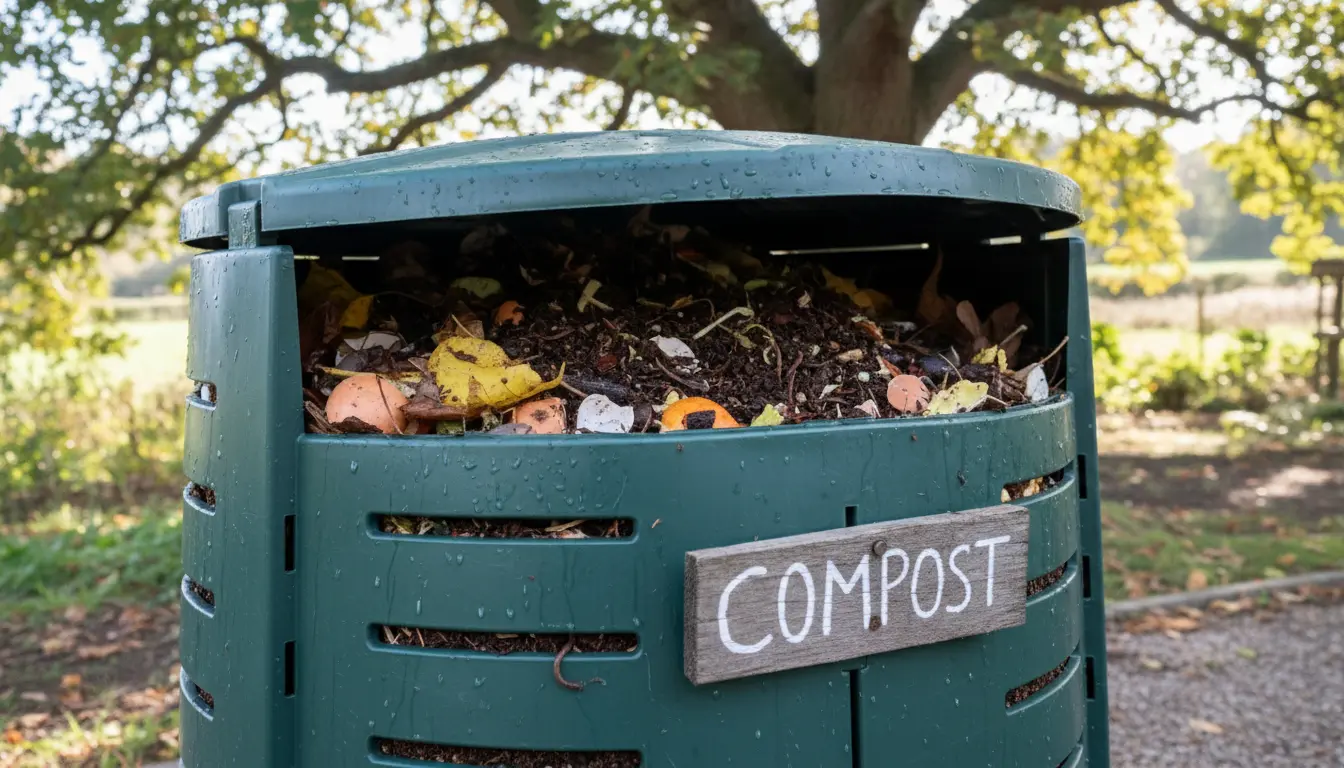
Good items to compost include fruit and vegetable scraps, coffee grounds, eggshells, yard trimmings, and paper. These materials break down readily and feed the microbes.
Avoid adding meat, dairy, oils, diseased plants, or pet waste. These items attract pests or introduce pathogens and should instead go to municipal organics collection or disposal.
Troubleshooting common problems
Odor: Usually caused by too much wet green material or lack of air. Turn the pile and add more browns like dry leaves or shredded paper.
Slow decomposition: The pile may be too small, too dry, or lacking nitrogen. Increase size, add water, and add fresh greens or a scoop of finished compost to introduce microbes.
Pests: Avoid meats and fatty foods, and bury food scraps within the pile. Use a closed bin or secure lid if animals are a problem.
When is compost ready?
Mature compost looks dark, crumbly, and earthy-smelling. The time to finish depends on system and maintenance: well-managed hot piles can finish in 2–3 months, while passive piles may take 6–12 months.
Screen or sift compost before use if you need a finer texture for seed starting or potting mixes.
Using finished compost
- Top-dress lawns with a thin layer to improve soil over time.
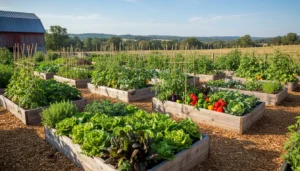
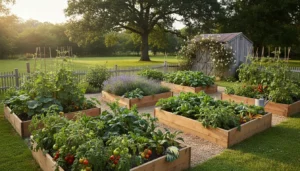
- Mix into garden beds to improve soil structure and water retention.
- Create potting mixes by combining compost with sand or coconut coir for drainage.
Small real-world example
Case study: A two-person household in a suburban yard started a 60-gallon stationary bin. They layered cardboard and leaves with kitchen scraps and coffee grounds. By turning the bin every 10 days and keeping the pile moist, they produced usable compost in about four months.
Results: They diverted roughly 150 kg (330 lbs) of waste from landfill in the first year and used the compost to boost vegetable yields by improving soil texture and water retention.
Practical tips to succeed with home composting
- Collect scraps in a small countertop pail with a lid to make daily composting convenient.
- Keep a supply of shredded paper or dry leaves to balance wet materials during wet seasons.
- Use a pitchfork or compost aerator for easier turning to reduce physical strain.
- Label an area for finished compost so you always know where to harvest material.
Final checklist to start home composting
- Choose a bin type that fits your space and budget.
- Gather initial brown materials and a small amount of greens to start.
- Monitor moisture and turn regularly for faster results.
- Use finished compost in beds, pots, and lawns to close the loop.
Home composting is accessible and practical. With simple routines and the right balance of materials, most households can turn waste into a valuable resource for their garden in months rather than years.