
Why Home Composting Matters
Home composting reduces household waste and creates a valuable soil amendment for gardens. This guide explains practical steps you can follow to start composting at home with minimal equipment.
Home Composting Basics
Composting is the controlled breakdown of organic materials by microbes. A good compost pile balances carbon rich “brown” materials and nitrogen rich “green” materials to support decomposition.
Key Components for Home Composting
Success depends on three main things: materials, moisture, and air. Managing these factors keeps the pile active and avoids odors or pests.
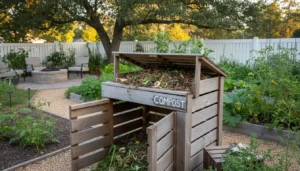
Choosing a Home Composting System
Pick a system that fits your space and routine: a simple bin, a tumbler, or a layered pile. Each option has trade-offs in cost, maintenance, and processing speed.
Common Options
- Open pile: low-cost, works for yards but slower to heat up.
- Stationary bin: contained and tidy for small yards.
- Tumbler: faster mixing and easier turning, good for small households.
- Worm composting (vermicompost): ideal for kitchens and small spaces, produces high-quality castings.
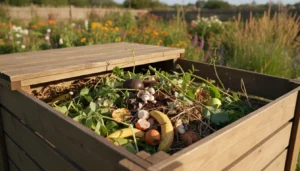
Materials to Use in Home Composting
Balance brown and green materials for efficient breakdown. A simple rule is roughly three parts brown to one part green by volume.
Examples of Acceptable Materials
- Brown: dry leaves, straw, shredded paper, cardboard.
- Green: fruit and vegetable scraps, fresh grass clippings, coffee grounds.
- Avoid: meat, dairy, oily foods, diseased plants, and pet waste to prevent pests and pathogens.
Step-by-Step Home Composting Process
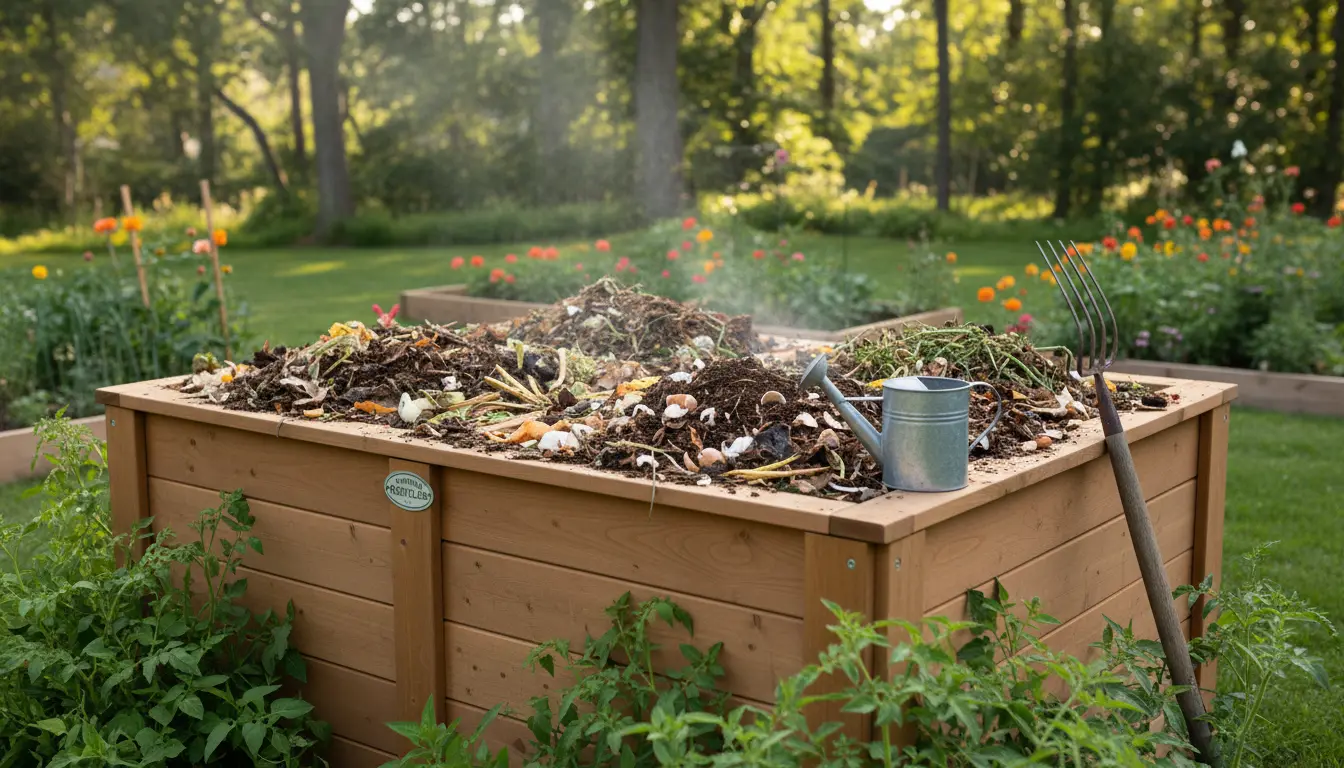
Set up a base of coarse brown material to allow air flow. Alternate layers of green and brown materials, keeping the pile moist but not soggy.
Maintenance Tips
Turn or mix the pile every 1–2 weeks to add oxygen and speed composting. Monitor temperature and moisture: a hot pile (120–150°F) indicates active decomposition.
Troubleshooting Home Composting Problems
Smells, slow decomposition, or pests are common issues that are often easy to fix. Address the root cause: balance, moisture, or containment.
Quick Fixes
- Bad odor: add more brown material and aerate the pile.
- Slow breakdown: chop materials smaller, add nitrogen (green) and turn more often.
- Pests: remove food scraps from an open pile or use a closed bin or tumbler.
Composting can reduce household waste sent to landfills by 30 to 50 percent for an average family. Finished compost also improves soil water retention and plant health.
How to Know When Compost Is Ready
Finished compost is dark, crumbly, and earthy smelling. Most batches take 2–6 months depending on materials and management.
Using Finished Compost
Mix compost into garden beds, use it as a top dressing, or blend it into potting mix. It provides nutrients and improves soil structure for better plant growth.
Small Real-World Example
Case study: A three-person household in a suburban yard started a 55-gallon tumbler. They added kitchen scraps and shredded leaves, turning the tumbler weekly.
After four months they produced about 25 gallons of finished compost, reduced trash volume by one bag per week, and used the compost on vegetable beds with noticeable yield improvement.
Practical Checklist for New Home Composters
- Select a compost system that fits your space and budget.
- Collect a mix of brown and green materials; store kitchen scraps in a sealed container.
- Chop or shred large items to speed decomposition.
- Maintain moisture like a wrung-out sponge and turn regularly for oxygen.
- Monitor and adjust to prevent odors and pests.
Conclusion: Start Small and Learn
Home composting is practical and scalable. Start with one bin or a small tumbler, observe the process, and adjust techniques as you learn what works for your household.
With regular attention to balance, moisture, and aeration, you can convert kitchen and yard waste into nutrient-rich compost for healthier soil and plants.