
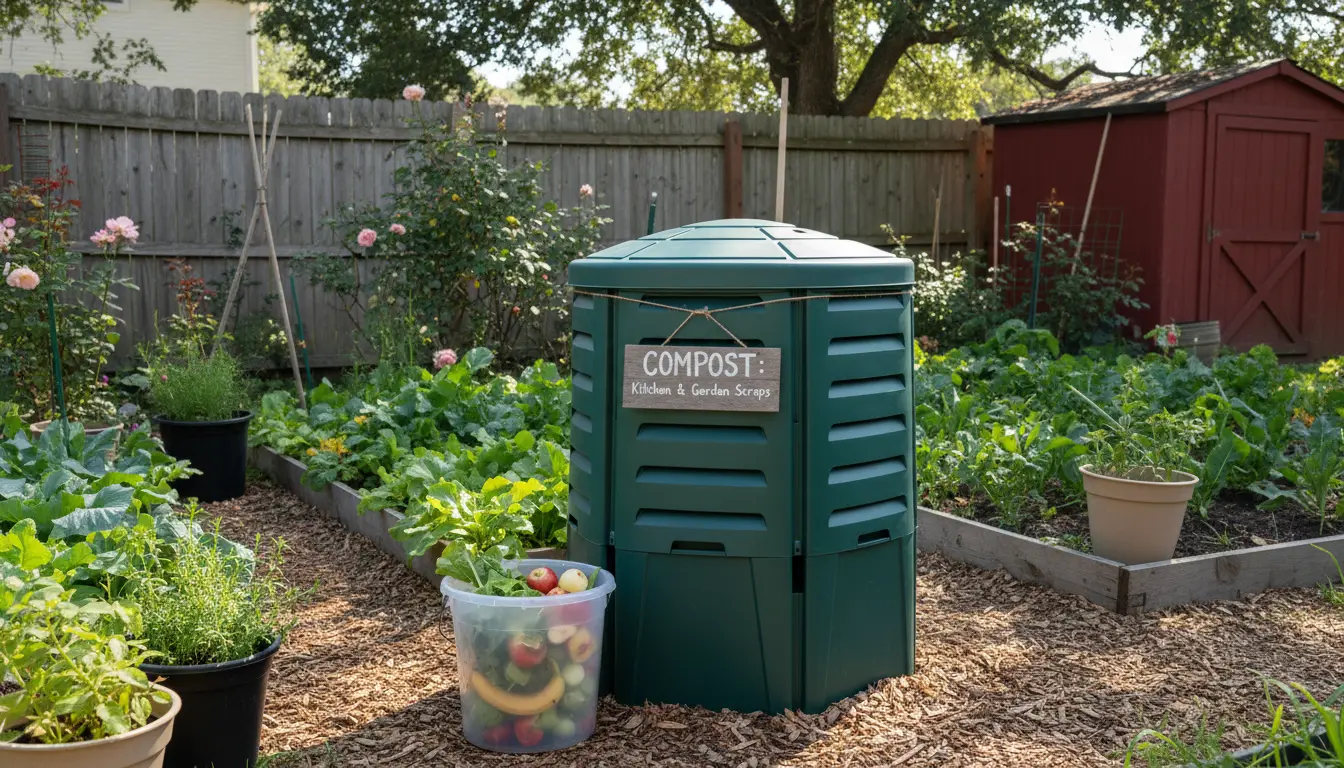
Home composting turns kitchen scraps and yard waste into rich soil that feeds plants and reduces trash. This guide explains straightforward steps to start, maintain, and use compost at home.
Why Home Composting Works
Composting is a natural decomposition process where microbes break down organic matter into humus. When you balance moisture, air, and the right materials, the process is fast and odor-free.
Basic science of home composting
Microorganisms need carbon and nitrogen to thrive. Carbon-rich items are dry and brown, like leaves and cardboard. Nitrogen-rich items are green and wet, like vegetable scraps and grass clippings.
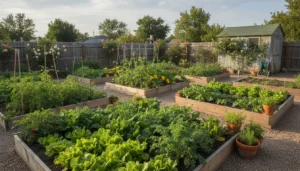
Choosing a Compost System for Home Composting
Select a system that fits your space and lifestyle. Options range from simple piles to tumblers and worm bins.
- Backyard bin or pile – Low cost, suitable for yards and larger volumes.
- Compost tumbler – Easier turning and faster processing, good for small yards.
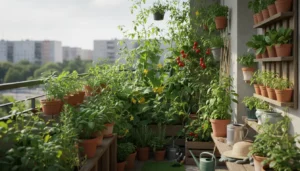
- Vermicompost (worm bin) – Ideal for apartments or small spaces; produces nutrient-rich castings.
Placement and size
Place your compost bin on bare soil to allow worms and microbes to enter. For most households, a 3×3 foot bin or two tumblers is enough to handle kitchen waste.
What to Compost in Home Composting
Knowing what to add speeds composting and prevents problems. Aim for a mix of browns and greens and avoid contaminants.
Good materials
- Kitchen scraps: fruit and vegetable peels, coffee grounds, tea bags without staples
- Yard waste: grass clippings, leaves, small branches
- Paper and cardboard: shredded, plain, and unwaxed
Materials to avoid
- Meat, dairy, cooked oils (they attract pests and create odors)
- Diseased plants or invasive weeds with seeds
- Pet waste from meat-eating animals
Step-by-Step Home Composting Setup
Follow these steps to set up a reliable compost system you can maintain easily.
- Choose a bin type and location that suits your home and climate.
- Start with a 4–6 inch layer of coarse browns like twigs for drainage.
- Add alternating layers of greens and browns; aim for roughly 2:1 browns to greens by volume.
- Keep the pile moist like a wrung-out sponge; add water if dry and cover if too wet.
- Turn or mix every 1–2 weeks for aeration, unless using a worm bin which needs less frequent turning.
How to tell when compost is ready
Finished compost looks dark and crumbly and smells earthy. Smaller bins may take 3–6 months; hot, well-managed systems can finish in weeks.
Troubleshooting Common Home Composting Problems

Problems are usually easy to fix with small adjustments to moisture, aeration, or materials.
- Bad smell – Too wet or too many greens. Add more browns and turn the pile for air.
- Slow decomposition – Too dry, too large pieces, or not enough nitrogen. Add water, chop materials, or add green scraps.
- Pests – Avoid meat and greasy foods. Use a closed bin or bury food scraps inside the pile.
Using Finished Compost from Home Composting
Apply finished compost to improve garden beds, container plants, and lawn health. It supplies nutrients and improves soil texture.
Application tips
- Top-dress beds with 1–2 inches of compost in spring or fall.
- Mix compost 10–20% by volume into potting mixes for containers.
- Use as a seed-starting amendment sparingly; blend with other media to avoid compaction.
Small Real-World Example: Apartment Worm Bin Case Study
Maria, a city apartment renter, started a 10-gallon worm bin under her kitchen sink. She used shredded cardboard for bedding and added fruit and vegetable scraps daily.
Within three months, her bin produced dark worm castings. She used the castings to feed houseplants and shared excess with a neighbor, reducing her kitchen waste by half.
Tips to Keep Home Composting Simple
- Collect scraps in a countertop container with a tight lid to prevent odors.
- Chop or blend scraps to speed decomposition.
- Keep a steady mix of browns to avoid imbalances.
- Record turning and additions to track progress and troubleshoot issues.
Home composting is a practical step toward sustainable living. With a basic setup and regular, small efforts, anyone can turn organic waste into a valuable soil amendment. Start small, observe the system, and adjust as you learn.