
What Is Home Composting
Home composting is the controlled breakdown of organic kitchen and yard waste into a nutrient-rich soil amendment. It reduces household waste while feeding plants and improving soil structure.
Composting relies on microbes, oxygen, moisture, and a mix of carbon and nitrogen materials. With a simple bin and basic routine, most households can produce useful compost in months.
Why Start Home Composting
Home composting reduces landfill waste and lowers methane emissions from organic materials. It also saves money by reducing the need for store-bought fertilizers and soil conditioners.
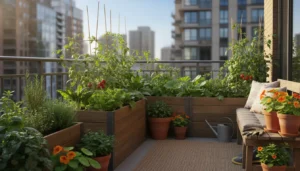
For gardeners, compost improves water retention, aeration, and nutrient availability. For apartment dwellers, small-bin methods or bokashi fermentation offer practical options.
How to Start Home Composting
Start simple: pick a method, gather materials, and maintain the right balance. The following steps cover common backyard composting suitable for most beginners.
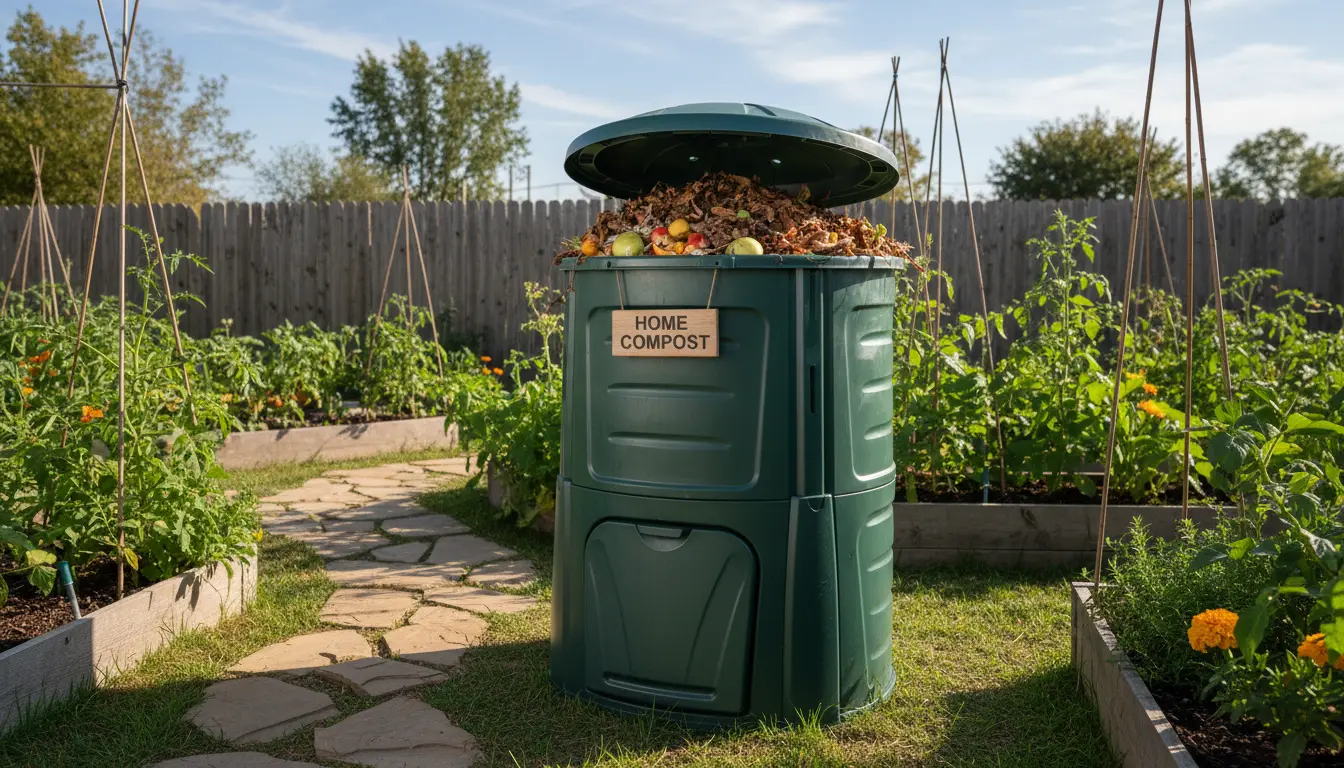
1. Choose a Composting Method

Select a method that fits your space and lifestyle. Popular options include a backyard bin, tumbler, worm bin (vermicomposting), and bokashi for indoor use.
- Backyard bin: Good for yards and moderate volumes.
- Tumbler: Speeds up turning and aeration.
- Vermicompost: Uses worms for indoor or small-scale composting.
- Bokashi: Fermentation method for kitchens, handles cooked foods.
2. Gather Materials: Browns and Greens
Compost needs a mix of carbon-rich browns and nitrogen-rich greens. Aim for a rough 3:1 ratio by volume (browns:greens) for a balanced pile.
- Greens: vegetable scraps, coffee grounds, fresh grass clippings.
- Browns: dry leaves, shredded paper, cardboard, straw.
3. Layering and Aeration
Start with a layer of coarse browns to allow airflow at the base. Alternate greens and browns in thin layers to encourage even decomposition.
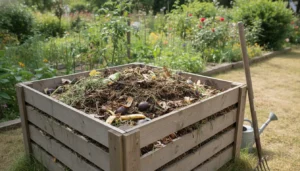
Turn or mix the pile every 1–2 weeks for an active system. Tumblers reduce manual turning and keep oxygen levels higher.
4. Moisture and Temperature
The pile should feel like a wrung-out sponge: damp but not dripping. Too dry and microbes slow down; too wet and the pile can smell.
Properly managed piles heat up to 130–150°F (55–66°C) when active. High temperatures speed decomposition and kill many weed seeds and pathogens.
Troubleshooting Compost Problems
Common issues are bad odors, slow breakdown, pests, or a soggy pile. Most problems have simple fixes tied to balance, aeration, and moisture.
- Bad smell: Add more browns and turn the pile to add oxygen.
- Slow decomposition: Chop materials smaller and increase green material or turning.
- Pests: Avoid adding meat, dairy, or oily foods; use a closed bin or bury scraps deeper.
- Soggy pile: Add dry browns and improve drainage or aeration.
Home Composting Timeline and Tips
Time to finished compost depends on method and management. With active turning and good conditions, compost can be ready in 2–4 months. Passive piles may take 6–12 months.
Tips for faster composting:
- Shred or chop materials before adding.
- Maintain the right moisture and a good carbon-to-nitrogen mix.
- Use a thermometer if aiming for hot composting.
Adding a handful of garden soil or finished compost introduces beneficial microbes and accelerates decomposition. Even a small inoculum helps establish a healthy compost ecosystem.
Real-World Example: A Small Backyard Case Study
Case: A homeowner with a small vegetable garden started a 3-bin system in spring. They used shredded leaves and cardboard as browns and kitchen scraps and lawn clippings as greens.
They turned the middle bin weekly and added water during dry spells. After four months, the middle bin produced dark, crumbly compost. They used it to top-dress tomato beds and saw stronger plant growth the next season.
Results: One household reduced weekly trash volume by about 30% and replaced two 40-lb bags of commercial compost with their own product per year.
Small-Scale and Apartment Options
For limited space, consider vermicomposting in a plastic bin with red worms or using a bokashi bucket for kitchen scraps. Both methods are suitable for balconies or small patios.
- Vermicompost yields rich worm castings usable for potted plants.
- Bokashi ferments food waste, then the pre-compost can be buried or added to a regular compost bin.
Final Practical Tips for Home Composting
Start small and keep a simple routine: collect scraps, balance browns and greens, and check moisture weekly. Learn by doing; adjustments are normal as you discover what works in your climate and with your materials.
Composting is both a waste solution and a soil-building practice. With basic care, it becomes an easy part of household sustainability.