
Composting at home reduces waste, improves soil, and saves money. This guide explains straightforward methods you can use whether you have a backyard, balcony, or just a small kitchen.
Home Composting Basics
Home composting breaks down organic materials into a nutrient-rich soil amendment. Microbes, fungi, and invertebrates digest kitchen scraps and yard waste and convert them into compost.

Good composting balances carbon-rich “browns” and nitrogen-rich “greens,” manages moisture, and provides oxygen. Achieve these three and decomposition proceeds efficiently.
Key ingredients and ratios for home composting
- Greens (nitrogen): kitchen vegetable scraps, coffee grounds, fresh lawn clippings.
- Browns (carbon): dry leaves, shredded paper, straw, cardboard.
- Aim for roughly 25–30 parts browns to 1 part greens by weight, or a visible mix of about 2–3 parts browns to 1 part greens by volume.
How to Start Home Composting: Simple Steps
Choose a method that fits your space and time. Common options include a bin, tumbler, pile, or worm (vermicomposting) system.
1. Select your system
- Compost bin: Good for backyards. Contained, less mess, can be layered.
- Compost tumbler: Faster and cleaner. Rotate to aerate.
- Open pile: Works with lots of yard waste but needs space and may attract pests.
- Vermicompost bin: Ideal for small indoor or balcony setups using red worms.
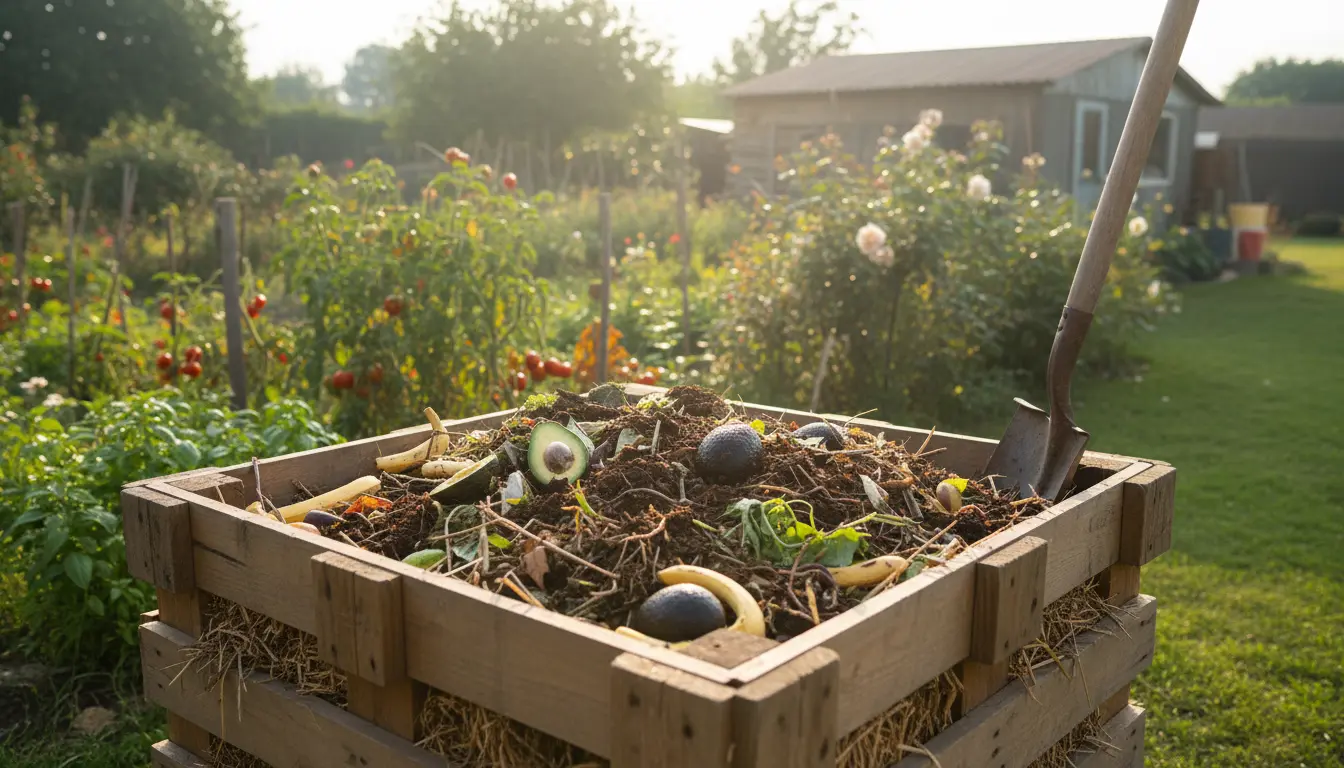
2. Build the pile or load the bin
Start with a 2–4 inch layer of coarse browns for drainage. Alternate layers of greens and browns. Aim to keep the pile at least 1 cubic foot so heat can build, but small bins also work for slower composting.
3. Moisture and aeration
Keep the compost as damp as a wrung-out sponge. Add water if it’s dry; add more browns if it’s soggy. Turn or rotate the material every 1–2 weeks to supply oxygen and speed decomposition.
Home Composting Methods Explained
Backyard bin or pile
Layer materials and turn regularly. Use a pitchfork or compost aerator to mix. Expect finished compost in 3–12 months, depending on management and materials.
Compost tumbler
Tumblers reduce pests and simplify turning. Load evenly and rotate a few times per week. Tumblers dry out faster, so check moisture more often.
Vermicomposting for small spaces
Worm bins handle vegetable scraps and paper. Use red wiggler worms and keep the bin in a cool, shaded spot. Harvest worm castings every 2–6 months.
Troubleshooting Common Home Composting Issues
Bad smells
Smells usually mean too much greens or poor aeration. Add browns, mix the pile, and ensure air reaches the center.
Pests or rodents
Avoid meat, dairy, and oily foods. Use a closed bin or tumbler and bury new food scraps within the pile.
Slow breakdown
Improve surface area by chopping or shredding materials. Increase moisture and add a handful of garden soil to introduce microbes.
What Not to Put in Home Composting
- Meat, fish, bones, and dairy (attract pests)
- Oily or greasy food scraps
- Diseased plants or invasive weeds with seeds
- Pet waste from carnivores (risk of pathogens)
Using Finished Home Compost
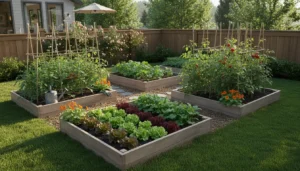
Finished compost is dark, crumbly, and smells earthy. Use it as a top dressing, mix into potting soil, or add to garden beds to improve structure and fertility.
Apply a 1–2 inch layer around plants or work it into soil at planting time. Compost also helps retain moisture and supports beneficial microbes.
One household can divert up to 30% of its waste by composting food scraps and yard trimmings. That reduces landfill methane emissions and returns nutrients to local soil.
Small Real-World Case Study
Case: A two-bedroom apartment household started vermicomposting with a 10-liter bin. They collected vegetable scraps in a countertop caddy and fed the worm bin twice weekly.
After six months they harvested about 15 liters of worm castings. They used the castings to boost potted herbs and houseplants and reduced their kitchen waste by nearly half. Regular monitoring of moisture and occasional shredded cardboard maintained a healthy worm population.
Practical Tips for Successful Home Composting
- Chop materials to increase surface area and speed decomposition.
- Keep a small covered caddy in the kitchen for easy collection.
- Balance greens and browns; add browns if the pile smells.
- Turn the pile regularly to introduce oxygen.
- Use finished compost gradually and store any surplus in a covered container.
Home composting is scalable and adaptable. Start small, observe how your system behaves, and make incremental adjustments. Within months you can turn everyday scraps into a valuable resource for your plants and garden.