
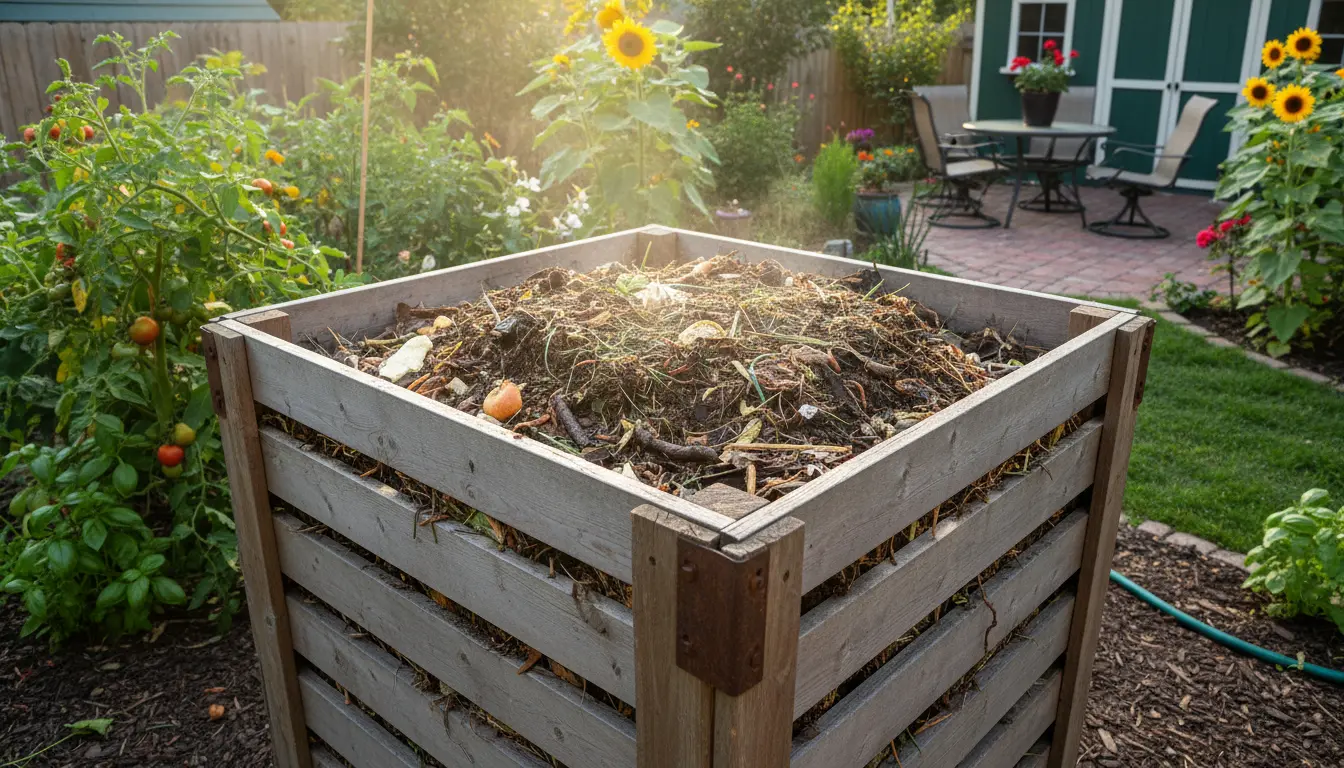
Why compost at home
Composting at home reduces kitchen and yard waste while creating rich soil for plants. It cuts trash volume and returns nutrients to your garden.
This guide shows straightforward steps to start and maintain a compost pile that works for a small yard or balcony.
Home Composting Guide: Basic principles

Composting is controlled decomposition of organic matter by microorganisms. The right balance of carbon, nitrogen, moisture, and air speeds the process and limits odors.
Focus on these four elements to get stable, usable compost in a predictable time frame.
Carbon and nitrogen balance
Composting materials fall into two groups: carbon rich and nitrogen rich. Carbon materials are dry and brown, while nitrogen materials are moist and green.
- Carbon examples: dry leaves, straw, shredded paper, cardboard.
- Nitrogen examples: kitchen vegetable scraps, coffee grounds, fresh grass clippings.
A practical rule is roughly 3 parts carbon to 1 part nitrogen by volume, adjusted as needed for moisture and smell.
Moisture and aeration
Compost should be as moist as a wrung-out sponge. Too dry and microbes slow down; too wet and decomposition becomes anaerobic and smelly.
Turn the pile every 1–2 weeks to introduce oxygen and prevent compacting. For small bins, use a garden fork or a stirring tool.
Home Composting Guide: Choosing a bin or system
Select a bin based on available space and how active you want to be. Options include simple piles, tumblers, or commercial bins.
- Pile: Low cost, flexible size, requires manual turning.
- Tumbler: Easier turning, faster composting, limited capacity.
- Stationary bin: Balanced option, can be layered for continuous composting.
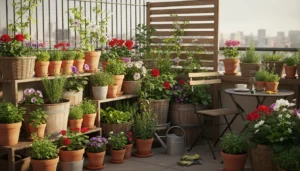
If you have limited space, a small countertop caddy for scraps plus a shared community bin can work well.
Location and setup
Place the bin on soil or grass to allow organisms and moisture to enter. If on concrete, add a shallow layer of leaves and soil to start a habitat for decomposers.
Provide partial shade to avoid drying in hot weather and to keep activity steady through seasons.
Home Composting Guide: Step-by-step start
Follow these simple steps to build an active compost pile.
- Gather a mix of carbon and nitrogen materials.
- Start with a 10–15 cm layer of coarse carbon material for drainage.
- Add alternating layers of green and brown materials, moistening dry layers when needed.
- Maintain the pile moisture and turn every 1–2 weeks.
- Monitor temperature if you want faster compost; a hot pile reaches 55–65°C inside.
Troubleshooting common problems
Bad smell: Usually due to excess moisture or too many greens. Add brown material and turn the pile.
Slow decomposition: Pile may be too dry, too cold, or too compacted. Add water, turn, or add more nitrogen if mostly brown material was used.
Did You Know?
Composting can cut household waste by up to 30 percent. Finished compost also holds moisture in soil, reducing the need for frequent watering.
Home Composting Guide: When is compost ready?
Finished compost looks dark, crumbly, and earthy-smelling. Small bits of original material may remain, but large recognizable pieces should be gone.
Depending on method and conditions, compost can be ready in 2 months to a year. Hot, well-managed piles produce compost faster.
Using finished compost
Mix compost into garden beds, use as topdressing for lawns, or blend into potting soil for container plants. It improves structure, drainage, and nutrient retention.
Apply a 2–5 cm layer to improve soil over time without overfeeding plants.
Small case study: A family backyard success
Example: A household of four started a 1 m3 bin with weekly additions of kitchen scraps and yard waste. They maintained a 3:1 brown to green ratio and turned every 10 days.
Within six months they had 150 liters of usable compost and reduced weekly garbage by half. Plants in raised beds showed better growth and required less watering in summer.
Home Composting Guide: Quick tips and best practices
- Chop or shred materials to speed decomposition.
- Keep a small sealed container for kitchen scraps to reduce flies and odors before adding to the bin.
- Avoid meat, dairy, and oily foods unless you have a hot, secure system.
- If pests are a problem, use enclosed bins and bury fresh food in the center of the pile.
Final checklist
- Balance greens and browns.
- Maintain moisture like a wrung-out sponge.
- Turn regularly to add oxygen.
- Harvest and use finished compost to enrich soil.
Home composting is a low-cost way to manage waste and build healthier soil. Start small, observe changes, and adjust the mix and turning schedule to match your climate and materials.