
Composting at home turns kitchen scraps and yard waste into a valuable soil amendment. This guide gives clear, practical steps to start composting, choose a bin, and maintain a healthy pile.
Home Composting Basics
Compost is the product of controlled decomposition of organic materials. It improves soil structure, water retention, and plant health when added to garden beds or potted plants.

Two main components matter: carbon rich materials (browns) and nitrogen rich materials (greens). Balance them, keep the pile moist and aerated, and microbes will do the rest.
What to Compost
- Greens: fruit and vegetable scraps, coffee grounds, fresh grass clippings.
- Browns: dry leaves, shredded paper, straw, cardboard.
- Avoid: meat, dairy, oils, diseased plants, and pet waste from carnivores.
Basic Process
Start with a layer of coarse browns for drainage, add alternating layers of greens and browns, and keep the pile lightly moist. Turn the pile every 1–3 weeks to introduce oxygen and speed decomposition.
Choosing a Compost Bin for Home Composting
Selecting the right bin affects how easy composting will be. Consider space, aesthetics, and how much organic waste you produce.
Types of Bins
- Tumbler bins: Enclosed and easy to turn, good for small yards and quicker composting.
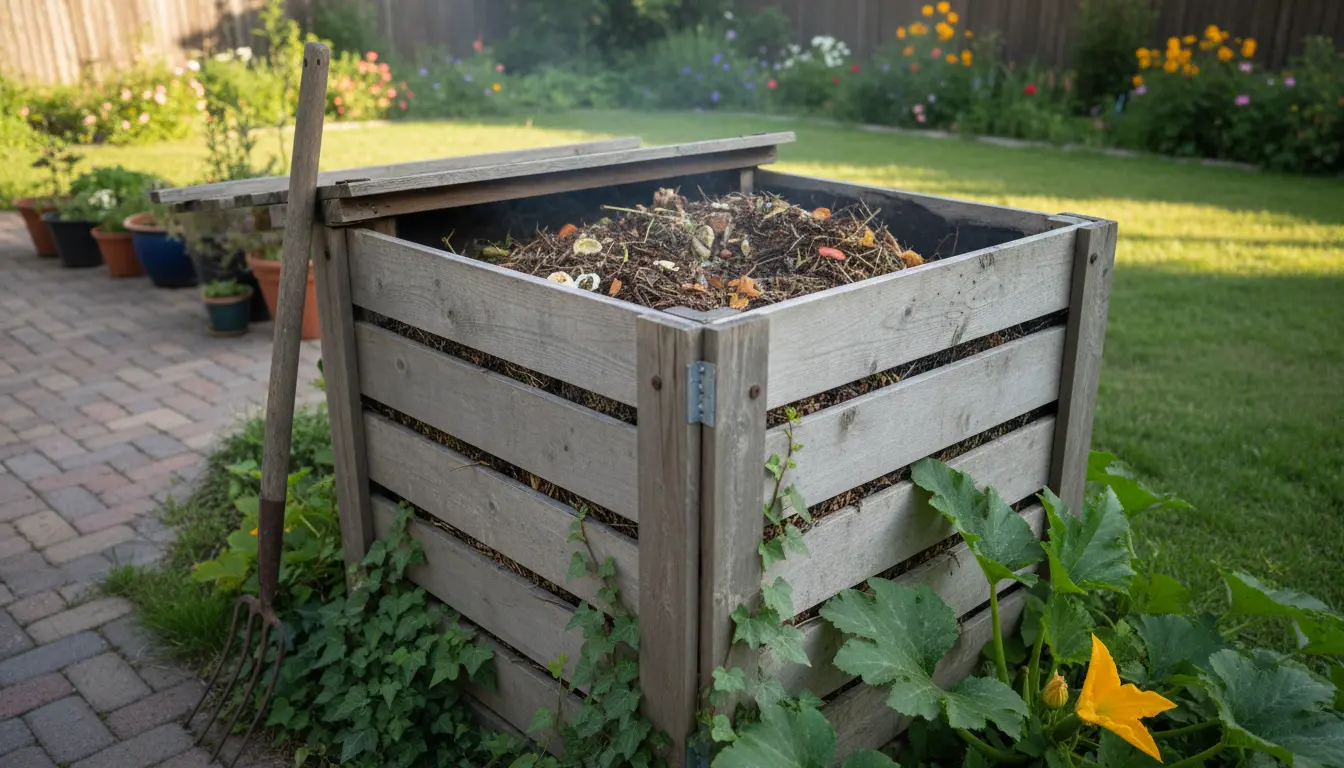
- Open bins or compost piles: Low cost and flexible size, but require a pitchfork for turning.
- Worm bins (vermicomposting): Works well indoors or in small spaces for vegetable scraps; uses red worms to produce castings.
Choosing by Situation
- Apartment with balcony: Use a worm bin or compact tumblers.
- Small yard: A 3-bin system or tumblers are efficient.
- Large yard: Open pile or large bin systems work well.
How to Maintain a Healthy Compost Pile

Maintaining balance is the key. Check moisture, aerate, and adjust materials to avoid odors or slow decomposition.
Moisture and Aeration
The pile should be about as damp as a wrung-out sponge. Add water in dry weather and cover or add browns in very wet conditions to prevent sogginess.
Turning the pile introduces oxygen and helps manage temperature. If you prefer minimal effort, use a tumbler or a layered slow-compost method.
Troubleshooting Common Problems
- Smelly compost: Too wet or too many greens. Add more browns and turn the pile.
- Slow decomposition: Not enough nitrogen, too cold, or not enough surface area. Chop materials smaller and add fresh greens.
- Pests: Avoid meat and dairy. Use a closed bin or bury food scraps in the pile center.
Using Finished Compost

Compost is ready when it is dark, crumbly, and has an earthy smell. This usually takes 2–6 months depending on method and management.
Use finished compost as a soil top dressing, mix into potting soil, or incorporate into garden beds at a rate of 1–3 inches layered on the surface.
Case Study: Small City Garden Success
Example: A two-person household in a small townhouse started a 60-liter tumbler. They added kitchen scraps and shredded leaves over a year.
Results: After 4 months of regular turning, they produced three batches of compost totalling about 40 liters. They used it to top-dress vegetable beds, improving tomato yields and soil moisture retention.
Adding small amounts of garden soil to a new compost pile introduces beneficial microbes and helps speed up decomposition.
Practical Tips and Examples
- Chop or shred larger materials to speed breakdown.
- Keep a small kitchen caddy with a lid to collect scraps; empty it into the bin every few days.
- Mix coffee grounds with torn cardboard to balance moisture and carbon.
Simple Start Plan
- Choose a bin suitable for your space.
- Gather browns and greens in separate containers.
- Build a small pile: base layer of browns, then greens, then cover with browns.
- Keep moist, turn weekly if possible, and wait 2–6 months.
Home composting is a low-cost, high-impact practice that reduces waste and enriches soil. Start small, keep the basics in mind, and adjust based on what you observe.