
Home composting turns kitchen scraps and yard waste into nutrient rich soil for gardens and houseplants. This guide explains simple methods, basic science, and reliable steps you can follow whether you have a backyard or a small balcony.
Why Choose Home Composting
Home composting reduces household waste and improves soil health. It lowers trash volume and keeps organic nutrients in your local ecosystem.
Compost improves soil structure, retains moisture, and feeds plants. Small daily habits produce a useful finished product in months.
How Home Composting Works
Composting is a controlled decomposition process driven by microbes and sometimes worms. The microbes need carbon, nitrogen, oxygen, and water to break organic matter down.
Balancing these elements speeds decomposition and prevents odor or pests.
Basic Components of Home Composting
- Greens: Nitrogen rich items like vegetable scraps, coffee grounds, and fresh grass clippings.
- Browns: Carbon rich materials like dried leaves, shredded paper, and cardboard.
- Air: Regular turning or aeration to supply oxygen to microbes.
- Moisture: Damp but not soaking, similar to a wrung out sponge.
Types of Home Composting for Beginners
Choose a method that fits your space, time, and goals. Each method has pros and cons.
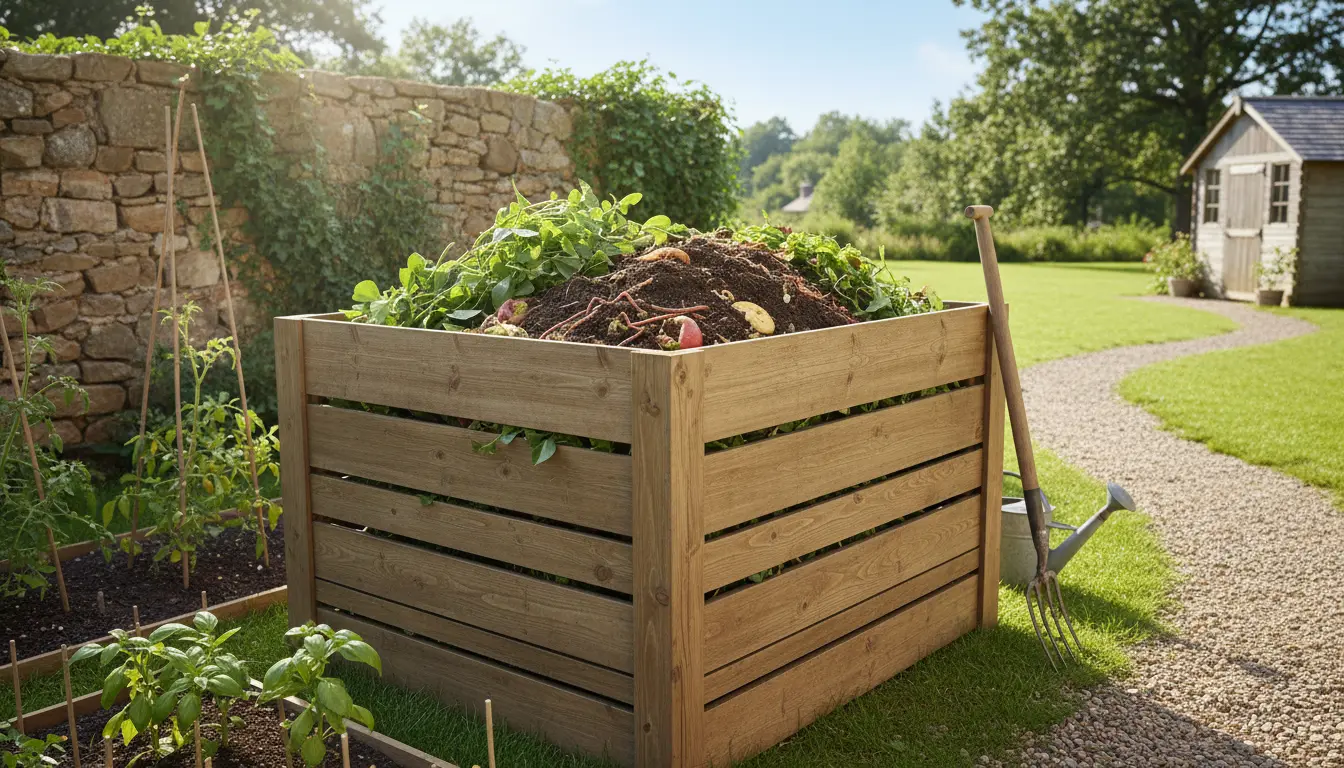
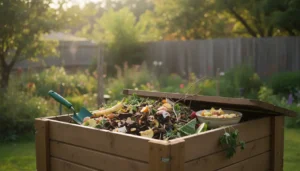
Backyard Bin Composting
Use a covered bin or tumbler in a yard. This method is low effort and works well for food scraps and yard waste.
Worm Composting (Vermicomposting)
Ideal for small spaces or balconies. Red wigglers break down kitchen waste quickly and produce rich castings.
Cold Pile Composting

Build a simple pile and let it decompose slowly. It requires less maintenance but takes longer to produce finished compost.
Step by Step Home Composting for Beginners
Follow these steps for a reliable home composting system that produces usable compost in months.
- Choose your method: Bin, tumbler, pile, or worm bin. Consider space and the amount of waste you produce.
- Select a location: Pick a well drained, partly shaded spot for outdoor bins. For indoor worm bins, a cool dry area works best.
- Start with a base layer: Add coarse browns like small branches or straw to help airflow at the bottom of a bin.
- Layer greens and browns: Aim for roughly 2 parts browns to 1 part greens by volume. Chop large pieces to speed breakdown.
- Keep it moist: Water lightly if the pile feels dry. It should feel like a damp sponge, not soggy.
- Aerate regularly: Turn the pile every 1 to 2 weeks for active composting, or mix gently in a tumbler.
- Monitor and harvest: Finished compost is dark, crumbly, and smells earthy. Sift and use it in garden beds or potting mixes.
Practical Tips
- Chop or shred kitchen scraps before adding to speed decomposition.
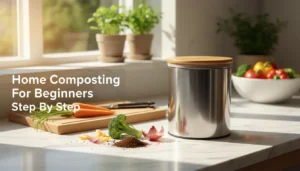
- Keep a small countertop container with a lid to collect scraps before transferring to the bin.
- Cover fresh food waste with a layer of browns to limit flies and odors.
What to Compost and What to Avoid
Knowing what belongs in the compost reduces problems and keeps the process healthy.
Safe Items
- Fruit and vegetable scraps
- Coffee grounds and tea bags (remove staples)
- Eggshells, shredded paper, cardboard
- Leaves, grass clippings, small yard trimmings
Items to Avoid
- Meat, fish, bones, and dairy (attract pests)
- Oily foods and large amounts of citrus
- Diseased plants or invasive weeds with seeds
- Pet waste from carnivores
Troubleshooting Common Problems in Home Composting
Most issues have simple fixes you can perform quickly.
Problem: Bad Odor
Likely caused by too much wet green material and not enough air. Fix by turning the pile and adding dry browns like shredded paper or leaves.
Problem: Pests or Flies
Cover fresh food scraps with a layer of browns and close the bin securely. Consider using a sealed tumbler or adding a fine mesh around a bin.
Problem: Slow Decomposition
Chop materials finer, increase turning frequency, or add a nitrogen source like coffee grounds to boost microbial activity.
Real World Example
Case Study: Maria, a small urban gardener, started a 60 liter tumbler on her balcony. She added kitchen scraps and shredded cardboard, turning the tumbler once a week.
After six months Maria harvested rich compost and used it to top dress her potted tomatoes. She reported healthier leaves and a noticeable increase in fruit set. Her household waste to landfill decreased by about 30 percent.
Quick Start Checklist for Home Composting
- Pick a method: bin, tumbler, or worm box
- Gather browns like leaves or shredded paper
- Collect kitchen scraps in a covered container
- Layer, maintain moisture, and aerate regularly
- Harvest and use finished compost in soil
Home composting is straightforward and adaptable. Start small, observe the system, and adjust layers and aeration as you learn. Within a few months you can turn waste into a valuable resource for your plants.