
Why Home Composting Matters
Home composting turns kitchen scraps and yard waste into nutrient-rich soil. It reduces landfill waste and improves garden health without chemical fertilizers.
This guide shows practical steps to start composting at home, whether you have a backyard, balcony, or a small kitchen space.
Getting Started with Home Composting
Begin by choosing a compost method that fits your space and schedule. Options include a simple compost heap, a bin, or a worm composting system (vermicompost).
Decide where to place the compost: a level, partially shaded spot close to a water source works best.
Choosing a Compost System
Select a system based on space and effort. A lidded bin reduces pests and is low-maintenance. An open heap processes larger volumes but needs more turning.
- Compost bin: Good for yards, reduces pests.
- Tumbler: Speeds up decomposition with regular turning.
- Vermicompost: Ideal for apartments and indoor use, produces rich castings.
What to Compost and What to Avoid
Balance ‘greens’ (nitrogen) and ‘browns’ (carbon) for a healthy compost. Greens are wet and rich in nitrogen; browns are dry and carbon-rich.
- Greens: vegetable scraps, fruit peels, coffee grounds, fresh grass clippings.
- Browns: shredded paper, dry leaves, straw, sawdust from untreated wood.
- Avoid: meat, dairy, oily foods, diseased plants, and pet waste from carnivores.
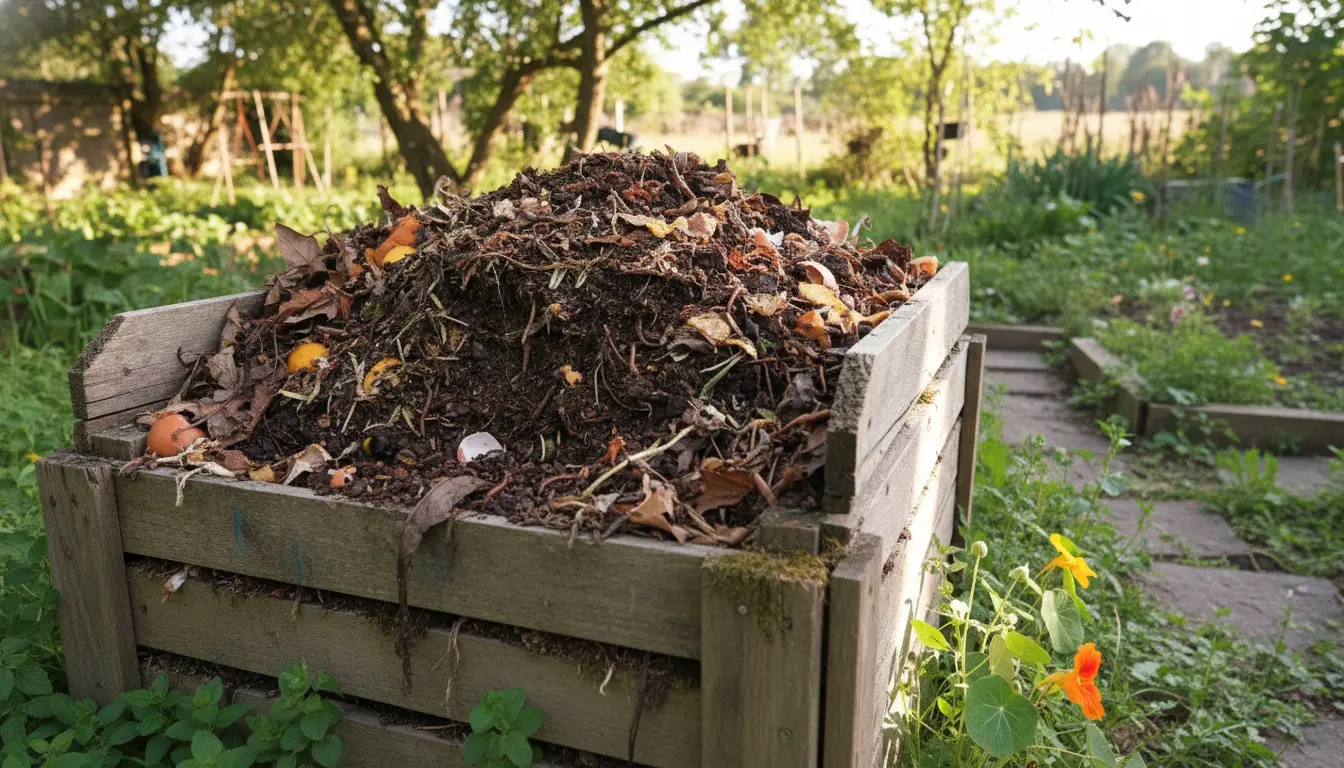
How to Build a Compost Pile
Start with a 4–6 inch layer of coarse material for airflow. Alternate layers of greens and browns to create a balanced pile.
Keep the pile moist like a wrung-out sponge. Too dry slows decomposition; too wet causes odor and compaction.
Layering and Turning
Layering helps microbes access both carbon and nitrogen. A simple pattern is 2 parts browns to 1 part greens by volume.
Turn the pile every 1–2 weeks to introduce oxygen. Turning speeds decomposition and prevents odors.
Temperature and Timing
A hot composting pile (130–160°F or 54–71°C) breaks down materials faster and kills weed seeds. If your pile stays cool, decomposing will take longer but still produce compost.
Depending on method and maintenance, usable compost appears in 2 months to 1 year.
Troubleshooting Common Problems
Bad smells usually mean too much moisture or not enough oxygen. Add dry browns and turn the pile to fix this.
If the pile is not heating, add more greens, check moisture, and increase turning. Pests indicate accessible food—bury fresh scraps and use a closed bin.
Using Finished Compost
Finished compost is dark, crumbly, and smells earthy. Use it to enrich garden beds, potting mixes, or as a top dressing around plants.
Mix compost into soil to improve structure, water retention, and nutrient content.
Simple Applications
- Vegetable beds: work 1–2 inches into the topsoil before planting.
- Potting soil: mix one part compost to three parts potting mix.
- Lawn: spread a thin layer (around 1/4 inch) and water to feed grass and soil microbes.
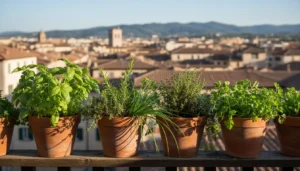
Real-World Example: A Small Balcony Compost Case Study
Sarah, a city tenant, started a 10-liter worm bin under her kitchen counter. She added weekly kitchen scraps and shredded paper as bedding.
After four months she harvested nutrient-dense worm castings used on potted herbs. The bin reduced her weekly trash by nearly half and improved her plant growth noticeably.
Quick Checklist to Start Home Composting
- Choose a compost system that fits your space.
- Collect greens and browns separately for balance.
- Maintain moisture and turn regularly for oxygen.
- Monitor for odors, pests, and temperature.
- Use finished compost to enrich soil and plants.
Final Tips for Successful Home Composting
Start small and adjust as you learn. Consistency beats perfection—regular additions and occasional turning will yield good compost over time.
Keep troubleshooting simple: more browns for smell, more greens for stalled activity, and better aeration for persistent issues.