
Why Home Composting Works
Composting turns kitchen scraps and yard waste into nutrient-rich soil. It reduces household trash and improves garden health by returning organic matter to the soil.
Home composting is achievable with simple tools and a basic understanding of biology. Microbes, oxygen, moisture, and the right materials do the work for you.
How to Start Home Composting
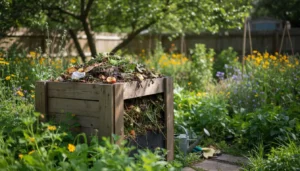
Starting is about choosing a method and keeping consistent habits. You can use a backyard bin, a tumbler, or a worm composting bin for small spaces.
Choose a Bin or System
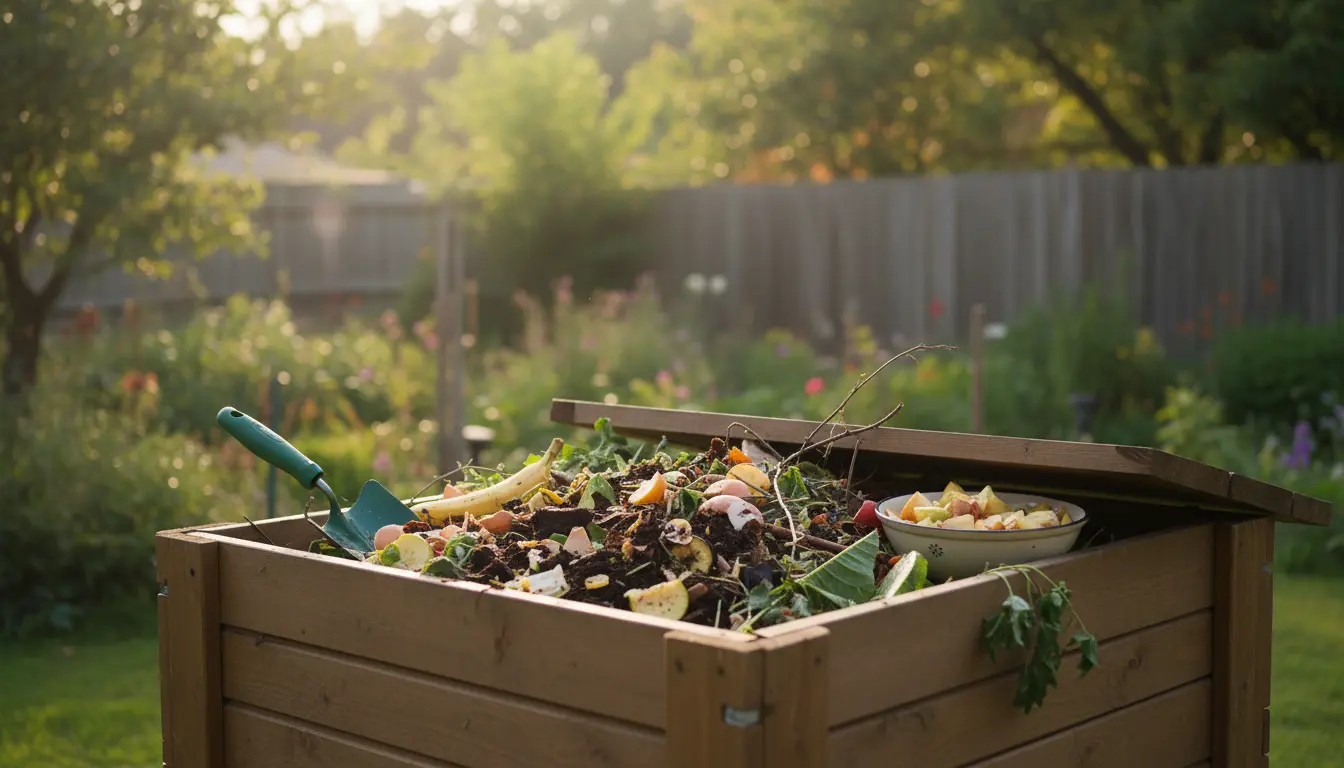
Pick a container that fits your space and activity level. Options include open piles, enclosed bins, tumblers, and vermicomposters.
- Open pile: Low cost, needs more space and turning.
- Enclosed bin: Controls pests and looks neater.
- Tumbler: Easy turning, faster decomposition.
- Worm bin (vermicompost): Best for kitchens and apartments.
Balance Greens and Browns
Compost needs a mix of “greens” (nitrogen-rich) and “browns” (carbon-rich). The right balance speeds decomposition and prevents odor problems.
- Greens: fruit and vegetable scraps, coffee grounds, fresh grass clippings.
- Browns: dried leaves, shredded paper, cardboard, straw.
- Goal: roughly 2 parts browns to 1 part greens by volume for most systems.
Layering and Moisture
Start with a layer of coarse browns to help airflow. Alternate greens and browns and keep the pile as damp as a wrung-out sponge.
Too wet and the pile goes anaerobic and smells. Too dry and microbes slow down. Add water or dry materials to correct moisture quickly.
Maintaining Your Compost
Routine maintenance keeps the process steady. Turning introduces oxygen and prevents compaction.
Turning and Aeration
Turn a backyard pile every 1–2 weeks for faster results. Tumblers simplify this to a few spins each week.
In vermicompost systems, turning is minimal; worms do the mixing and should not be disturbed often.
Temperature and Time
A hot compost pile reaches 120–160°F and breaks down materials faster, killing seeds and pathogens. Cold composting takes longer but still produces good material.
Expect finished compost in 2–12 months depending on method, materials, and maintenance.
Adding a thin layer of finished compost to the top of an active pile can introduce helpful microbes and speed up decomposition.
Troubleshooting Common Problems in Home Composting
Most problems stem from balance, moisture, or aeration issues. Identify the symptom and apply a simple fix.
- Bad smell: Add more browns and turn the pile to introduce air.
- Pests: Use a closed bin or bury food scraps in the center of the pile.
- Slow breakdown: Chop materials smaller, add greens if dry, or turn more often.
- Too wet: Mix in shredded paper or dry leaves and aerate.
Practical Tips for Everyday Composting
Make composting part of your routine with a few easy habits. These small steps keep the system working without extra effort.
- Keep a small countertop bin or compost catcher for scraps to save trips outdoors.
- Chop or shred large items before adding them to speed decomposition.
- Layer materials instead of dumping large amounts of one type.
- Save coffee grounds and eggshells; they are great for most compost systems.
Small Real-World Example: A Family Compost Case Study
Sarah and Mark moved to a suburban house with a small garden. They chose a 65-gallon enclosed backyard bin and began adding kitchen scraps and yard trimmings.
They followed a 2-to-1 brown-to-green guideline, shredded cardboard, and turned the bin every week. After five months, they harvested dark, crumbly compost and applied it to vegetable beds.
Results: their garden yield increased, weekly trash volume dropped by about 30%, and they avoided buying store-bought soil amendments.
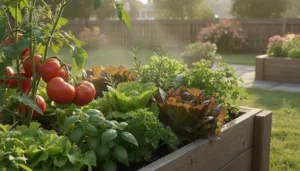
Using Finished Compost in the Garden
Finished compost is dark, crumbly, and smells earthy. Use it as a top dressing, mix into potting soil, or work it into beds before planting.
Application tips:
- Vegetable beds: mix 1–2 inches into the top 6–8 inches of soil before planting.
- Lawns: spread a thin layer and let rain or irrigation work it in.
- Potted plants: mix one part compost with two parts potting mix for richer containers.
Next Steps for Beginner Composters
Start small and focus on consistency. Choose a bin, establish a simple routine, and adjust moisture and balance as you learn.
Join a local gardening group or follow a trusted composting guide for additional support. With a few months of care, you will have nutrient-rich compost that benefits your garden and the environment.