
Composting at home turns food scraps and yard waste into nutrient-rich soil. It reduces landfill waste and feeds your garden. This guide gives clear, practical steps to begin home composting quickly.
What Is Home Composting?
Home composting is the controlled breakdown of organic materials by microbes. The result is humus, a dark crumbly material that improves soil structure and fertility. You can compost in a bin, pile, tumbler, or worm composting system.
Why Home Composting Matters
Composting lowers household waste and returns nutrients to the soil. It reduces methane emissions from landfills and cuts disposal costs where they apply. For gardeners, compost improves water retention and plant health.
How to Start Home Composting
Starting composting requires a few basic choices: location, container, and materials. Follow these steps to set up a simple system.
1. Choose a Location
Pick a level spot with good drainage. A shaded area near your garden or outdoor kitchen keeps the pile from drying out. Make sure it’s accessible year-round.
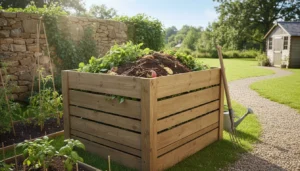
2. Select a Container

Options include open piles, plastic or wooden bins, and tumblers. For small yards, a closed bin or tumbler reduces pests and keeps the area tidy. Worm bins work well for indoor or balcony composting.
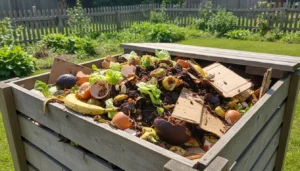
3. Know What to Add
Balance ‘greens’ and ‘browns’ for faster decomposition. Greens are nitrogen-rich; browns provide carbon.
- Greens: vegetable scraps, coffee grounds, fresh grass clippings
- Browns: dry leaves, shredded paper, straw, cardboard
- Aim for roughly 2 to 3 parts browns to 1 part greens by volume
4. Layer and Build the Pile
Start with a coarse base like small branches for air flow. Alternate layers of greens and browns. Keep layers thin to maintain good oxygen levels and moisture balance.
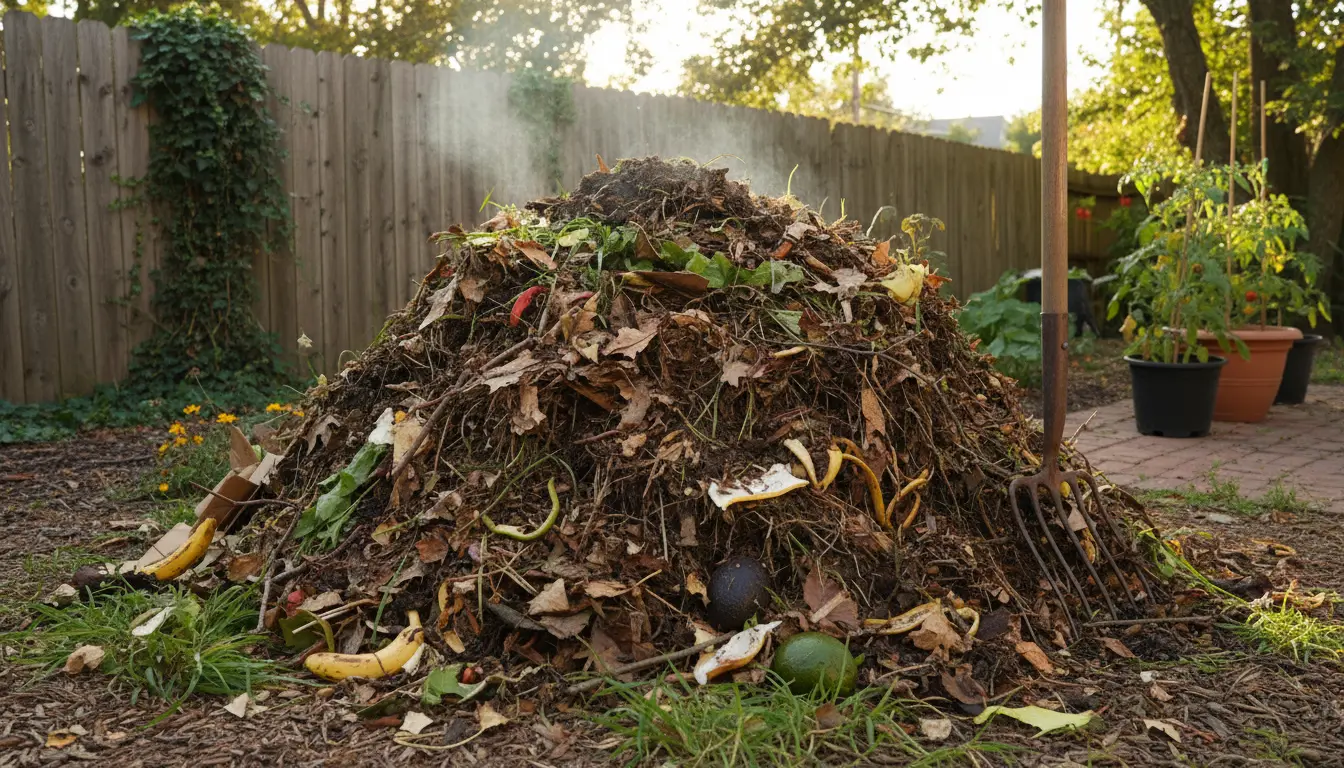
5. Maintain Moisture and Aeration
Compost should be as damp as a wrung-out sponge. Water during dry periods and turn the pile every 1–2 weeks to add oxygen and speed decomposition. A pitchfork or compost aerator works well.
Compost Maintenance and Troubleshooting
Monitoring the pile helps avoid common problems. Small adjustments often fix issues quickly.
Smells and Pests
Bad odors often mean too many greens or too much moisture. Add browns and turn the pile. To deter pests, avoid adding meat, dairy, oily foods, or bones, and secure the bin.
Slow Decomposition
If breakdown is slow, check for low moisture, compacted material, or lack of nitrogen. Shred larger pieces, add water as needed, and include fresh greens or a scoop of garden soil to introduce microbes.
Temperature and Speed
Active compost piles heat to 130–160°F (55–70°C) when balanced. High temperatures kill weed seeds and pathogens. Cold piles still compost but take longer.
Types of Home Composting
- Cold composting: Low maintenance, slow (months to a year)
- Hot composting: Requires attention and turning, fast (weeks to months)
- Vermicomposting: Uses worms, ideal for kitchens and small spaces
- Tumbler systems: Easy turning, contained and tidy
Practical Tips for Beginners
- Chop or shred materials to speed decomposition
- Keep a small kitchen bin for daily scraps to reduce trips outside
- Use finished compost as a top dressing or soil amendment
- Test a small patch of soil with compost before widespread use
Adding a thin layer of finished compost around plants can reduce watering needs by improving soil water retention and structure.
Small Real-World Case Study: Backyard Compost Success
Sandra, a homeowner in Portland, started a 3-bin compost system behind her garage. She mixed kitchen scraps with shredded leaves and turned the middle bin every 10 days.
Within four months she had dark, crumbly compost. She used it to top-dress her vegetable beds and reported larger tomato yields and reduced watering frequency by about 20% that season.
Using Finished Compost
Finished compost looks dark and earthy and smells fresh. Use it in these ways:
- Mix 1 to 3 inches into garden beds before planting
- Top-dress lawns with a thin layer to add organic matter
- Create potting mixes by blending compost with sand or perlite
Conclusion and Next Steps
Home composting is practical and cost-effective. Start small, maintain balance between greens and browns, and monitor moisture and airflow. With basic care, you can turn household waste into valuable soil in months.
Ready to begin? Choose a bin, gather materials, and start your first layer this weekend. Small, consistent actions produce the best long-term results.