
Home composting for beginners is a simple way to turn kitchen scraps and yard waste into nutrient-rich soil. This guide shows clear, practical steps to set up and manage a small compost bin at home. Follow the steps below to reduce waste and improve your garden soil.
Why Choose Home Composting for Beginners
Composting reduces household waste and creates a free soil amendment for plants. For beginners, small-scale composting requires minimal tools and can be adapted to yards, balconies, or even small patios.
Key benefits of home composting
- Reduces trash sent to landfills
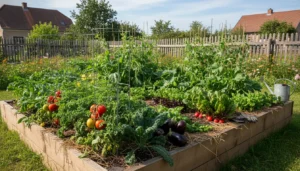
- Improves soil structure and water retention
- Provides free, natural fertilizer for gardens and potted plants
- Teaches sustainable habits for the household
How to Start Home Composting for Beginners
Setting up home composting involves choosing a container, collecting the right materials, and maintaining a balance of greens and browns. Start small and scale up as you learn what works in your space.
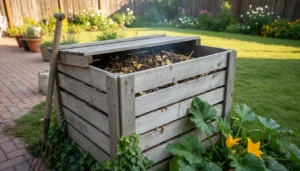
Step 1: Choose a compost bin
Select a bin that fits your space and lifestyle. Options include a simple open pile, a plastic tumbler, or a wooden bin.
- Open pile: Best for yards with room; low-cost but can attract pests if not managed.
- Plastic tumblers: Easy to turn and faster to compost; good for small yards.
- Compost bins or DIY wooden boxes: Durable and discreet for suburban yards.
- Indoor bokashi or worm bins: Ideal for apartments and balconies.
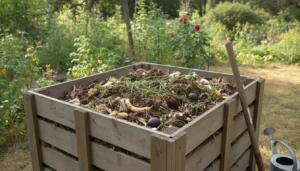
Step 2: Gather materials—the greens and browns
Balance nitrogen-rich “greens” with carbon-rich “browns”. Aim for roughly 1 part greens to 2–3 parts browns by volume.
- Greens: fruit and vegetable scraps, coffee grounds, fresh grass clippings
- Browns: dry leaves, shredded paper, cardboard, straw
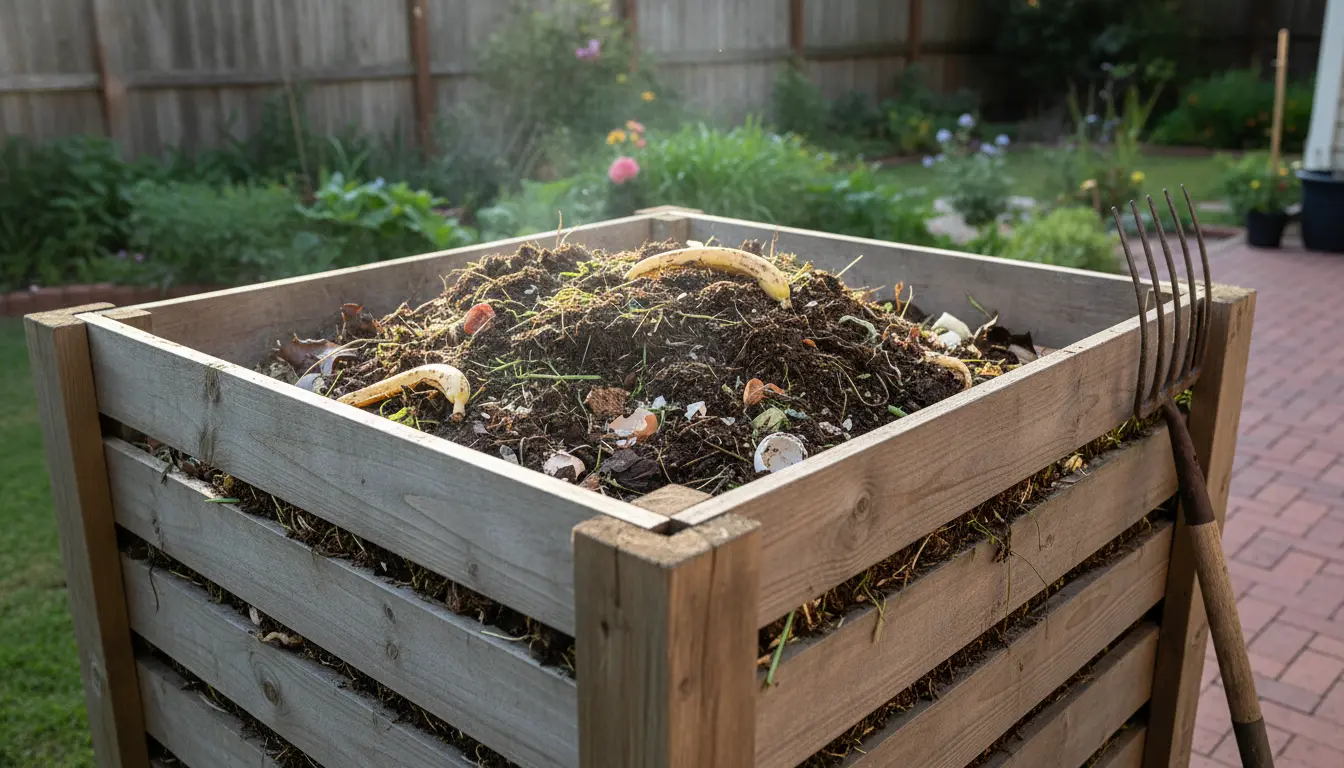
Step 3: Build and maintain the pile
Layer materials and keep the pile moist like a wrung-out sponge. Turn or mix the pile every 1–2 weeks to add oxygen, which speeds decomposition.
- Layer guideline: Start with coarse browns, add a layer of greens, then cover with browns.
- Moisture test: If water drips, it is too wet; add more browns. If dry, add water and more greens.
- Turning: Use a garden fork or rotate a tumbler to aerate the pile.
What Not to Compost
Some items slow decomposition or attract pests. Avoid putting these into your home compost bin.
- Meat, fish, bones, and dairy — attract animals and create odors
- Oily or greasy foods — slow breakdown and cause smells
- Diseased plants or weeds with seeds — risk spreading pests or weeds
- Pet waste from carnivores — contains harmful pathogens
Troubleshooting Common Problems
Beginners often face a few typical issues. Use these quick fixes to keep your compost healthy.
- Bad odor: Add more browns and turn the pile to introduce air.
- Pile is too dry: Add water and some greens, then mix.
- Slow breakdown: Chop materials into smaller pieces and maintain warmth by building a larger pile or insulating it.
- Pests: Avoid meat and dairy, keep bin sealed, and bury food scraps under browns.
Home Composting for Beginners: Simple Timeline
Compost timelines vary with method and conditions. Typical ranges:
- Hot composting (well-managed pile): 2–3 months
- Cold composting (minimal turning): 6–12 months
- Worm composting (vermicompost): Continuous harvest of castings in 2–4 months
Composting can reduce household waste by up to 30 percent. Even small-scale composting in containers keeps organic material out of landfills and lowers methane emissions.
Case Study: Small Balcony Composting in a City Apartment
Marisa, a renter in a two-bedroom apartment, started a worm bin on her balcony. She used a 20-liter plastic bin and red wiggler worms to process kitchen scraps.
Within three months she harvested a few liters of worm castings and used them to feed potted vegetables. The system processed about one liter of kitchen waste per week and eliminated most of her food scraps from the trash.
Key takeaways from Marisa’s setup: choose a compact system, keep the bin shaded, and maintain regular small additions of browns like shredded paper.
Practical Tips for Ongoing Success
Start with a manageable bin size and keep a small counter container for scraps. Freeze scraps if you don’t want to add them daily, then thaw and add to the pile.
- Keep a dedicated compost scoop or tongs for adding scraps and turning the pile.
- Use a kitchen caddy with a charcoal filter to control odors indoors.
- Test finished compost: it should be dark, crumbly, and smell earthy.
Final Thoughts on Home Composting for Beginners
Home composting for beginners is low-cost and scalable. Start simple, observe how your bin behaves, and adjust moisture and balance as needed. Over time, composting becomes an easy routine with clear benefits for plants and the planet.
Ready to start? Choose a bin, collect greens and browns, and begin layering today. Small, consistent steps will turn your household waste into valuable soil in months.