
Composting at home turns kitchen scraps and yard waste into rich soil for gardens and potted plants. This guide gives practical instructions for beginners to set up and maintain a home compost system without jargon.
Why Home Composting Matters
Home composting reduces landfill waste and lowers household greenhouse gas emissions. It also produces nutrient-rich compost that improves soil structure and plant health.
Even small households can compost successfully with a single bin or a worm composter. The key is to learn simple routines and balance materials.
Choose a Compost Method
Select a method that fits your space and lifestyle. The common options are outdoor bins, tumblers, and indoor worm bins.
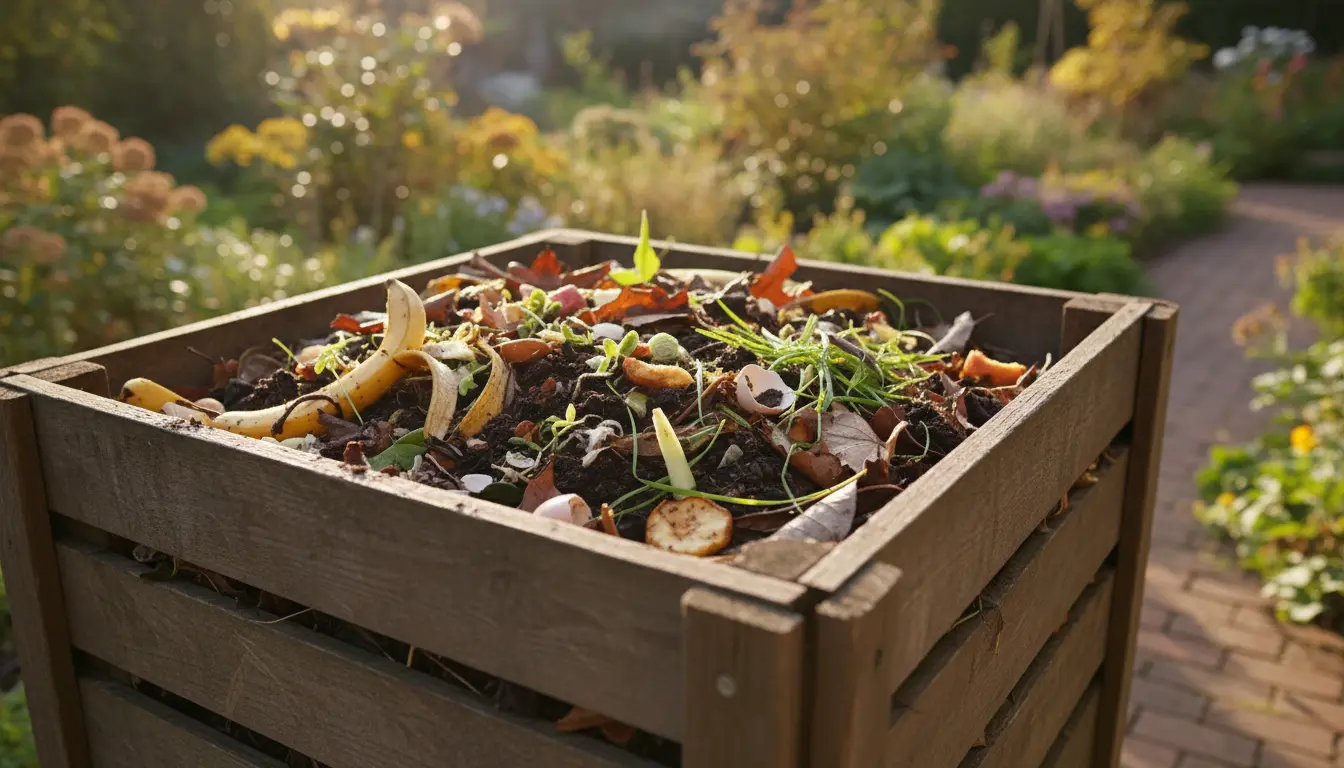
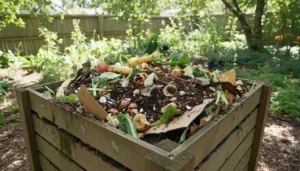
Outdoor Bin
Outdoor bins are low-maintenance and ideal for yards. They hold heat well and can process larger volumes of yard waste.
Compost Tumbler
Tumblers are enclosed and rotate to speed up decomposition. They are cleaner and easier to turn but cost more initially.
Worm Composter (Vermicompost)
Worm bins work indoors and are great for small kitchens. Red wiggler worms break down food scraps quickly into a high-quality fertilizer.
Gather Materials: Greens and Browns
Compost needs a mix of nitrogen-rich “greens” and carbon-rich “browns”. Aim for a balanced pile to encourage steady decomposition.
- Greens: fruit and vegetable scraps, coffee grounds, fresh grass clippings.
- Browns: dry leaves, shredded paper, cardboard, straw, wood chips.

Example target ratio: about 1 part greens to 3 parts browns by volume. Adjust based on smell and moisture.
How to Start a Compost Pile
Follow these basic steps when you begin. Each step helps create the right environment for microbes to work.
- Place the bin on bare soil to allow drainage and help organisms move in.
- Add a 2–4 inch layer of coarse browns (twigs or straw) for airflow at the bottom.
- Alternate layers of greens and browns, keeping the pile slightly damp like a wrung-out sponge.
- Turn the pile weekly if using a cold pile, or more often with a hot system like a tumbler.
Maintenance: Turning, Moisture, and Temperature
Turning the compost introduces oxygen and speeds up breakdown. Use a pitchfork or rotate the tumbler every few days to a week.
Keep moisture similar to a damp sponge; add water in dry weather and add more browns if it becomes soggy. A hot compost pile reaches 130–160°F (55–70°C) and breaks down materials faster.
When to Add More Browns or Greens
If the pile smells sour or ammonia-like, add more browns and turn it. If decomposition stalls, add greens and ensure the pile is moist and warm.
Common Problems and Simple Fixes
Beginners face a few predictable issues. These quick fixes keep compost healthy and odor-free.
- Bad smell: Add dry browns and turn. Avoid meat, dairy, and oily foods.
- Pests: Use a closed bin or bury food under browns. Avoid attracting animals with exposed scraps.
- Slow decomposition: Chop materials into smaller pieces and increase turning frequency.
Composting can reduce household waste by up to 30 percent. Finished compost also retains water, reducing garden irrigation needs by as much as 40 percent.
How to Tell When Compost Is Ready
Finished compost looks dark, crumbly, and earthy-smelling. Most recognizable pieces of food and leaves should be gone.
Depending on method and attention, compost can take 2 months (hot method) to a year (cold pile) to fully mature.
Using Finished Compost
Use finished compost as a soil amendment, top dressing, or seed starting mix when blended with other materials. It improves soil structure and provides slow-release nutrients.
- Garden beds: Spread 1–3 inches and work into the topsoil.
- Potted plants: Mix 10–30% compost with potting mix.
- Lawn top-dressing: Apply a thin layer and water in to boost soil health.
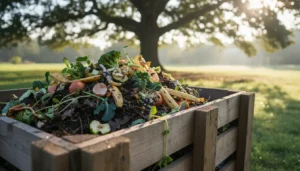
Small Real-World Example
Case Study: A two-person household started a 50-gallon outdoor bin. They saved peelings, coffee grounds, and yard trimmings. Within six months they produced 40 liters of compost.
Results: Their garden showed stronger growth the next season, and weekly trash volume dropped by roughly 25 percent. Simple habits—weekly turning and keeping a covered kitchen scrap container—made composting consistent.
Quick Checklist to Start Today
- Choose a bin (outdoor, tumbler, or worm bin).
- Collect greens and browns and store them separately.
- Layer materials and maintain moisture and airflow.
- Turn regularly and troubleshoot odors or pests quickly.
- Use finished compost in garden beds and containers.
Final Tips for Success
Start small and learn from one bin before expanding. Keep a small countertop container with a lid for scraps to make collection easy.
Patience pays off. Composting is a low-cost habit that reduces waste, saves money on fertilizer, and supports healthier plants.
With these steps, home composting becomes a manageable routine rather than a chore. Begin with one method, adapt to your space, and enjoy richer soil and less waste.