
Why Home Composting for Beginners Works
Home composting turns kitchen scraps and yard waste into nutrient-rich soil. It reduces household waste and supports healthier plants without chemical fertilizers.
As a beginner, focus on simple, reliable methods you can maintain. Small, consistent actions yield steady results.
Home Composting for Beginners: Basic Steps

Start with a clear, short process so you can build confidence. These steps cover the essentials from setup to use.
Step 1 — Choose a Compost Method
Pick a system that fits your space and time. Popular beginner-friendly options include a simple compost bin, tumbler, or a small compost pile.
Bins keep things tidy and deter pests while tumblers speed up turning. Choose what you will actually use.
Step 2 — Balance Greens and Browns

Compost needs a mix of high-nitrogen “greens” and high-carbon “browns”. A balanced mix promotes decomposition and avoids smells.
- Greens: vegetable scraps, coffee grounds, fresh grass clippings.
- Browns: dry leaves, shredded cardboard, straw, paper.
A simple rule: aim for about 2 to 3 parts browns to 1 part greens by volume.
Step 3 — Maintain Moisture and Air
Compost should be as damp as a wrung-out sponge. Too dry and microbes slow down; too wet and it can smell.
Turn the pile every 1–2 weeks to add air and speed decomposition. Use a pitchfork or a tumbler for easy mixing.
Tools and Materials for Home Composting for Beginners
You do not need expensive tools. Start with a few basic items to make maintenance easier and cleaner.
- Compost bin or tumbler sized for your household.
- Garden fork or compost aerator for turning.
- Kitchen collecting container with a lid for scraps.
- Shredders or scissors to cut larger items.
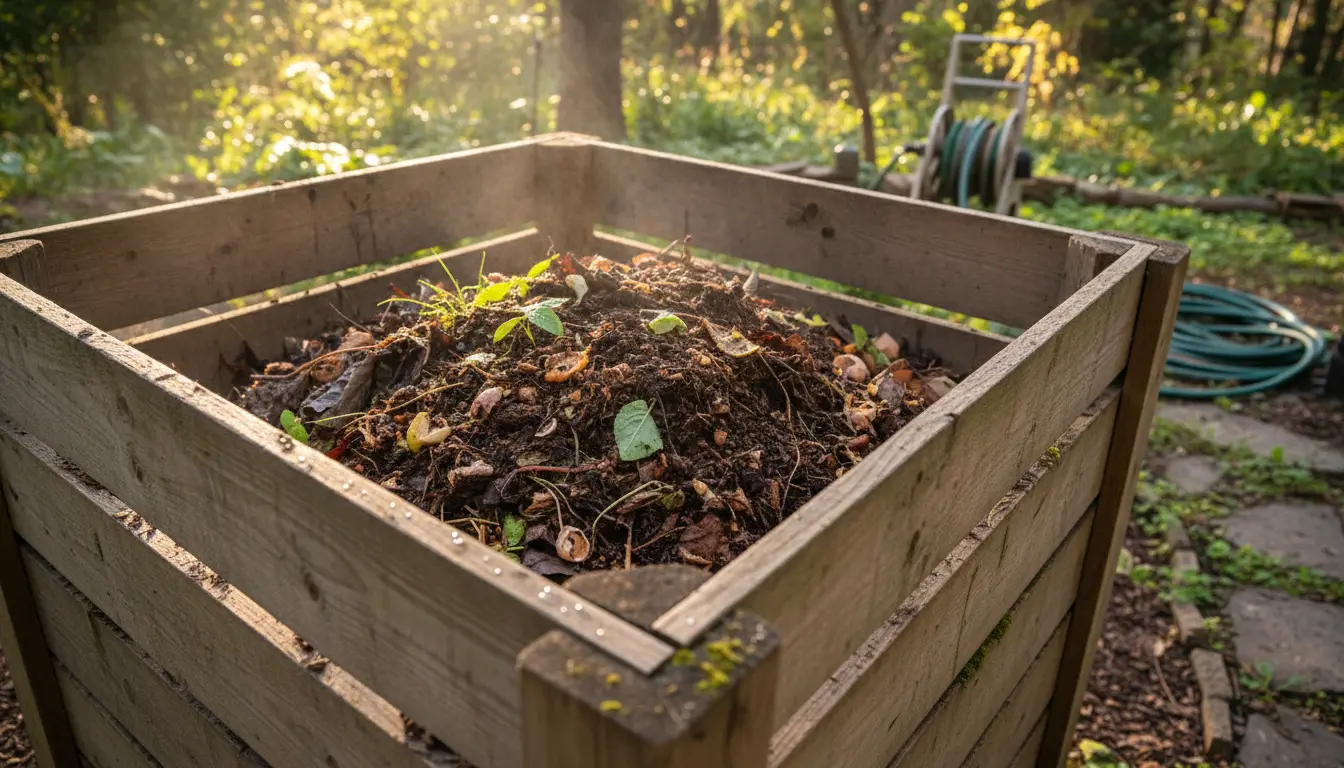
Location and Setup
Place the bin on soil or grass to let worms and microbes enter. A shaded spot helps regulate temperature and moisture.
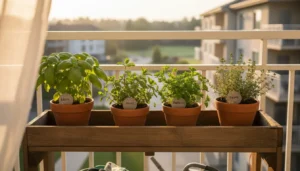
If you live in an apartment, try a small indoor bokashi system or a worm (vermicompost) bin for small-scale composting.
Common Mistakes in Home Composting for Beginners
Knowing common errors helps you avoid delays and bad odors. Here are frequent issues and how to fix them.
- Too many greens: Add more browns and mix well to stop odors.
- Not turning the pile: Turn regularly to reintroduce oxygen.
- Adding meat or dairy: These attract pests; avoid them in open compost.
- Pile too dry: Add water and greens to rehydrate the pile.
Quick Troubleshooting
If your compost smells rotten, it is likely anaerobic. Turn the pile and add dry browns. If decomposition is slow, chop materials smaller and keep the pile moist and warm.
Food scraps and yard waste make up nearly 30% of household trash by weight in many countries. Composting can significantly cut waste sent to landfills.
When Is Compost Ready
Finished compost looks dark, crumbly, and earthy. It should no longer show recognizable food scraps or leaves.
Depending on the method and how often you turn it, compost can be ready in 2 months to a year. Use it as mulch or mix into potting soil.
Practical Uses for Finished Compost
Compost improves soil structure, water retention, and provides slow-release nutrients for plants. Use it in several ways:
- Top-dress vegetable gardens and flower beds.
- Mix 1 part compost with 2 parts potting soil for container plants.
- Spread as a thin mulch around trees and shrubs.
Small Real-World Case Study
Case: A two-person household in a suburban yard started a 200-liter bin. They collected kitchen scraps and mixed in shredded leaves from the nearby park.
Within six months they produced enough compost to top-dress two raised beds and fill three 5-gallon pots. The garden yield increased and weekly trash volume dropped noticeably.
Quick Checklist for Home Composting for Beginners
- Choose a bin or method that fits your space.
- Collect kitchen scraps in a sealed container.
- Keep a 2–3:1 ratio of browns to greens.
- Keep compost moist and turn it regularly.
- Avoid meat, dairy, and oily foods in open systems.
Final Tips
Start small and be consistent. Even a modest compost habit reduces waste and benefits your garden.
Track progress with simple notes on what you add and how it breaks down. Adjust materials and turning frequency based on results.