
Why home composting matters
Home composting reduces household waste and returns nutrients to your garden. For beginners, it is a low-cost way to improve soil health and cut trash volume.
Composting also lowers methane emissions from landfills and connects daily habits to environmental benefits. This guide shows practical steps you can follow at home.
Home Composting for Beginners: How it works

Composting is a controlled breakdown of organic materials by microbes, worms, and insects. The process needs carbon, nitrogen, air, and moisture in the right balance.
When these elements are balanced, organic waste decomposes into humus — a dark, crumbly material that improves soil structure and fertility. You can compost in bins, tumblers, or piles depending on space and needs.
Choosing a compost system
Select a method that fits your space, time, and comfort level. Common options are a simple pile, a stationary bin, a rotating tumbler, or an indoor bokashi system.
- Compost pile: low cost, good for yards with space.
- Stationary bin: tidier and reduces pests; choose a size for your household waste.
- Rotating tumbler: speeds up mixing and aeration; ideal for those who want faster results.
- Bokashi: ferments food waste indoors; works in apartments but needs a separate soil burial step.
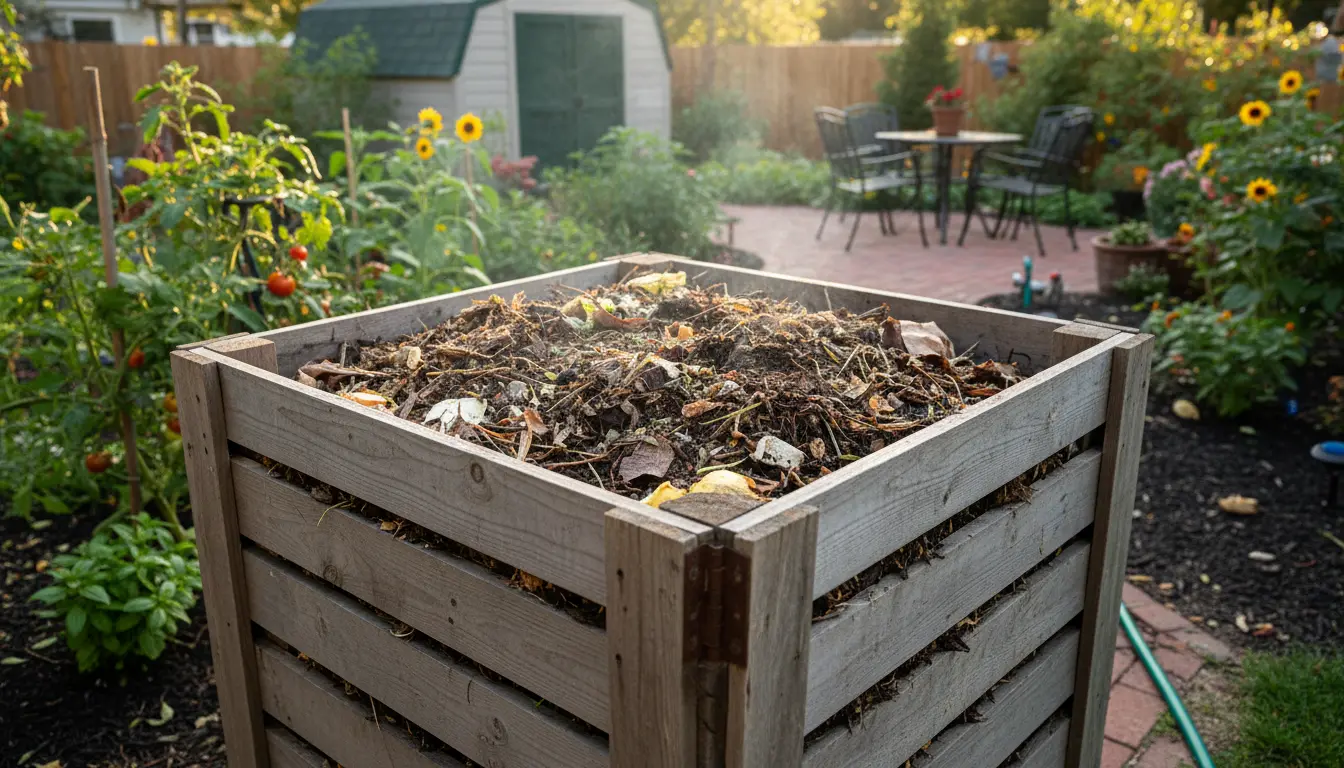
Starting a compost pile: step-by-step
Follow these steps to start composting at home. Each step focuses on creating a balanced, active pile that breaks down efficiently.
1. Pick a location
Choose a partly shaded, level spot with good drainage. Close access to water and your kitchen will make maintenance easier.
2. Build a base layer
Start with a 4-6 inch base of coarse material like twigs or straw. This improves airflow at the bottom and speeds drainage.
3. Add green and brown materials
Alternate green (nitrogen-rich) and brown (carbon-rich) layers. Aim for roughly 2 to 3 parts brown to 1 part green by volume.
- Greens: vegetable scraps, coffee grounds, fresh grass clippings.
- Browns: dry leaves, shredded paper, straw, wood chips.
4. Maintain moisture and aeration
Keep the pile as damp as a wrung-out sponge. Too dry slows decomposition; too wet causes odors. Turn or mix the pile every 1–2 weeks to add oxygen.
5. Wait and use finished compost
Compost can be ready in 2 months to a year depending on method and upkeep. Finished compost is dark, crumbly, and earthy-smelling. Use it as a soil amendment or top-dress for plants.
Common problems and fixes
Beginners often face the same issues. Recognizing the cause helps you correct the pile quickly and avoid failures.
- Bad smell: usually from excess wet greens. Add more browns and increase aeration.
- Pests or rodents: avoid putting meat, dairy, or oily foods in the pile. Use a closed bin or bury food scraps in the center.
- Slow decomposition: check moisture and add more greens for nitrogen, then mix to increase airflow.
- Too dry: add water while turning the pile; mulch the top to retain moisture.
Adding a handful of finished compost or garden soil to a new pile introduces beneficial microbes and speeds up decomposition.
Tools and supplies for beginners
You do not need many tools to compost, but a few items make maintenance easier. Most are inexpensive and widely available.
- Compost bin or tumbler (optional but tidy)
- Pitchfork or garden fork for turning
- Pruning shears for chopping bulky material
- Watering can or hose to adjust moisture
- Kitchen container with a lid for collecting scraps
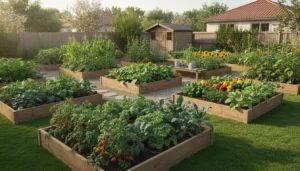
Small real-world case study
Case: Sarah lives in a suburban home with a small vegetable garden. She started a 3-foot compost bin and used kitchen scraps plus yard leaves. By balancing browns and greens and turning the bin weekly, she produced rich compost in about six months.
Result: Her garden yield increased, and household trash decreased by an estimated 30%. She also saved money on store-bought soil amendments.
Troubleshooting tips for apartment dwellers
Even if you lack outdoor space, you can compost with small systems. Bokashi buckets or worm bins (vermicomposting) work well on balconies or inside closets.
Keep these tips in mind: use sealed containers to control odor, avoid large meat or dairy scraps, and monitor moisture closely to prevent leaks.
Final checklist for beginners
- Choose a bin type that fits your space
- Collect kitchen scraps and dry browns separately
- Layer materials and maintain moisture like a wrung sponge
- Turn the pile regularly for oxygen
- Use finished compost to improve soil and reduce fertilizer needs
Home composting is a practical skill with clear environmental and gardening benefits. Start small, observe the process, and adjust as you learn. With a little attention each week, beginners can turn food waste into a valuable resource for plants.