
Why Home Composting Matters
Home composting reduces kitchen and yard waste while producing nutrient-rich soil for gardens and containers. It lowers landfill waste and cuts greenhouse gas emissions when done consistently.
For beginners, composting is more about routine than perfection. Small, steady actions deliver good results.
Home Composting Basics
Compost is broken down organic material. Microbes and small animals convert food scraps and yard debris into humus over weeks to months.
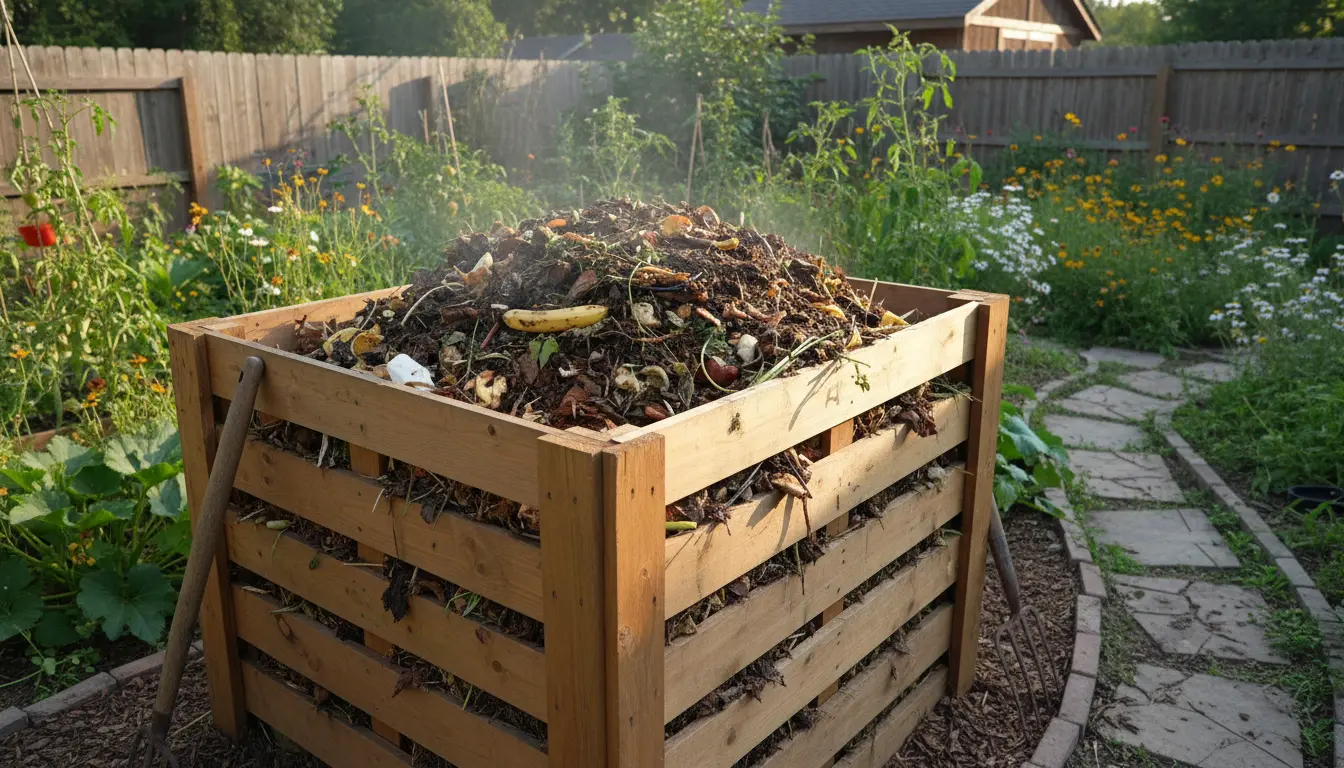
Two main materials power composting: brown materials, which provide carbon, and green materials, which provide nitrogen. A balanced mix speeds decomposition and reduces odors.
Key materials for home composting
- Greens: vegetable peels, coffee grounds, fresh grass clippings, tea bags
- Browns: dry leaves, shredded paper, straw, small twigs
- Materials to avoid: meat, dairy, oily foods, diseased plants, pet waste
How to Start Home Composting
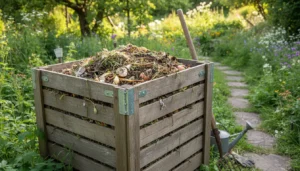
Choose a system that fits your space and time. Popular options include a simple pile, a bin, or a tumbler.
Follow a few basic steps to get started and keep the process healthy.
Step-by-step setup
- Pick a location: level ground with some shade and drainage.
- Build a base: start with coarse browns like twigs to allow airflow.
- Add materials in layers: alternate greens and browns, aiming for roughly a 1:3 green to brown volume ratio.
- Moisten: keep the pile as damp as a wrung-out sponge.
- Turn: every 1 to 2 weeks for faster composting, or less often for passive systems.
Troubleshooting Common Problems in Home Composting
Beginners often face a few predictable issues: slow breakdown, smell, or pests. Each has a simple fix.
Slow decomposition
- Cause: pile too dry, too compact, or lacks nitrogen.
- Fix: add greens, water, and turn the pile to increase oxygen.
Bad odors
- Cause: too much wet green material or anaerobic conditions.
- Fix: add dry browns, turn the pile, and increase aeration.
Pests
- Avoid: meat, dairy, and oily scraps.
- Use: sealed bins or bury food scraps in the center of the pile.
Practical Tips for Home Composting Success
- Chop larger items into smaller pieces to speed breakdown.
- Keep a kitchen caddy for scraps to make collection routine.
- Rotate materials: don’t add only one type for long periods.
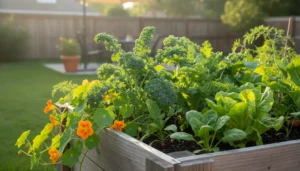
- Use finished compost as a top dressing, potting mix additive, or soil amendment.
Compost can raise soil temperature slightly and improve moisture retention. A properly managed compost pile can reach 130 to 160 degrees Fahrenheit, which helps kill most weed seeds and pathogens.
How to Tell When Compost Is Ready
Finished compost is dark, crumbly, and smells earthy. Most of the original pieces are unrecognizable.
Smaller systems may take 3 to 6 months, while active turning can produce compost in 6 to 8 weeks.
Signs of mature compost
- Uniform dark color and crumbly texture
- Earthy smell, not sour or rotten
- Temperature returning to ambient room temperature
Small Real-World Example
Case Study: A one-family household in Austin used a 60-gallon tumbler and a kitchen caddy. They combined fruit and vegetable scraps with shredded cardboard and dry leaves. By turning the tumbler weekly and keeping moisture steady, they had usable compost in about 10 weeks.
Outcome: They reduced trash by roughly one small bag per week and improved summer vegetable yields by using compost as mulch and soil amendment.
Simple Composting Systems for Different Homes
Choose a method that fits your lifestyle and yard size.
- Apartment: worm bin (vermicomposting) under a sink or on a balcony.
- Small yard: enclosed compost bin or tumbler to keep things neat.
- Large yard: open pile or multi-bin system for larger volumes and faster output.
Wrap Up: Start Small and Improve
Home composting is an easy, low-cost way to reduce waste and build better soil. Begin with one bin or a small worm setup and grow your system with experience.
Focus on balance, moisture, and aeration. With a little attention, composting becomes a routine that benefits your garden and the environment.