
Why Home Composting Matters
Home composting turns kitchen scraps and yard waste into nutrient-rich material for gardens and potted plants. It reduces landfill waste and cuts greenhouse gas emissions from organic material.
For beginners, composting can seem technical, but a few basic principles produce good results without heavy effort. This guide keeps steps clear and practical.
Getting Started with Home Composting

Decide the composting method that fits your space and lifestyle. Common methods include a simple heap, a tumbler, a bin, or a worm (vermicompost) system.
Choose a method based on space, time available, and the amount of kitchen waste you generate. Small apartments often use bokashi or worm bins, while yards can use bins or piles.
Essential Materials for Home Composting
- Greens: fruit and vegetable scraps, coffee grounds, fresh grass clippings
- Browns: dry leaves, shredded paper, cardboard, straw
- Water: to keep the pile moist but not soggy
- Air: turn the pile or use a tumbler to add oxygen
Balance greens and browns roughly 1:2 by volume for an active, low-smell compost pile. Adjust ratios if the pile smells or is too dry.
Step-by-Step Home Composting Process
Follow these steps to establish and maintain a healthy compost system. Each step is short and actionable for beginners.
1. Build the Base
Start with a layer of coarse browns like twigs or straw to help airflow. Add alternating layers of greens and browns about 4–6 inches thick each.
2. Maintain Moisture
Keep the pile as damp as a wrung-out sponge. If it dries, sprinkle water; if it’s waterlogged, add more browns and mix to improve drainage.
3. Turn or Mix Regularly
Turn the pile every 1–2 weeks to add oxygen and speed decomposition. For tumblers, rotate as directed by the manufacturer to keep material moving.
4. Monitor Temperature
A properly balanced pile heats to 120–140°F (49–60°C). This kills many weed seeds and pathogens. If it stays cold, add more greens and turn more frequently.
Troubleshooting Common Problems in Home Composting
Beginners often face a few common issues. Each problem has a simple, practical fix you can apply immediately.
Bad Smell
Cause: Too many greens or compacted pile with little air. Fix: Add more browns, turn the pile, and add coarse material to improve airflow.
Pile Is Too Dry
Cause: Low moisture or high-carbon materials. Fix: Add water evenly and some fresh greens; cover the pile to retain moisture.
Slow Decomposition
Cause: Small pile, not enough greens, or cold conditions. Fix: Increase pile size to at least 3x3x3 feet if possible, add greens and nitrogen sources, and insulate during cold weather.
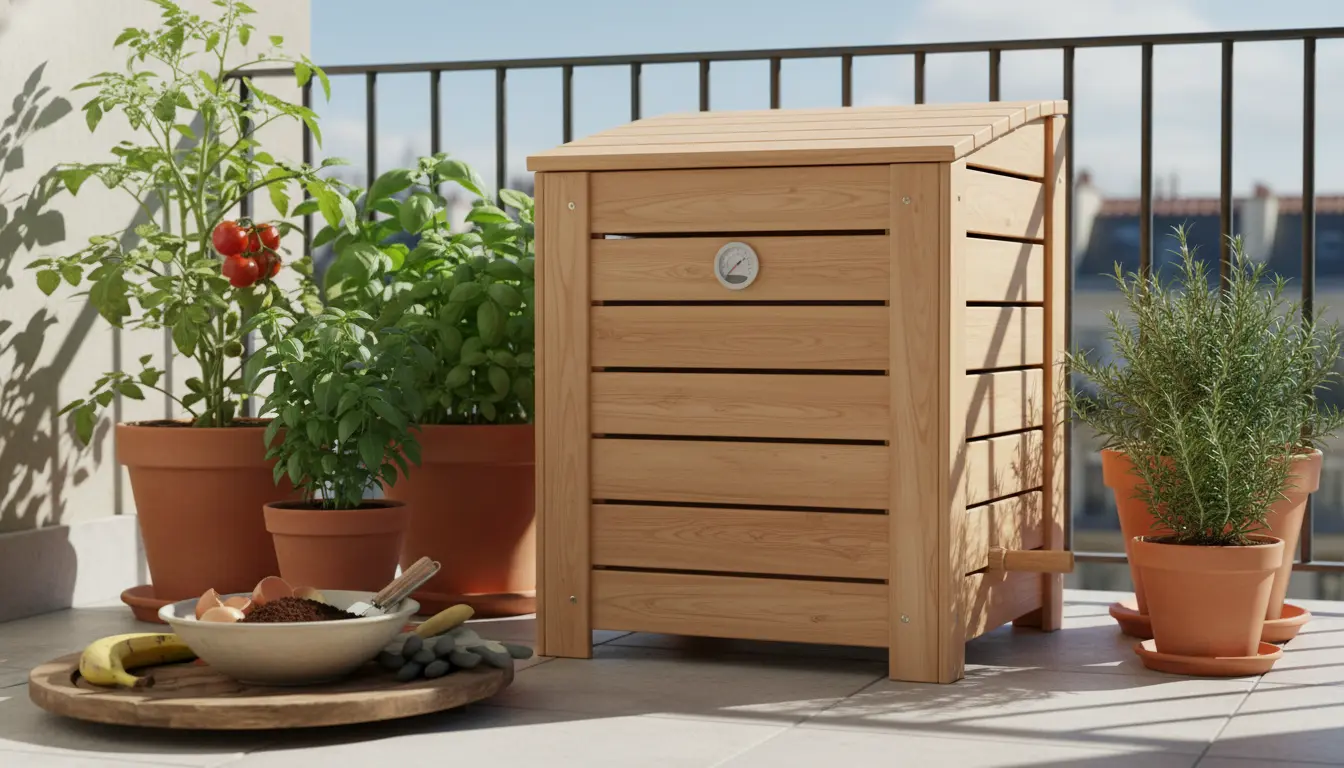
Home Composting for Small Spaces
Apartment dwellers can still compost effectively. Bokashi and worm bins are compact, low-odor options that work indoors on a countertop or balcony.
- Bokashi: Ferments food waste in a sealed bucket using bran inoculated with beneficial microbes.
- Worm bins: Use red worms to convert food scraps into vermicompost; keep in a shaded, ventilated area.
Did You Know?
Adding wood ash in small amounts can raise pH and add potassium, but avoid using ash from treated wood or adding too much, which can make compost too alkaline.
Practical Tips and Best Practices
- Chop or shred large items to speed decomposition.
- Keep a countertop bucket with a lid to collect scraps and minimize trips to the compost pile.
- Avoid meat, dairy, and oily foods in open piles to reduce pests; consider bokashi for these items.
- Mix finished compost into garden beds or use as a top dressing for potted plants.
Simple Case Study: A Small Urban Garden
Maria lives in a third-floor apartment with a balcony garden. She started a small worm bin and a countertop compost bucket for kitchen scraps.
Within three months, Maria harvested rich vermicompost and used it to repot herbs. Her plants became noticeably more vigorous, and she reduced household organic waste by half.
What to Expect Over Time
Compost maturity varies by method. Hot aerobic piles can produce finished compost in 2–4 months with active management. Worm bins and static piles may take 4–12 months.
Finished compost is dark, crumbly, and smells earthy. Screen it for large bits and use it to improve soil structure and fertility.
Final Checklist for Home Composting Success
- Choose a composting method that fits your space.
- Balance greens and browns and maintain moisture.
- Turn or mix to provide oxygen when possible.
- Monitor for odors, moisture, and pests and adjust quickly.
- Use finished compost to improve soil and reduce synthetic fertilizer use.
Home composting is a practical way to close the loop on organic waste. Start small, observe results, and adapt your system over time to match your needs and available space.