
Why Home Composting Matters
Home composting reduces household waste and turns kitchen scraps into valuable soil amendment. It lowers landfill contributions and supports healthier plants without chemical fertilizers.
This guide explains practical steps for home composting for beginners, with system choices, daily routines, and troubleshooting tips you can use right away.
Composting can divert up to 30% of household waste from landfills when food scraps and yard waste are composted instead of thrown away.
Getting Started with Home Composting
Start by deciding how much waste you produce and how much time you can commit. Home compost systems range from simple bins to tumblers and worm composters.
Location matters. Place your compost bin on soil if possible to allow organisms to move in. For apartment dwellers, small indoor systems or community compost programs are options.
Choosing a Compost System

Choose a system that fits your space and schedule. Common options include:
- Open pile: Best for yards and larger volumes, simple but requires turning.
- Compost bin: Enclosed, neater, suitable for small yards.
- Tumbler: Rotates for faster aeration and quicker decomposition.
- Vermicompost (worm bin): Ideal for apartments and produces rich worm castings.
What to Compost and What to Avoid
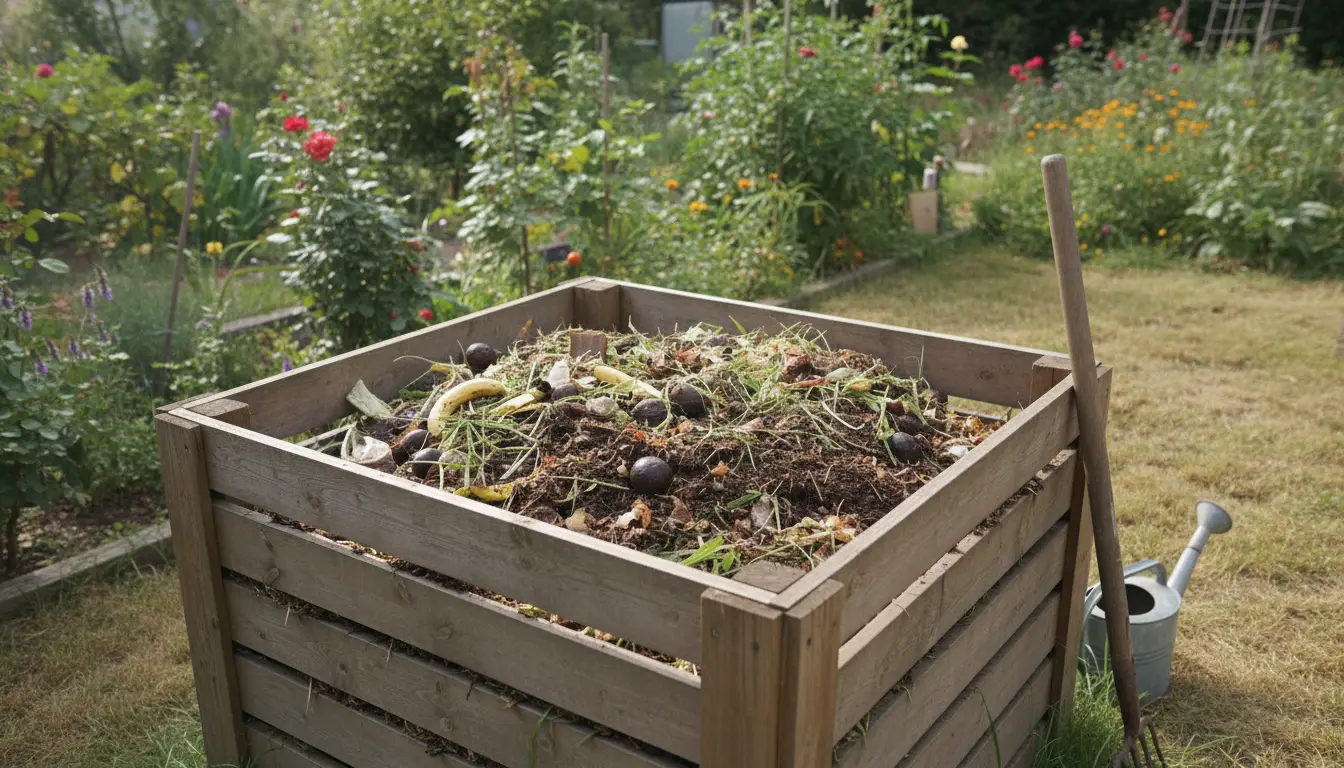
Good materials include fruit and vegetable scraps, coffee grounds, eggshells, grass clippings, leaves, and shredded paper. These are divided into ‘greens’ and ‘browns’.
Avoid meat, dairy, oily foods, diseased plants, and pet waste. These attract pests or create odor and health issues.
Managing Your Home Composting System
Successful home composting relies on three factors: carbon, nitrogen, and oxygen. Balance them for steady decomposition.
Balancing Greens and Browns
Greens are high-nitrogen materials (kitchen scraps, coffee grounds). Browns are high-carbon materials (dry leaves, cardboard). Aim for roughly a 1:2 ratio of greens to browns by volume.
If the pile smells, add more browns. If decomposition is slow, add greens and increase moisture slightly.
Moisture and Aeration
Compost should be as moist as a wrung-out sponge. Water occasionally during dry spells and cover during heavy rains to prevent waterlogging.
Turn or aerate the pile every 1–2 weeks in larger systems. Tumblers reduce effort by making turning easier.
Troubleshooting Common Problems
- Bad odor: Add more browns, mix the pile, and reduce moisture.
- Slow decomposition: Chop materials smaller, increase greens, and ensure adequate moisture.
- Pests: Remove meat and dairy, bury food scraps, and secure bin lids. Use enclosed bins in urban areas.
- Fly problems: Bury fresh scraps under browns and avoid exposed food layers.
Using Finished Compost
Finished compost looks dark, crumbly, and earthy-smelling. Use it in garden beds, potted plants, or as a top dressing for lawns.
Application tips:
- Mix into seed-starting mixes at up to 20% volume for nutrient boost.
- Add a 1–3 inch layer to garden beds and work it into the topsoil before planting.
- Use as mulch around trees and shrubs to retain moisture and supply slow-release nutrients.
Small Case Study: Apartment Kitchen to Window-Box Veggies
Emma, a city apartment resident, used a 10-gallon worm bin under her sink. She added vegetable scraps and shredded paper and harvested vermicompost in six months.
Emma mixed 1 part vermicompost with 4 parts potting soil for her window boxes. Lettuce yields doubled and she reduced supermarket salad purchases by half.
Key takeaways: choose a low-odor system, maintain bedding moisture, and harvest periodically for small-scale gardening success.
Simple Composting Checklist
- Choose a compost system that fits your space.
- Collect kitchen scraps in a small counter caddy with a lid.
- Layer greens and browns; aim for roughly 1:2 greens to browns.
- Keep compost moist but not soggy; aerate weekly if possible.
- Monitor and troubleshoot smells, pests, or slow breakdown.
- Use finished compost in garden beds, pots, or as mulch.
Final Tips for Home Composting Beginners
Start small and be consistent. Track what you add and how the pile responds for a few weeks, then adjust. Patience pays off; many systems produce usable compost in three to twelve months.
Explore local resources: community compost programs, gardening groups, or municipal guides can provide site-specific advice and reduce barriers for beginners.