
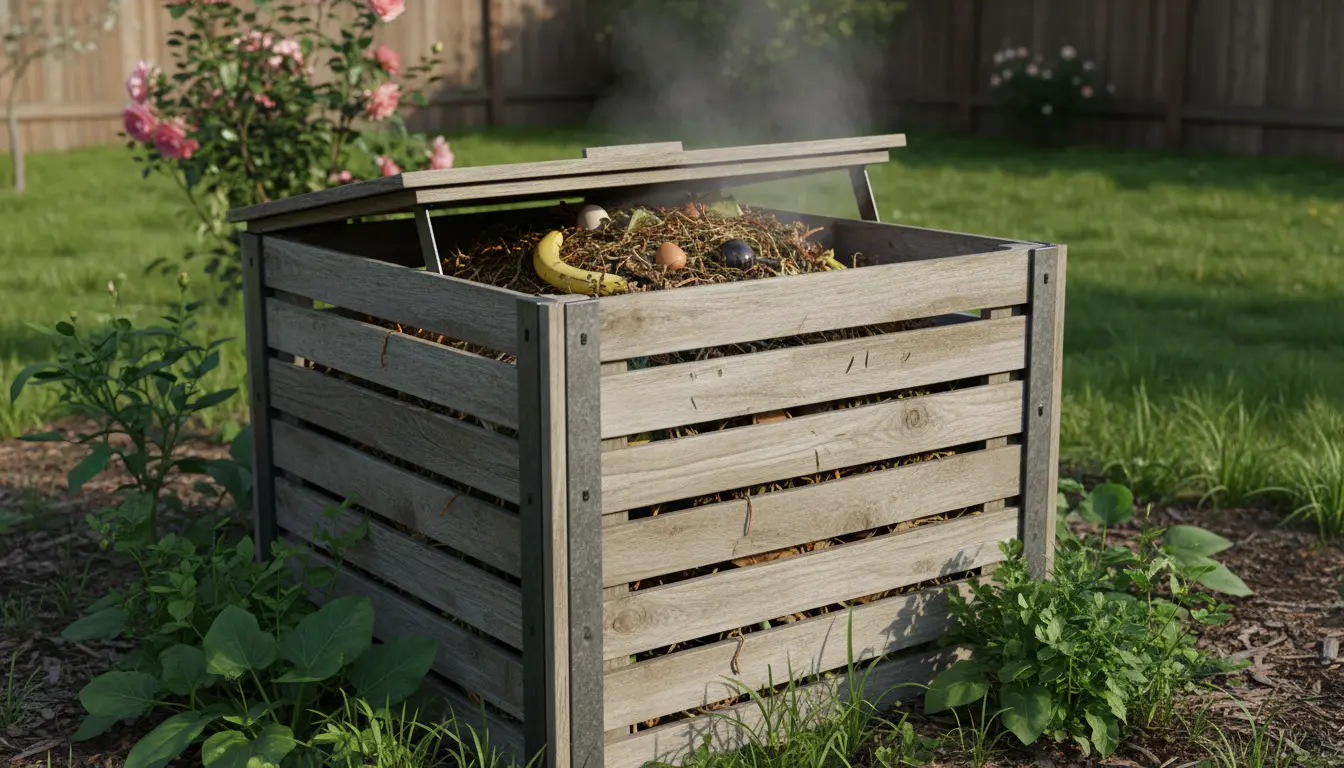
Home composting turns kitchen and yard waste into nutrient-rich soil that improves gardens and reduces trash. This guide gives step-by-step instructions for beginners and practical tips to maintain a healthy compost bin.
Why Choose Home Composting for Beginners
Composting reduces landfill waste and supplies free organic matter for plants. It also helps retain moisture in soil and supports beneficial microbes.
For beginners, small and low-maintenance systems are best. You can start with a simple bin or tumbler and expand as you gain experience.
How to Start Home Composting for Beginners
Begin by choosing a location with partial shade and good drainage. A flat spot near your garden or garage works well and keeps turning easy.
Select a container: a plastic bin, wooden pallet bin, or turned tumbler. If space is limited, use a worm bin (vermicomposting) for kitchen scraps.
Materials You Will Need
- A bin or tumbler sized to your household waste
- Brown materials: dry leaves, shredded paper, cardboard
- Green materials: vegetable scraps, coffee grounds, grass clippings
- A pitchfork or turning tool and a watering can
What to Compost: Simple Rules
Balance carbon-rich ‘browns’ and nitrogen-rich ‘greens’. Aim for roughly a 3:1 brown to green volume ratio for a stable mix.
- Good browns: dry leaves, straw, cardboard, shredded paper
- Good greens: fruit and vegetable scraps, coffee grounds, fresh grass
- Avoid: meat, dairy, oils, diseased plants, and pet waste
Layering and Adding Waste
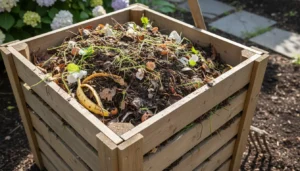
Start with a coarse layer for airflow, then alternate greens and browns. Cover fresh greens with browns to limit odors and flies.
Chop larger items to speed decomposition. Maintain moisture like a wrung-out sponge; too dry slows composting, too wet creates smells.
Maintaining Your Compost Bin
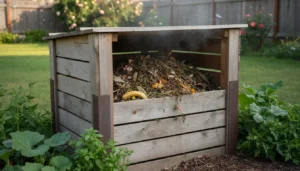
Turn or mix the pile every 1 to 2 weeks to introduce oxygen and speed up decomposition. A tumbler makes turning easier for beginners.
Monitor temperature if possible. Active piles will warm to 40–60°C (104–140°F). Cooling indicates reduced activity and time to turn or add greens.
Troubleshooting Common Problems
- Bad smell: add more brown material and aerate the pile.
- Fruit flies: cover exposed food with a layer of brown material and secure lids.
- Very slow breakdown: chop materials smaller, add greens, and ensure moisture.
- Excessive moisture: add dry browns and turn to increase airflow.
Harvesting and Using Finished Compost
Compost is ready when it looks dark, crumbly, and smells earthy. This usually takes 2–6 months in a well-maintained bin.
Use finished compost as a soil top dressing, mix into potting soil, or blend into garden beds at a rate of about 1–3 inches for established soil.
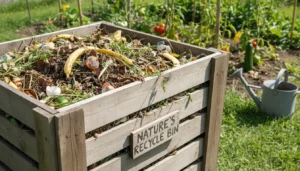
Small Real-World Example: Neighborhood Family Case Study
A family of four in a suburban yard started a 200-liter compost tumbler. They committed 10 minutes twice a week to add kitchen scraps and yard trimmings.
After four months they harvested 60 liters of compost and used it on vegetable beds. Their weekly non-recyclable trash decreased by one-third, and tomatoes were noticeably healthier the next season.
Advanced Tips for Home Composting for Beginners
Keep a small countertop bucket with a tight lid to collect kitchen scraps and prevent odors. Empty it into the outdoor bin every few days.
Layer wood ash sparingly to add potassium, but avoid adding too much as it raises pH. Use coffee grounds for added nitrogen and to support earthworms.
When to Choose Vermicomposting
Choose vermicomposting if you have limited outdoor space or want faster, high-quality compost for potted plants. Worm bins work well indoors and produce liquid fertilizer (worm tea).
Final Checklist for Home Composting for Beginners
- Pick a shaded, accessible location
- Balance browns and greens and keep materials chopped
- Turn regularly and maintain moisture
- Watch for pests and odors, and adjust as needed
Starting small and learning through practice is the best approach. With a little attention, home composting becomes an easy way to lower waste and improve garden health.