
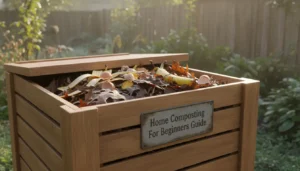
Home Composting for Beginners: Getting Started
Composting at home turns kitchen scraps and yard waste into nutrient-rich soil. This guide gives straightforward, practical steps for beginners to set up and maintain a compost system.
Follow these instructions to choose materials, set up a bin, and manage decomposition without jargon or unnecessary tools.
Why Home Composting Matters
Composting reduces household waste and returns organic matter to soil, improving water retention and plant health. It also lowers landfill contributions and methane emissions.
Even a small bin can make a noticeable difference over a year.
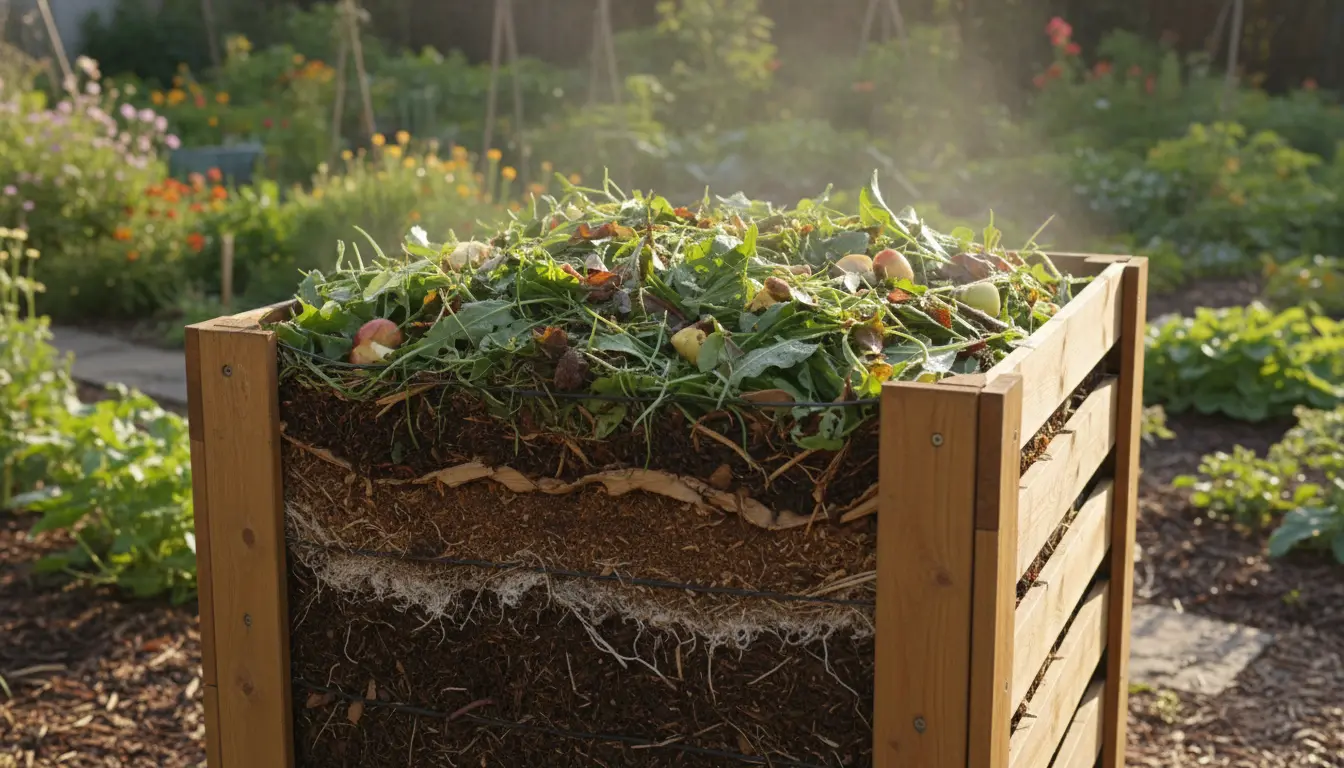
Materials to Compost: Greens and Browns
Composting works best when you balance nitrogen-rich ‘greens’ and carbon-rich ‘browns’. Knowing what to include keeps the pile active and odor-free.
Common Greens
- Vegetable and fruit scraps (no large amounts of citrus or onion peels)
- Coffee grounds and used tea leaves
- Fresh grass clippings and green plant prunings
Common Browns
- Dry leaves, straw, and shredded paper
- Cardboard (torn into small pieces) and wood chips
- Dry twigs and sawdust from untreated wood
Basic ratio: aim for roughly 2 to 3 parts browns to 1 part greens by volume. Adjust based on smell and moisture.
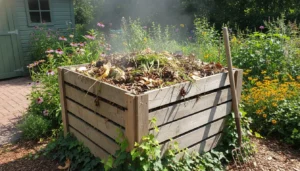
Setting Up a Compost Bin
Choose a simple container or make a bin from pallets or wire mesh. Bins keep the pile tidy and maintain heat and moisture.
Bin Options
- Plastic compost bin: affordable and low maintenance
- Compost tumblers: easier aeration, faster results but smaller capacity
- DIY pile or bay: flexible size, good for yards with space
Location: place the bin on bare soil in partial shade. This encourages drainage and lets worms access the pile.
Maintenance: Moisture, Aeration, and Temperature

Proper care keeps decomposition steady. Focus on moisture and air first; temperature follows naturally as microbes work.
Moisture
The pile should feel like a wrung-out sponge: moist but not dripping. Add water on dry days, or add more browns if the pile becomes soggy.
Aeration
Oxygen keeps aerobic microbes active and prevents foul odors. Turn the pile every 1–2 weeks using a pitchfork or rotate a tumbler regularly.
Temperature
Active piles heat to 130–160°F (54–71°C) when fresh materials are added and turned. High heat speeds up pathogen and seed breakdown, but small backyard piles may stay cooler and still work fine.
Troubleshooting Common Problems
Beginner composters often face a few predictable issues. These quick checks help correct problems fast.
- Bad smell: Add more browns and turn the pile to add air.
- Pile too dry: Add water and more greens or fresh food scraps.
- Pile too wet: Mix in dry leaves, shredded paper, or move to a drier spot.
- Pests: Bury food scraps under a layer of browns and use a closed bin if rodents are a problem.
Speeding Up Composting
If you want finished compost sooner, use these methods to accelerate decomposition.
- Shred or chop materials before adding them to increase surface area.
- Maintain a balanced greens-to-browns ratio and proper moisture.
- Add finished compost or garden soil to introduce beneficial microbes.
- Use a compost thermometer to aim for 120–140°F for active breakdown.
Small Real-World Case Study
Case study: An urban household in an apartment with a balcony started indoor vermicomposting with a 10-liter bin and red wiggler worms. They collected about 2–3 liters of kitchen scraps per week.
After six months, they produced roughly 20 liters of finished castings and reduced weekly trash by about 40%. The castings were mixed into potted plants and noticeably improved plant vigor.
Practical Tips and Examples
Start small and scale up. If you only produce a little green waste each week, a small tumbler or worm bin is more efficient than a large pile.
Example schedule:
- Week 1: Start with a base layer of browns (6 inches) and add mixed greens and browns.
- Week 2–4: Turn once and maintain moisture.
- Month 2–6: Monitor and harvest finished compost from the bottom as it becomes dark and crumbly.
Composting can cut kitchen waste by more than half for many households. Worm bins often work well indoors and require minimal space and odor management.
Using Finished Compost
Use finished compost as a soil amendment, mixing 10–30% compost into potting mixes or garden beds. It improves structure, nutrient content, and water retention.
For seedlings, blend a smaller percentage into the starting mix to avoid nutrient burn.
Final Checklist for Home Composting Beginners
- Choose a bin appropriate for your space and waste volume.
- Balance greens and browns and maintain moisture like a wrung-out sponge.
- Turn the pile regularly for aeration or rotate a tumbler.
- Troubleshoot odors, pests, and moisture promptly.
- Harvest finished compost when it is dark and crumbly and put it to use in your garden or pots.
Home composting is a practical, low-cost way to close the loop on organic waste. Start with simple steps, observe your pile, and adjust as you learn what works in your space.