
Why Choose Home Composting for Beginners
Home composting turns kitchen and yard waste into a valuable soil amendment. It reduces landfill waste and improves garden health with minimal cost.
This guide gives clear steps for beginners so you can start composting with confidence and avoid common mistakes.
Basic Principles of Home Composting for Beginners
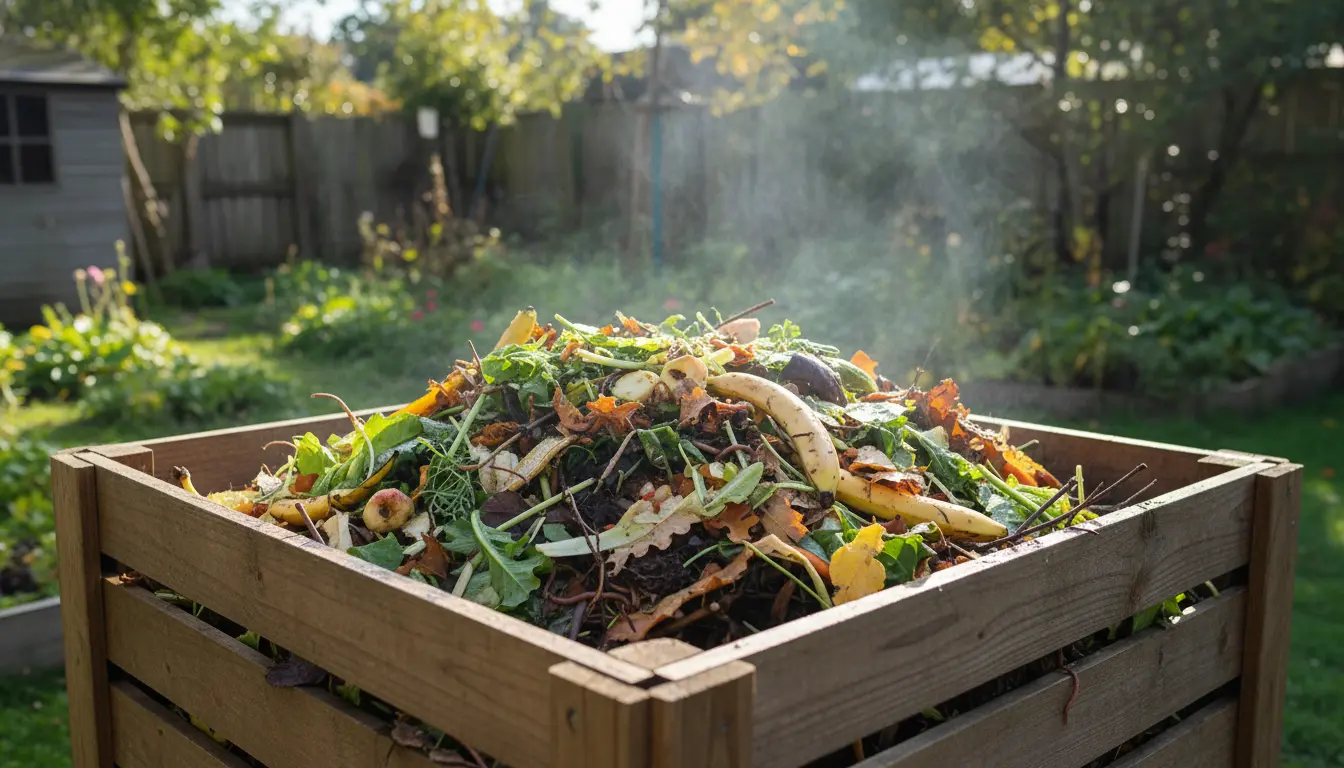
Compost requires three main ingredients: carbon (browns), nitrogen (greens), and water. A roughly balanced mix helps microbes break down material efficiently.
Aeration and moisture control speed the process. Aim for a loose, damp pile that smells earthy, not sour.
Key Terms to Know
- Greens: kitchen scraps, grass clippings (nitrogen source).
- Browns: dry leaves, paper, twigs (carbon source).
- Active composting: frequent turning to heat the pile.
What to Compost: Practical Lists
Start with easy-to-compost items to build a healthy pile. Avoid confusion by keeping a small list handy.
Acceptable Items
- Fruit and vegetable scraps
- Coffee grounds and filters
- Tea bags (without synthetic staples)
- Yard trimmings, grass clippings, dry leaves
- Shredded cardboard and newspaper
Items to Avoid
- Meat, bones, dairy (attract pests)
- Oily or greasy foods
- Diseased plants or invasive weeds
- Pet waste from carnivores
Simple Methods for Home Composting for Beginners

Pick a method that fits your space and time. Each method can produce good compost if maintained correctly.
1. Compost Bin
Plastic or wooden bins keep the pile tidy and retain heat. Add alternating layers of greens and browns and turn every 1–2 weeks.
2. Tumbler
Tumblers make turning easy and are good for fast, small-batch composting. They suit apartment balconies or small yards.
3. Backyard Pile
A simple pile works for larger yards. Keep it at least 3 feet wide and high for heat retention and turn occasionally.
4. Vermicomposting (Worm Bin)
Use red wigglers to compost food scraps indoors. Worm bins are compact and produce nutrient-rich castings quickly.
How to Start and Maintain Your Compost
Follow these steps to get a healthy compost system running and keep it productive over time.
- Choose a dry, shaded location with good drainage.
- Start with a 4–6 inch layer of coarse browns to help airflow.
- Add a mix of greens and browns in roughly 1:2 ratios by volume.
- Keep the pile as damp as a wrung-out sponge; water if it dries out.
- Turn the pile every 1–2 weeks for active composting, or less often for cold composting.
Troubleshooting Common Problems
New composters often face odors, pests, or slow decomposition. Simple fixes usually solve these problems.
Bad Smell
A sour or rotten odor means too much moisture or greens. Add dry browns and turn the pile to introduce air.
Pests
Attracting rodents usually comes from adding meat, dairy, or greasy foods. Remove those items and bury scraps in the center of the pile.
Slow Breakdown
If materials decompose slowly, chop larger items, add nitrogen-rich greens, and increase turning frequency.
Composting can reduce household waste by up to 30 percent and improve soil water retention. Finished compost can hold nutrients and moisture, reducing the need for chemical fertilizers.
How to Tell When Compost Is Finished
Finished compost looks dark, crumbly, and smells earthy. Most recognizable pieces of original materials will be gone, leaving a uniform texture.
Depending on method and maintenance, compost can be ready in 2 months to a year.
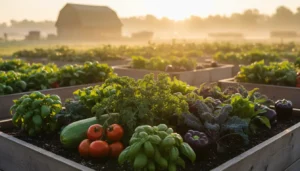
How to Use Finished Compost
Use finished compost to improve soil structure, add nutrients, and retain moisture. Apply as a top dressing or mix into potting soil.
- Garden beds: spread 1–3 inches and mix into topsoil.
- Pots and containers: mix one part compost with two parts potting mix.
- Lawn: thinly spread and rake in for soil improvement.
Real-World Example: A Small Urban Garden Case Study
Maria, a city apartment gardener, started a worm bin on her balcony with red wigglers and kitchen scraps. She fed the bin weekly and harvested castings every three months.
After six months Maria mixed castings into potting soil for her tomato plants and saw stronger growth and higher yields. The worm bin cut her food waste by about half.
Quick Checklist for Home Composting for Beginners
- Choose method: bin, tumbler, pile, or worm bin.
- Layer greens and browns; maintain moisture and airflow.
- Turn regularly for faster results.
- Troubleshoot odors and pests quickly.
- Use finished compost to enrich soil and reduce fertilizers.
Home composting is a low-cost, high-impact way to close the loop on organic waste and support healthier soil. Start small, learn as you go, and adjust your system to fit your space and lifestyle.